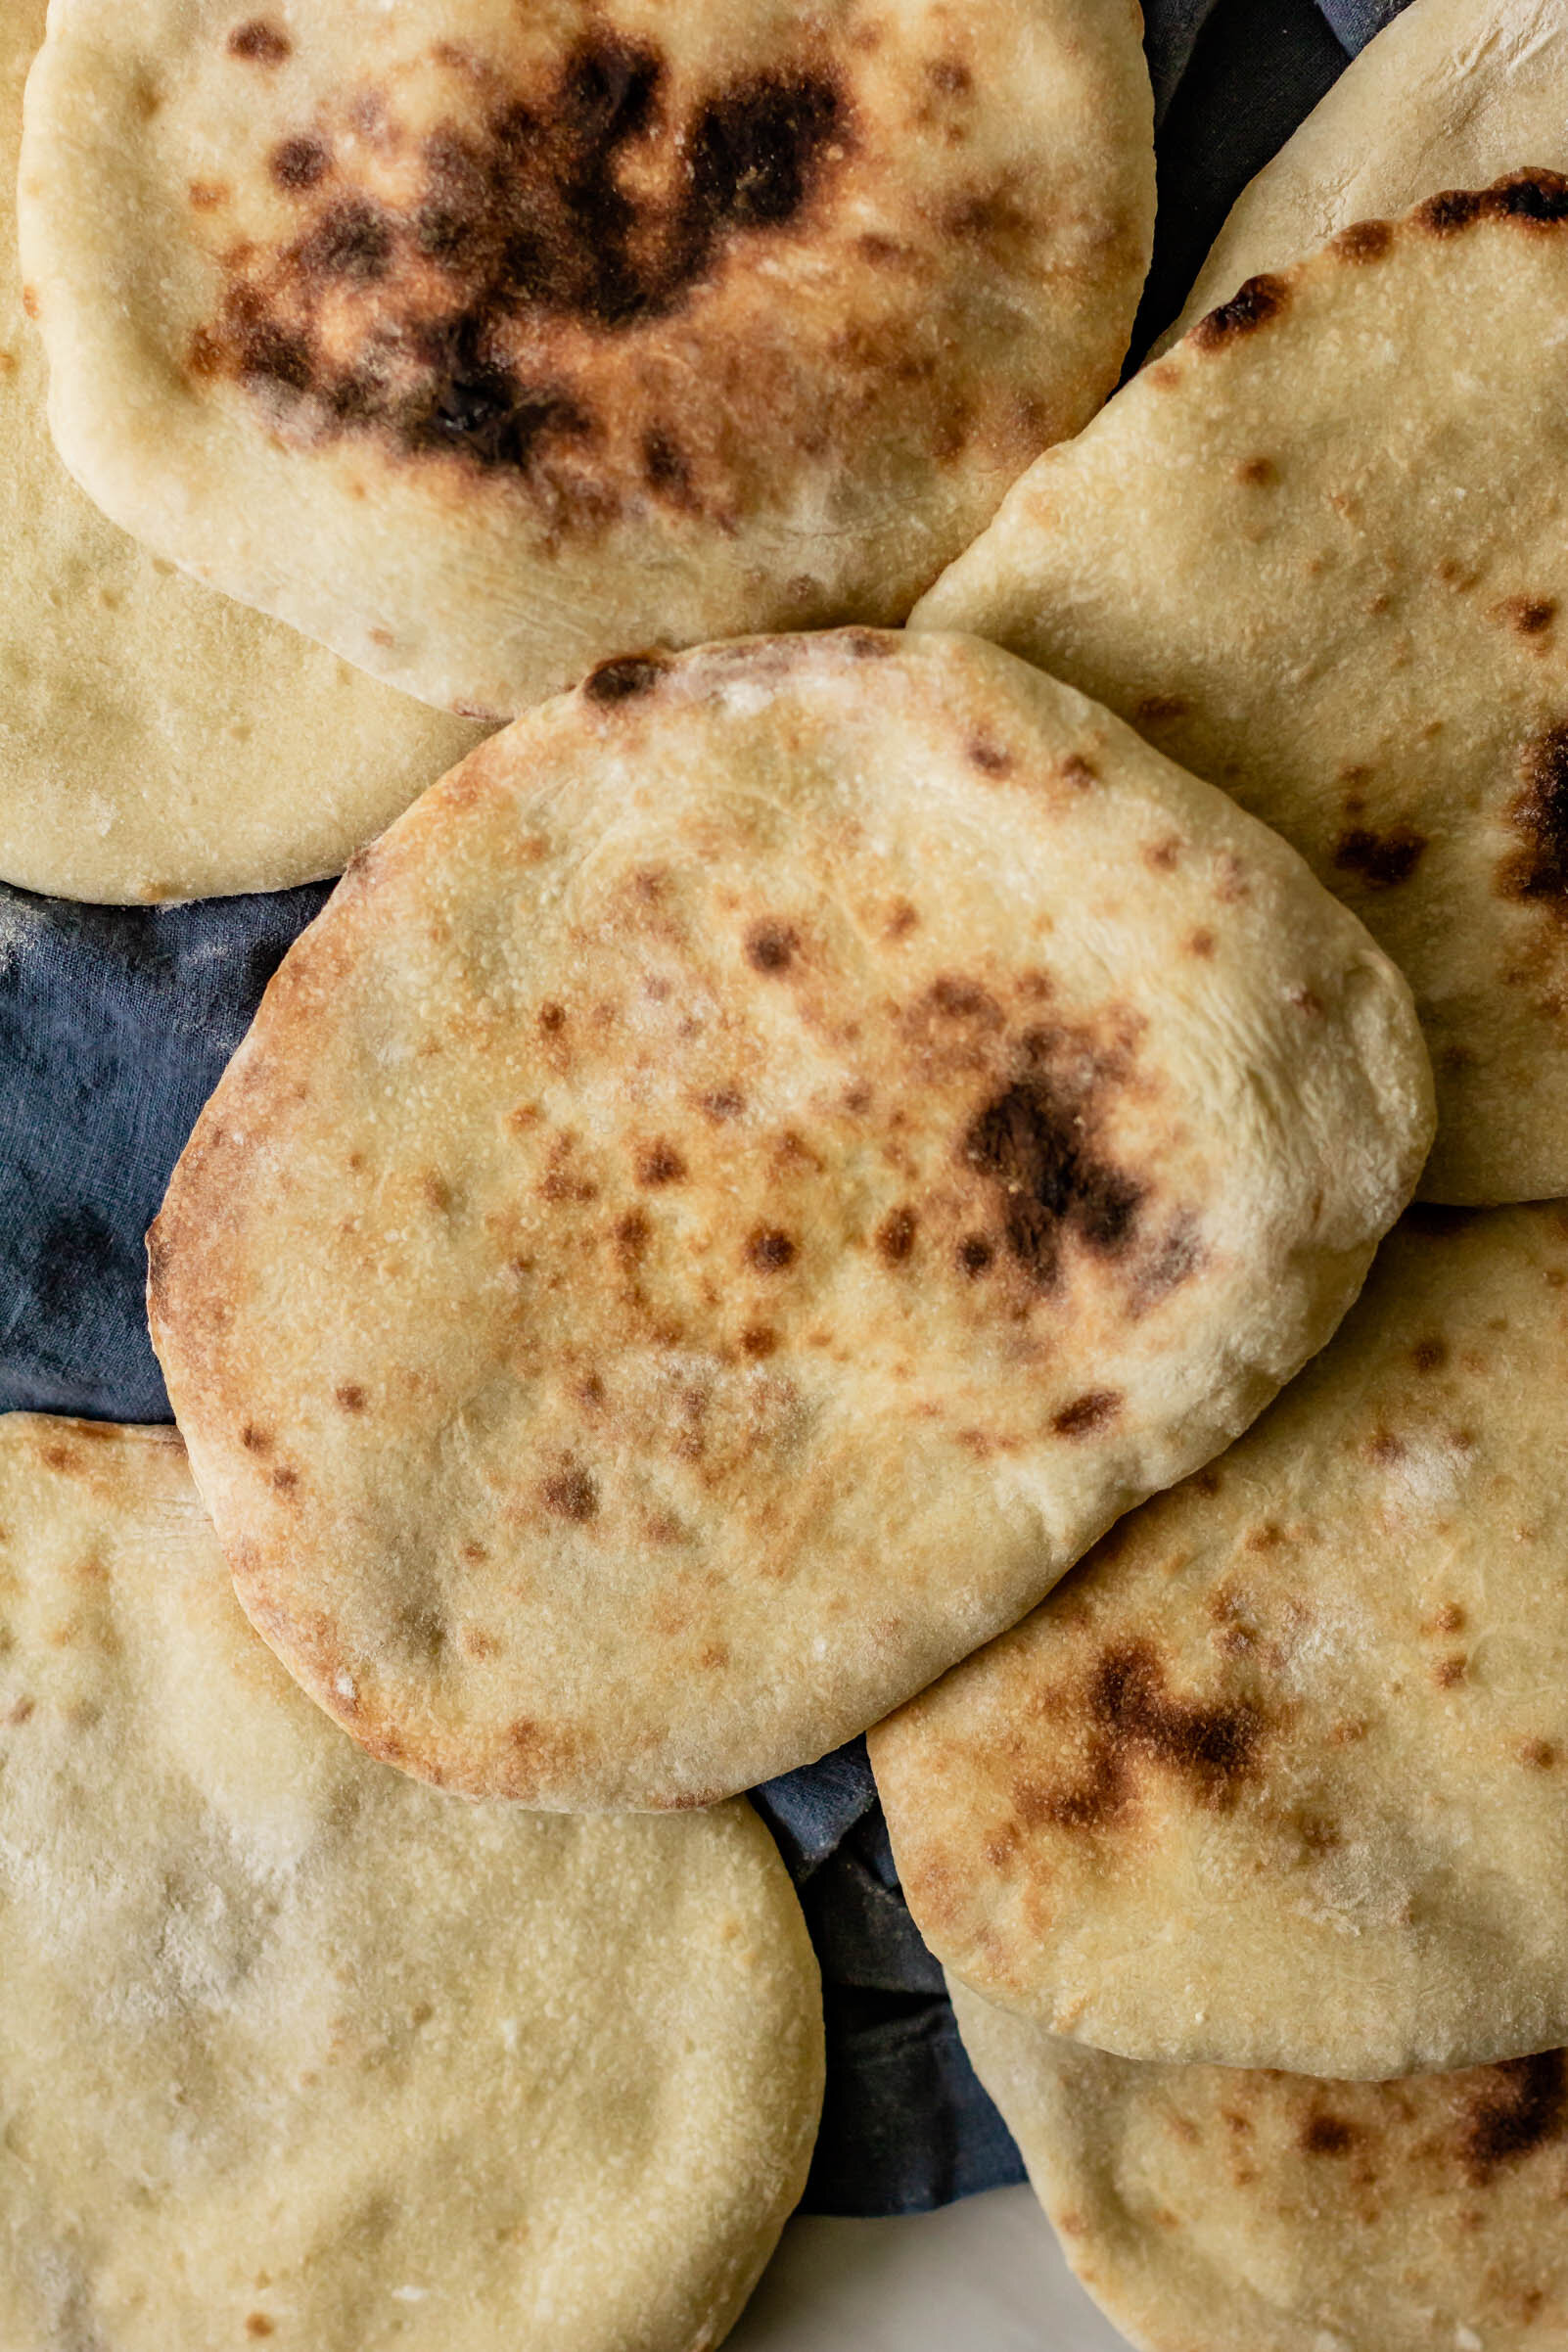
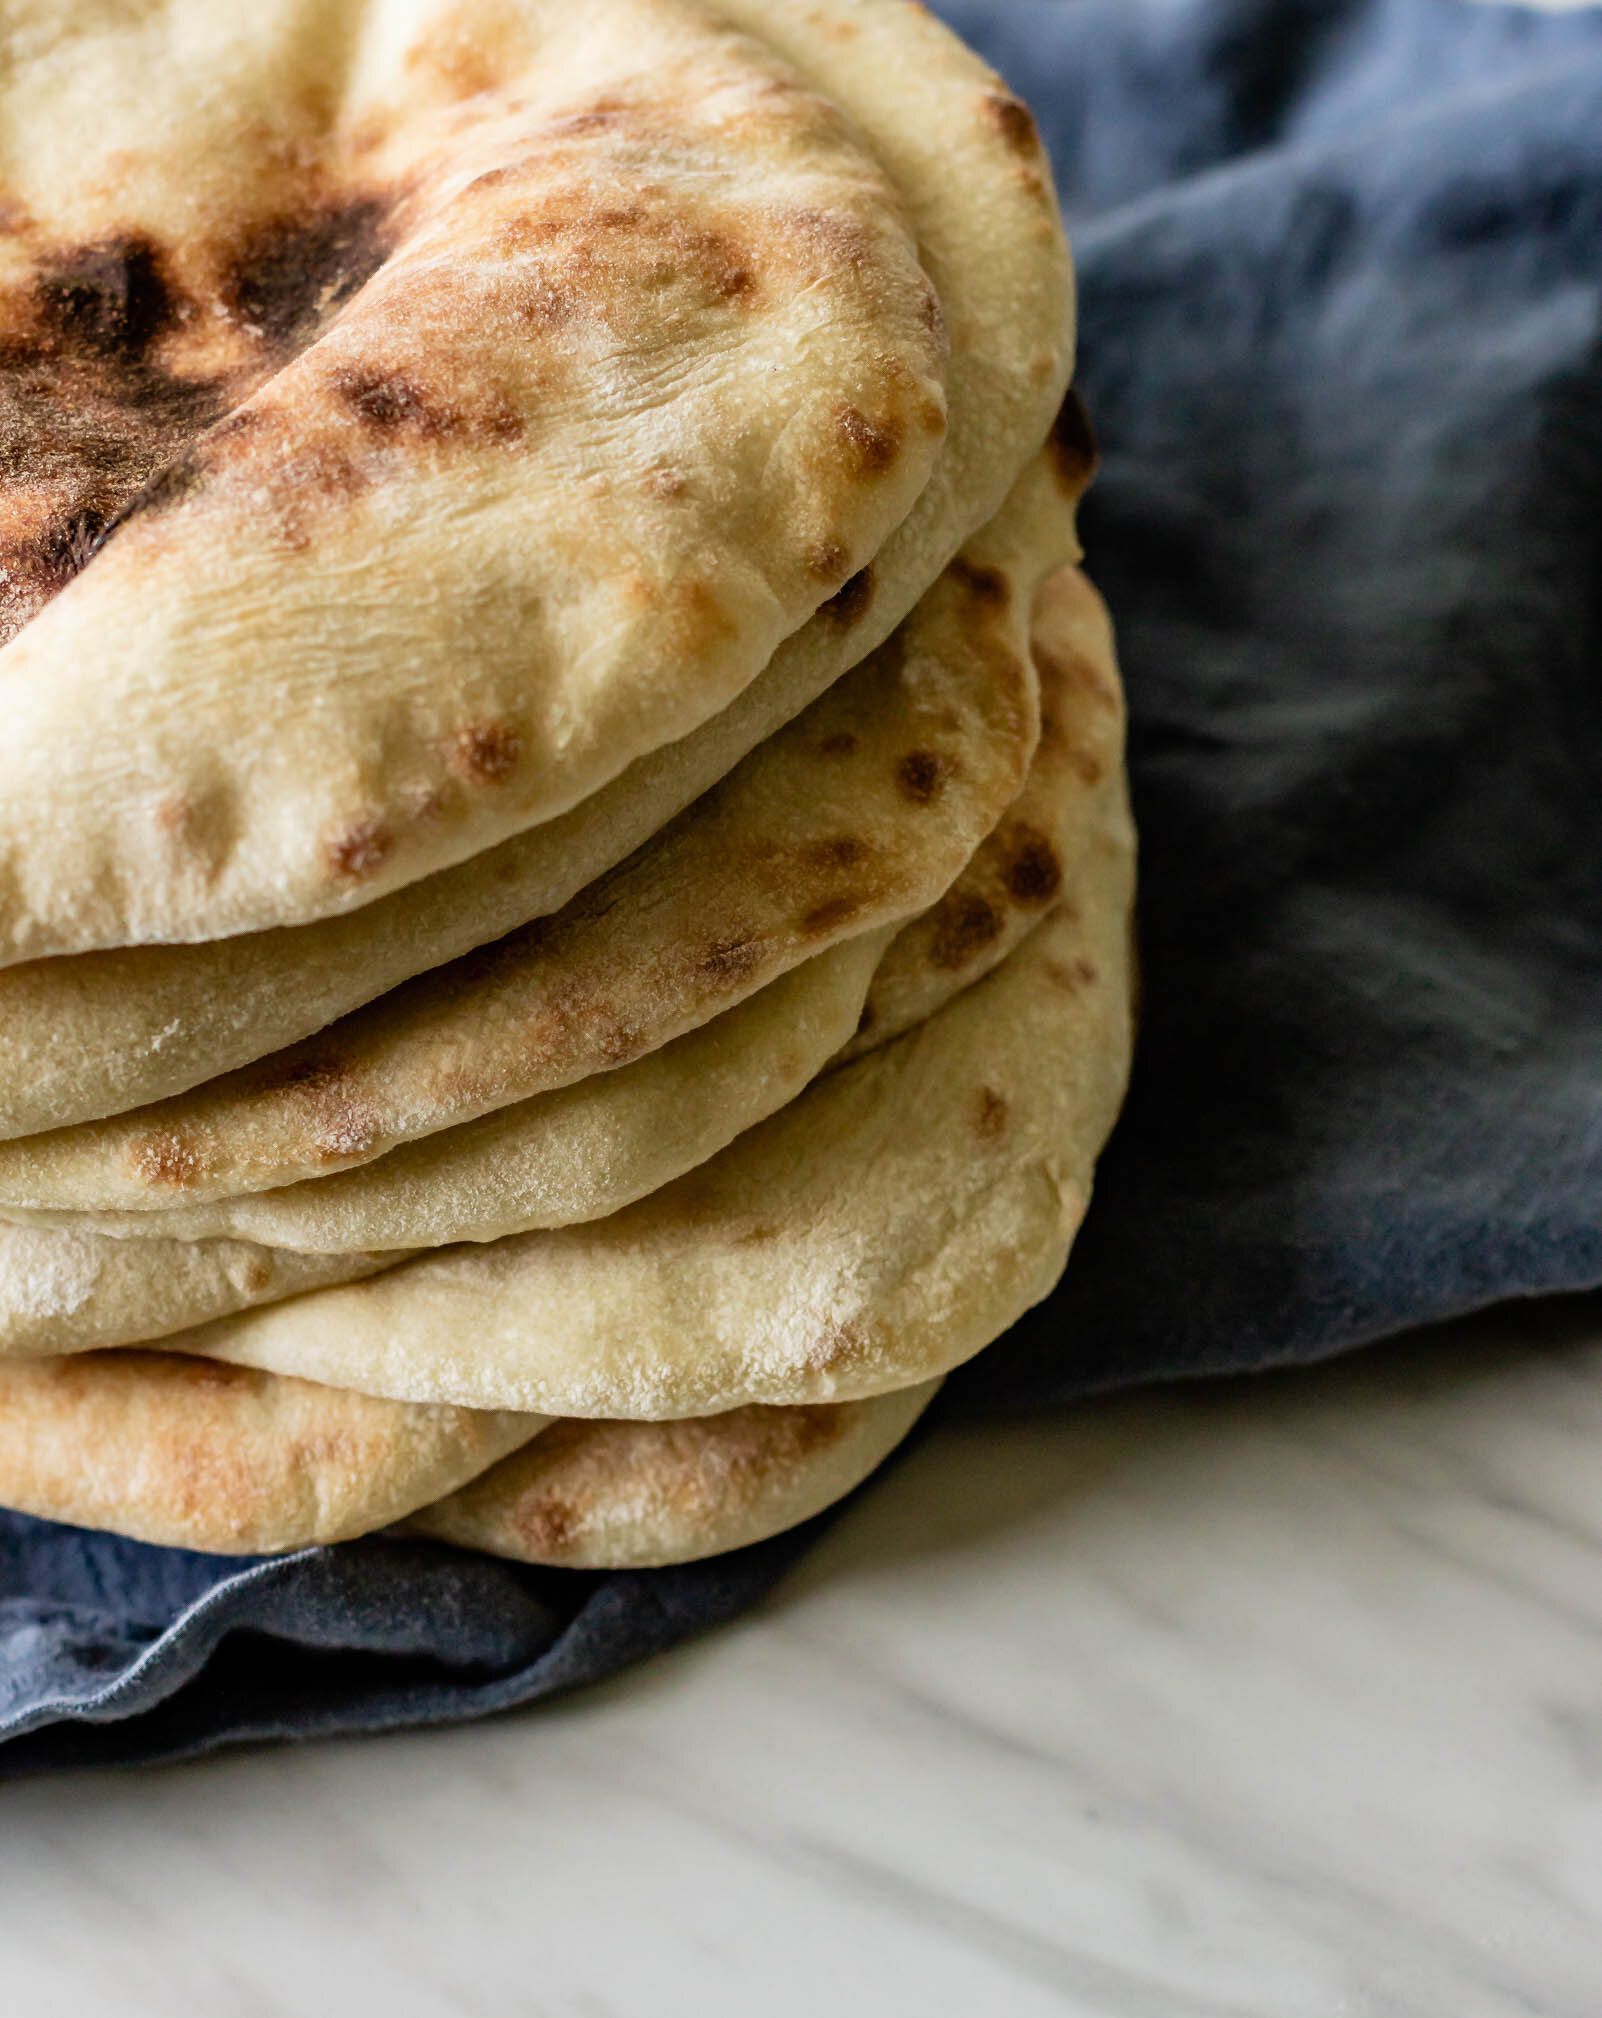
Alon Shaya's Pitas

newpita3.jpg

I already have a pita recipe here on the blog. Way back in the day, when I first started blogging, pitas were one of the first breads we started making in culinary school and I was hooked. While that recipe still makes a darn good pita, I’ve spent the last few years trying out a lot of different recipes, tweaking water amounts, and playing around with baking temperatures and this is my go-to. This recipe is lightly adapted from Alon Shaya, whose food I’ve talked about extensively here on the blog because he’s one of my favorites and if you ever find yourself in Denver or New Orleans (where he has restaurants), it is well worth your time to make a stop in one. I first had Alon’s pitas at Safta in Denver, on a frigid night in late November a few years back. The wind was no joke and we holed up at the bar with a bottle of wine to wait in the warmth until it was time to head to the airport for our flight back home. We made good friends with the bar tender and ate labneh cheesecake, but as we sat, plate after plate of warm, charred pita came floating past us, out of the kitchen, to lucky tables all around. After a little while, we finally gave in and I’m telling you, I don’t know if it was the cold or the wine or a little of both, but those were the best pitas I’ve ever had in my whole entire life.

Unfortunately, I don’t have a big wood-burning pizza oven in my tiny duplex kitchen so getting pitas exactly like Safta is a bit more tricky. In his book, Alon recommends turning your oven to broil and heating a baking stone inside for cooking the pitas on. This makes for beautiful pitas, with smoked centers, but I only used this technique a couple of times before my stone shattered in the oven, mid-pita bake. So now, I use a metal baking sheet and crank my oven to 500° F and it does the trick just fine. I also adapted his recipe to make them a one-day affair with no overnight proof in the fridge, but if you have the time, you can always let your dough chill overnight after the first proof, just bring it back to room temperature before moving on to the next steps.

P.S. Tahini sat so patiently next to me the entire time I was photographing these and just look at how cute his little face is!

Alon Shaya’s Pitas

yield: 8 pitas

this recipe is very lightly adapted from Shaya by Alon Shaya

Ingredients

1 1/2 cups warm water

1 tsp active dry yeast

4 1/2 cups (540 g) bread flour, plus more for dusting

1 tbsp olive oil, plus more for the bowl

2 tbsp kosher salt (Diamond Crystal brand is my favorite)

Procedure 

  1. In the bowl of a stand mixer fitted with the dough hook, combine water and yeast. Stir gently and let sit for 5 minutes, until cloudy. 

  2. Add 4 cups of the flour to the bowl with the yeast and water, along with the olive oil. Mix on low speed for one minute, until flour has begun to incorporate, and then increase the speed to medium. Mix for another minute or two until a dough begins to form. Scrape down the sides of the bowl, remove the dough hook attachment, and cover the bowl with plastic wrap. Let rest for 20 minutes. 

  3. After the dough has rested, turn the mixer back on to low speed and gradually add the remaining 1/2 cup of flour along with the salt. Mix on medium speed for about 5 minutes, until the dough begins to pull away from the side of the bowl. Transfer dough to a floured work surface and shape into a ball. 

  4. Lightly oil a clean bowl and place dough ball inside. Cover with plastic wrap and let proof at room temperature for about 2 hours, until the dough is swollen and has almost doubled in size. 

  5. Once the dough has completed it’s first proof, turn it out onto a floured work surface and divide it into eight equal pieces. Use your hands to roll each piece into a ball and place them on your floured work surface, leaving space between each. Dust the tops with flour, and cover them loosely with plastic wrap. Let proof again for another 2-3 hours, until they are puffy and pillowy. 

  6. Preheat the oven to 500° F and place a cookie sheet upside down (so you have a flat surface) in the oven while it preheats.

  7. Meanwhile, use a rolling pin to roll each ball into a flat circle, about 6” across. When the oven is hot, carefully place 3-4 pitas (however many fit on your baking sheet) on the surface of the baking sheet and close the door. Watching them the whole time, bake for 2-3 minutes until pitas are puffy and starting to brown. Quickly and carefully, use tongs to remove pitas from the oven. Repeat with the remaining pitas and then enjoy them warm with lots of smooth and swoopy hummus!

Print Friendly and PDF

more recipes like this

Pitas.jpg

homemade pitas

IsrealiDPBrighter.jpg

an Israeli-inspired dinner party

triangles1.jpg

schiacciata with caramelized onions and figs

An Israeli Inspired Dinner Party

In our house, we love to have people over for dinner. I love to try out new recipes with people willing to give feedback and be my little culinary guinea pigs. I love to create something from practically nothing, like homemade pasta, and spend an hour or so, shoulder to shoulder with our guests, rolling and shaping little tortellini or farfalles. And I really love making sure that people are well-fed and feel comfortable and cared for when they step through our front door. Recently, I have used my little dinner get-togethers as an opportunity to explore different cuisines from around the world, playing with new spices and ingredients, and immersing ourselves in a faraway place if only for just a night.

I mentioned a few weeks ago that while I was at the restaurant this summer, I had the opportunity to meet Chef Alon Shaya. My husband and I spent one of our favorite evenings in most recent memory, perched atop plastic bar stools at Alon Shaya’s restaurant Safta in Denver last fall. We dined on labneh cheesecake and red wine, our cheeks red and chapped from the wind, and watched chefs pull cloud after cloud of fresh pita from their monstrous wood ovens. After our dinner, I spent a long afternoon curled up in the corner of a Barnes and Noble, thumbing through Alon’s book “Shaya”, soaking in stories of his childhood and copying down recipe after recipe.

The week of Alon’s visit at the restaurant, he taught a cooking demo for the event guests and the kitchen was invited to attend. We would have to come in early in the morning, off the clock, and dressed in our chef-whites. We were allowed to stand in the back of the room and watch the demonstration and then we were able to stand in the book signing line for an opportunity to meet Alon. I stood in the line, a little afraid of looking dorky and not sure what I would say when I got to the front. When it was my turn, Alon asked me about what my plans were after my internship, how I liked working in the kitchen, and what my end goals were in the food industry. I shared with him that I ultimately wanted to write cookbooks and we spoke a little about his book and his story. He wrote a sweet, personalized note in my book and a few words of encouragement as the next person moved up to the table.

Later that evening, we spent any free moment in the back of the kitchen, dunking pieces of kubaneh into swoops of hummus and muhamarra and I was reminded about why I chose to spend my all of my time around food to begin with. Food speaks in a universal language, it makes people feel cared for and allows for us to share a little bit of who we are with others.

I made Alon Shaya’s lutenitsa for some friends a few weeks ago and we spent a few hours, sitting around the table, sipping wine and catching up on life. Because I enjoy a good themed dinner, I spent some time exploring a little more of Israeli cuisine and to go along with our lutenitsa I made spiced lentils, yogurt sauce, Israeli salad, and lots of pita, because if you have good bread and good friends, what more do you need?

IsraeliDinnerParty2.jpg

Lutenitsa 

Yield: about 2 cups 

recipe from Alon Shaya

Ingredients: 

4 red bell peppers

1 large eggplant

4 T olive oil, divided

1/4 cup tomato paste

2 cloves garlic, minced

2 tsp kosher salt

3/4 cup canned whole tomatoes with their juices

2 T parsley leaves, chopped

Procedure: 

  1. Turn oven to broil and line a rimmed baking sheet with aluminum foil. Place eggplant and peppers, whole, on baking sheet and broil, turning frequently (about every 5 minutes) until the outsides are charred and the inside of the eggplant feels soft. Keep an eye on the vegetables, this should take 15-20 minutes, but will vary depending on the strength/heat of your oven so just watch carefully.

  2. Place the peppers in a large ziploc bag (or in a large glass bowl covered with plastic wrap). Let cool. When the peppers are cooled, use your fingers to peel off the charred, outer skin. Remove the stems and scrape out the seeds. Roughly chop peppers and place in a bowl.

  3. When the eggplant is cool enough to handle, remove the top and slice eggplant in half lengthwise. Use a spoon to scrape out the creamy insides and place in the bowl with the peppers.

  4. Place 2 tablespoons of olive oil in a large skillet set over medium heat. Once oil is warm, but not hot, add tomato paste and use a wooden spoon to break it up. Cook until olive oil begins to turn orange and the tomato paste mellows a bit in its smell. Add the garlic and cook just until it begins to soften. Add the roasted peppers, eggplant, salt and stir to incorporate.

  5. Add the tomatoes and their juices. You can do this in one of two ways: you can use a knife to roughly chop the tomatoes before adding them, or you can use your hand to squeeze each tomato as you add it in, breaking it into smaller pieces. Stir to combine and reduce heat to low.

  6. Cook over low heat, uncovered, for about an 1hour, stirring occasionally to prevent it from sticking to the bottom of the pan. The mixture will dry out and thicken and you will know that it is done when it tastes sweet and deeply caramelized. Set aside and cool to room temperature. Drizzle with remaining olive oil and sprinkle with parsley before serving.

Dinner Party Notes:

-You can find my pita recipe here.

-For the yogurt sauce, I confess that I didn’t really measure anything. But I used roughly two parts yogurt to one part mayonnaise. I added a clove or two of grated garlic, salt and pepper, and a splash of lemon juice. If you’re feeling a little wild, add whatever tender herbs you have on hand. Just taste as you go to make sure your seasonings are right!

-I used the base spices from my Mediterranean Spiced Chickpeas, combined them with lots of garlic, shallots, butter, and lentils and then swirled in some tahini, lemon juice, and herbs. Yotam Ottolenghi also has quite a few lentil recipes you can find on the internet and I have yet to make anything of his that is not delicious.

-I also recommend checking out your local wine store and asking for them to recommend wines from the region. My wine market has a few different wines from Lebanon, Morocco, and even sometimes Israel. Most local wine shops owners are very knowledgeable and always ready to help you find something new.