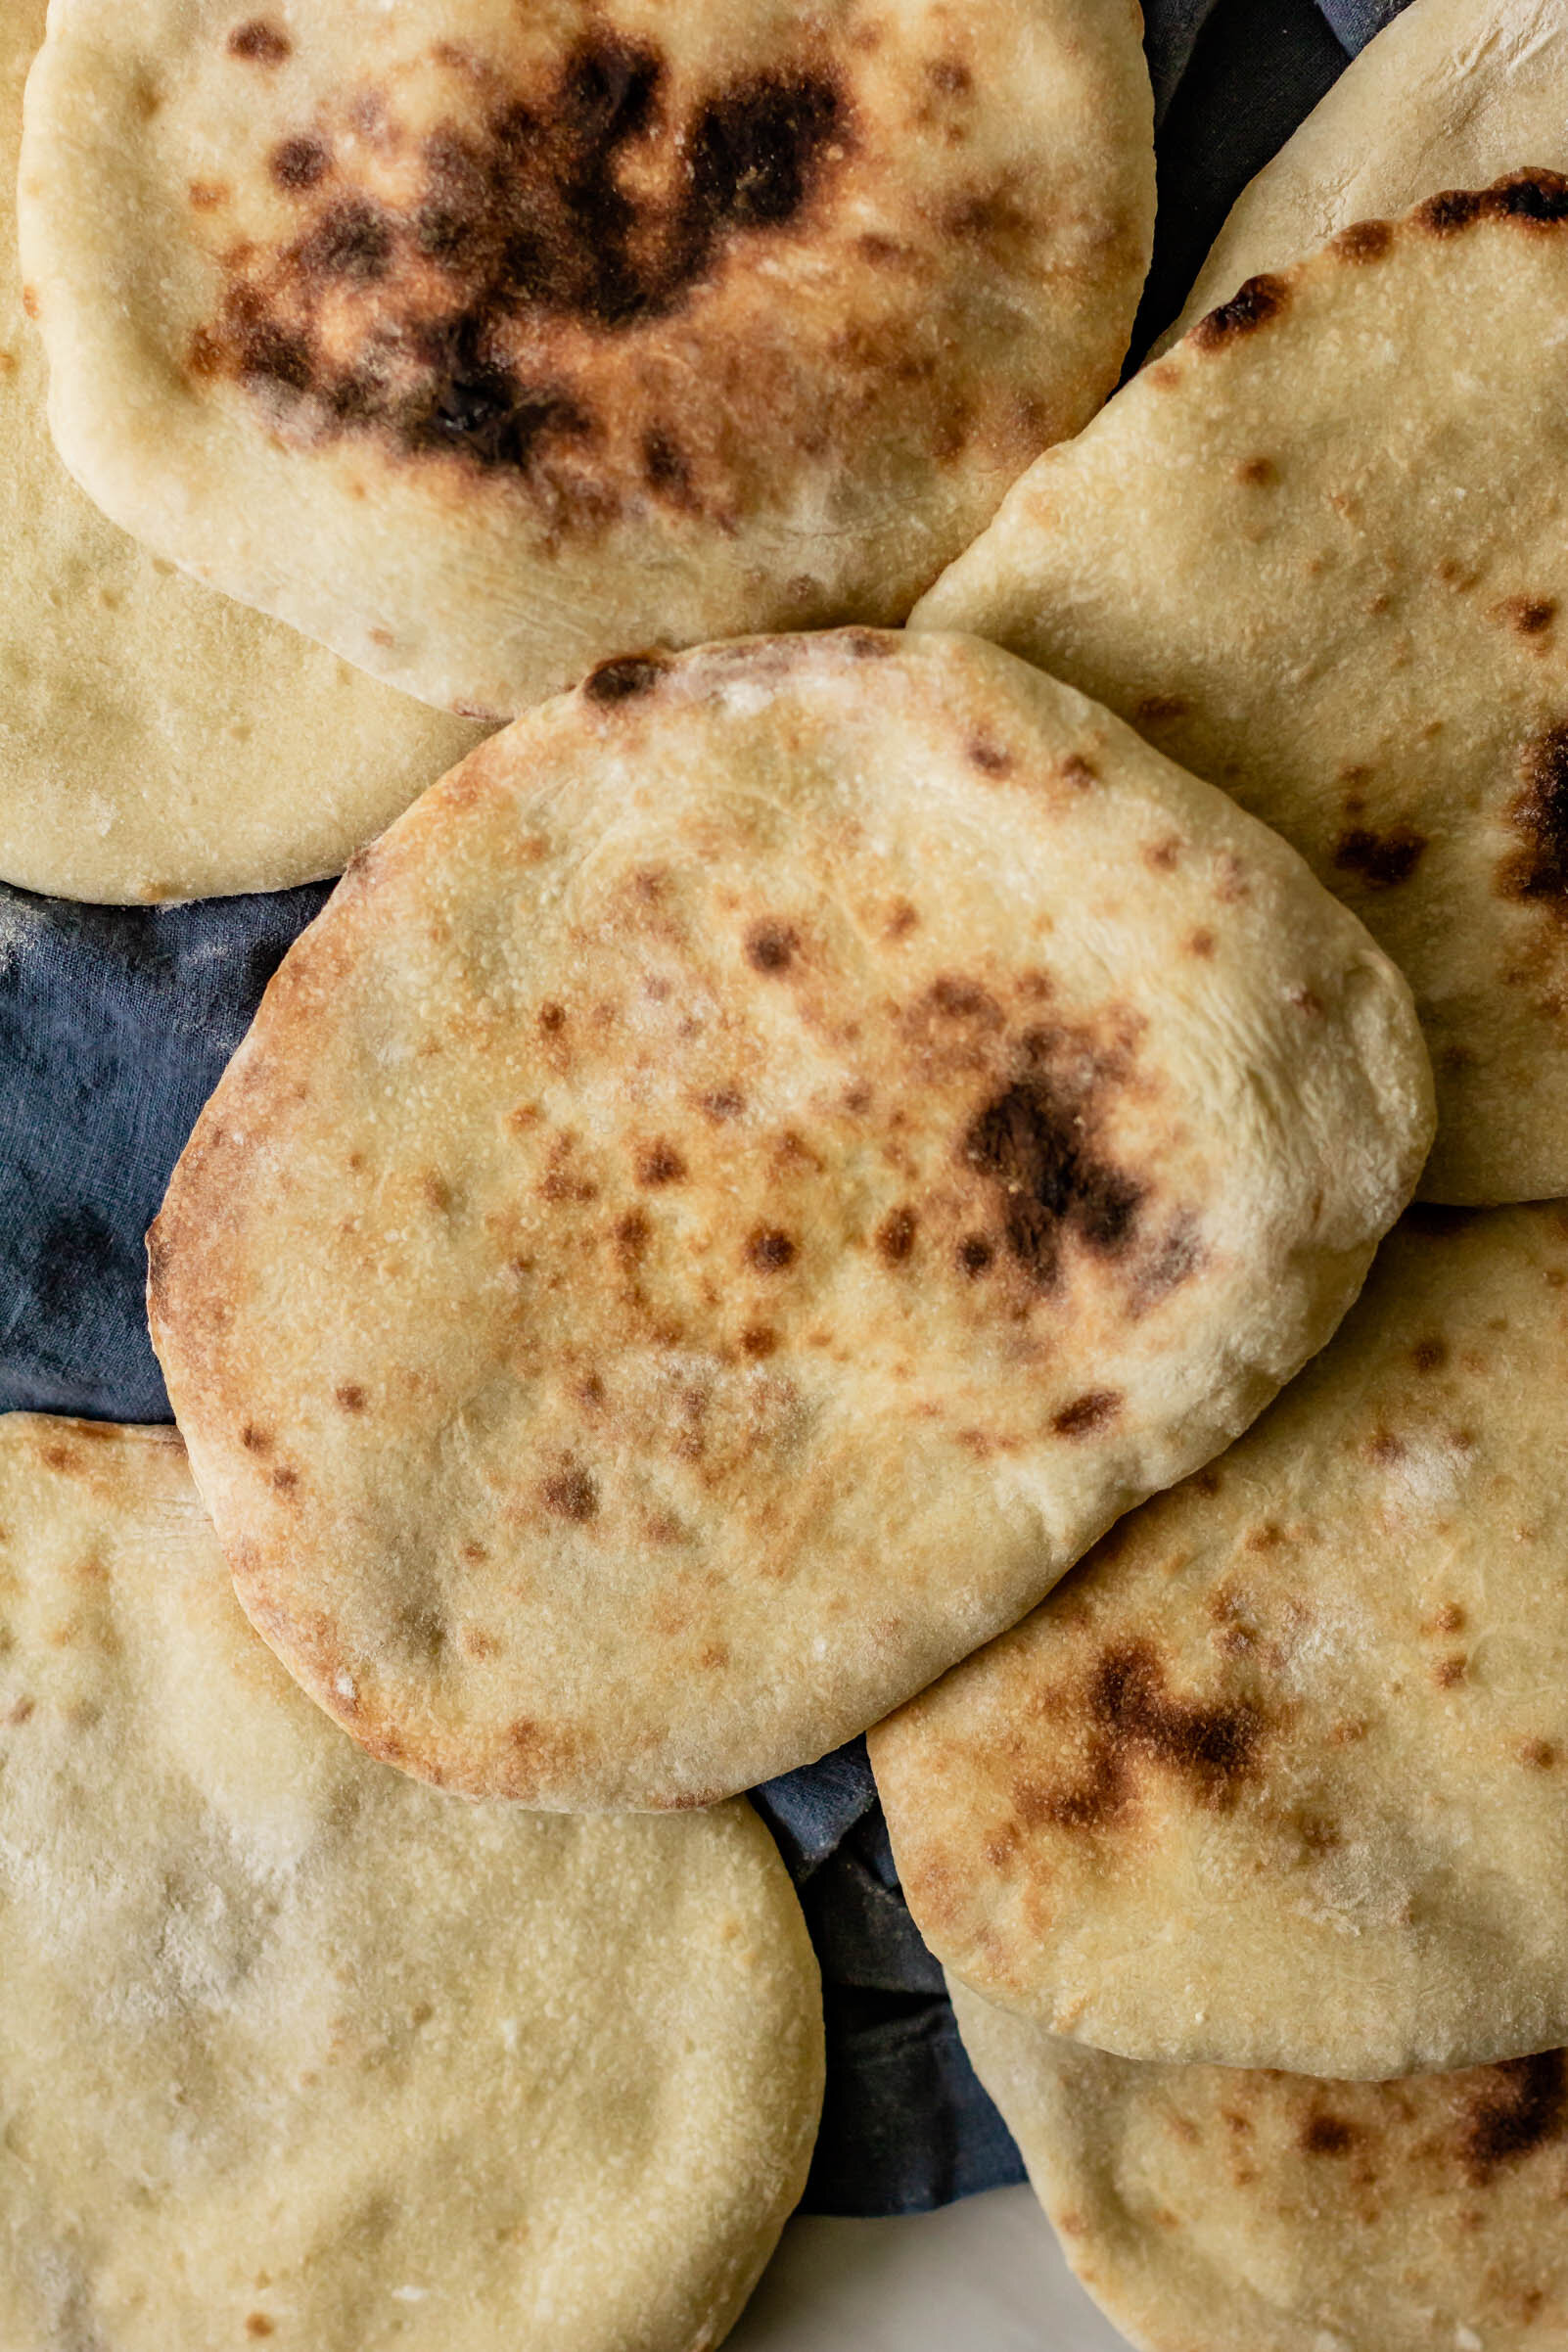
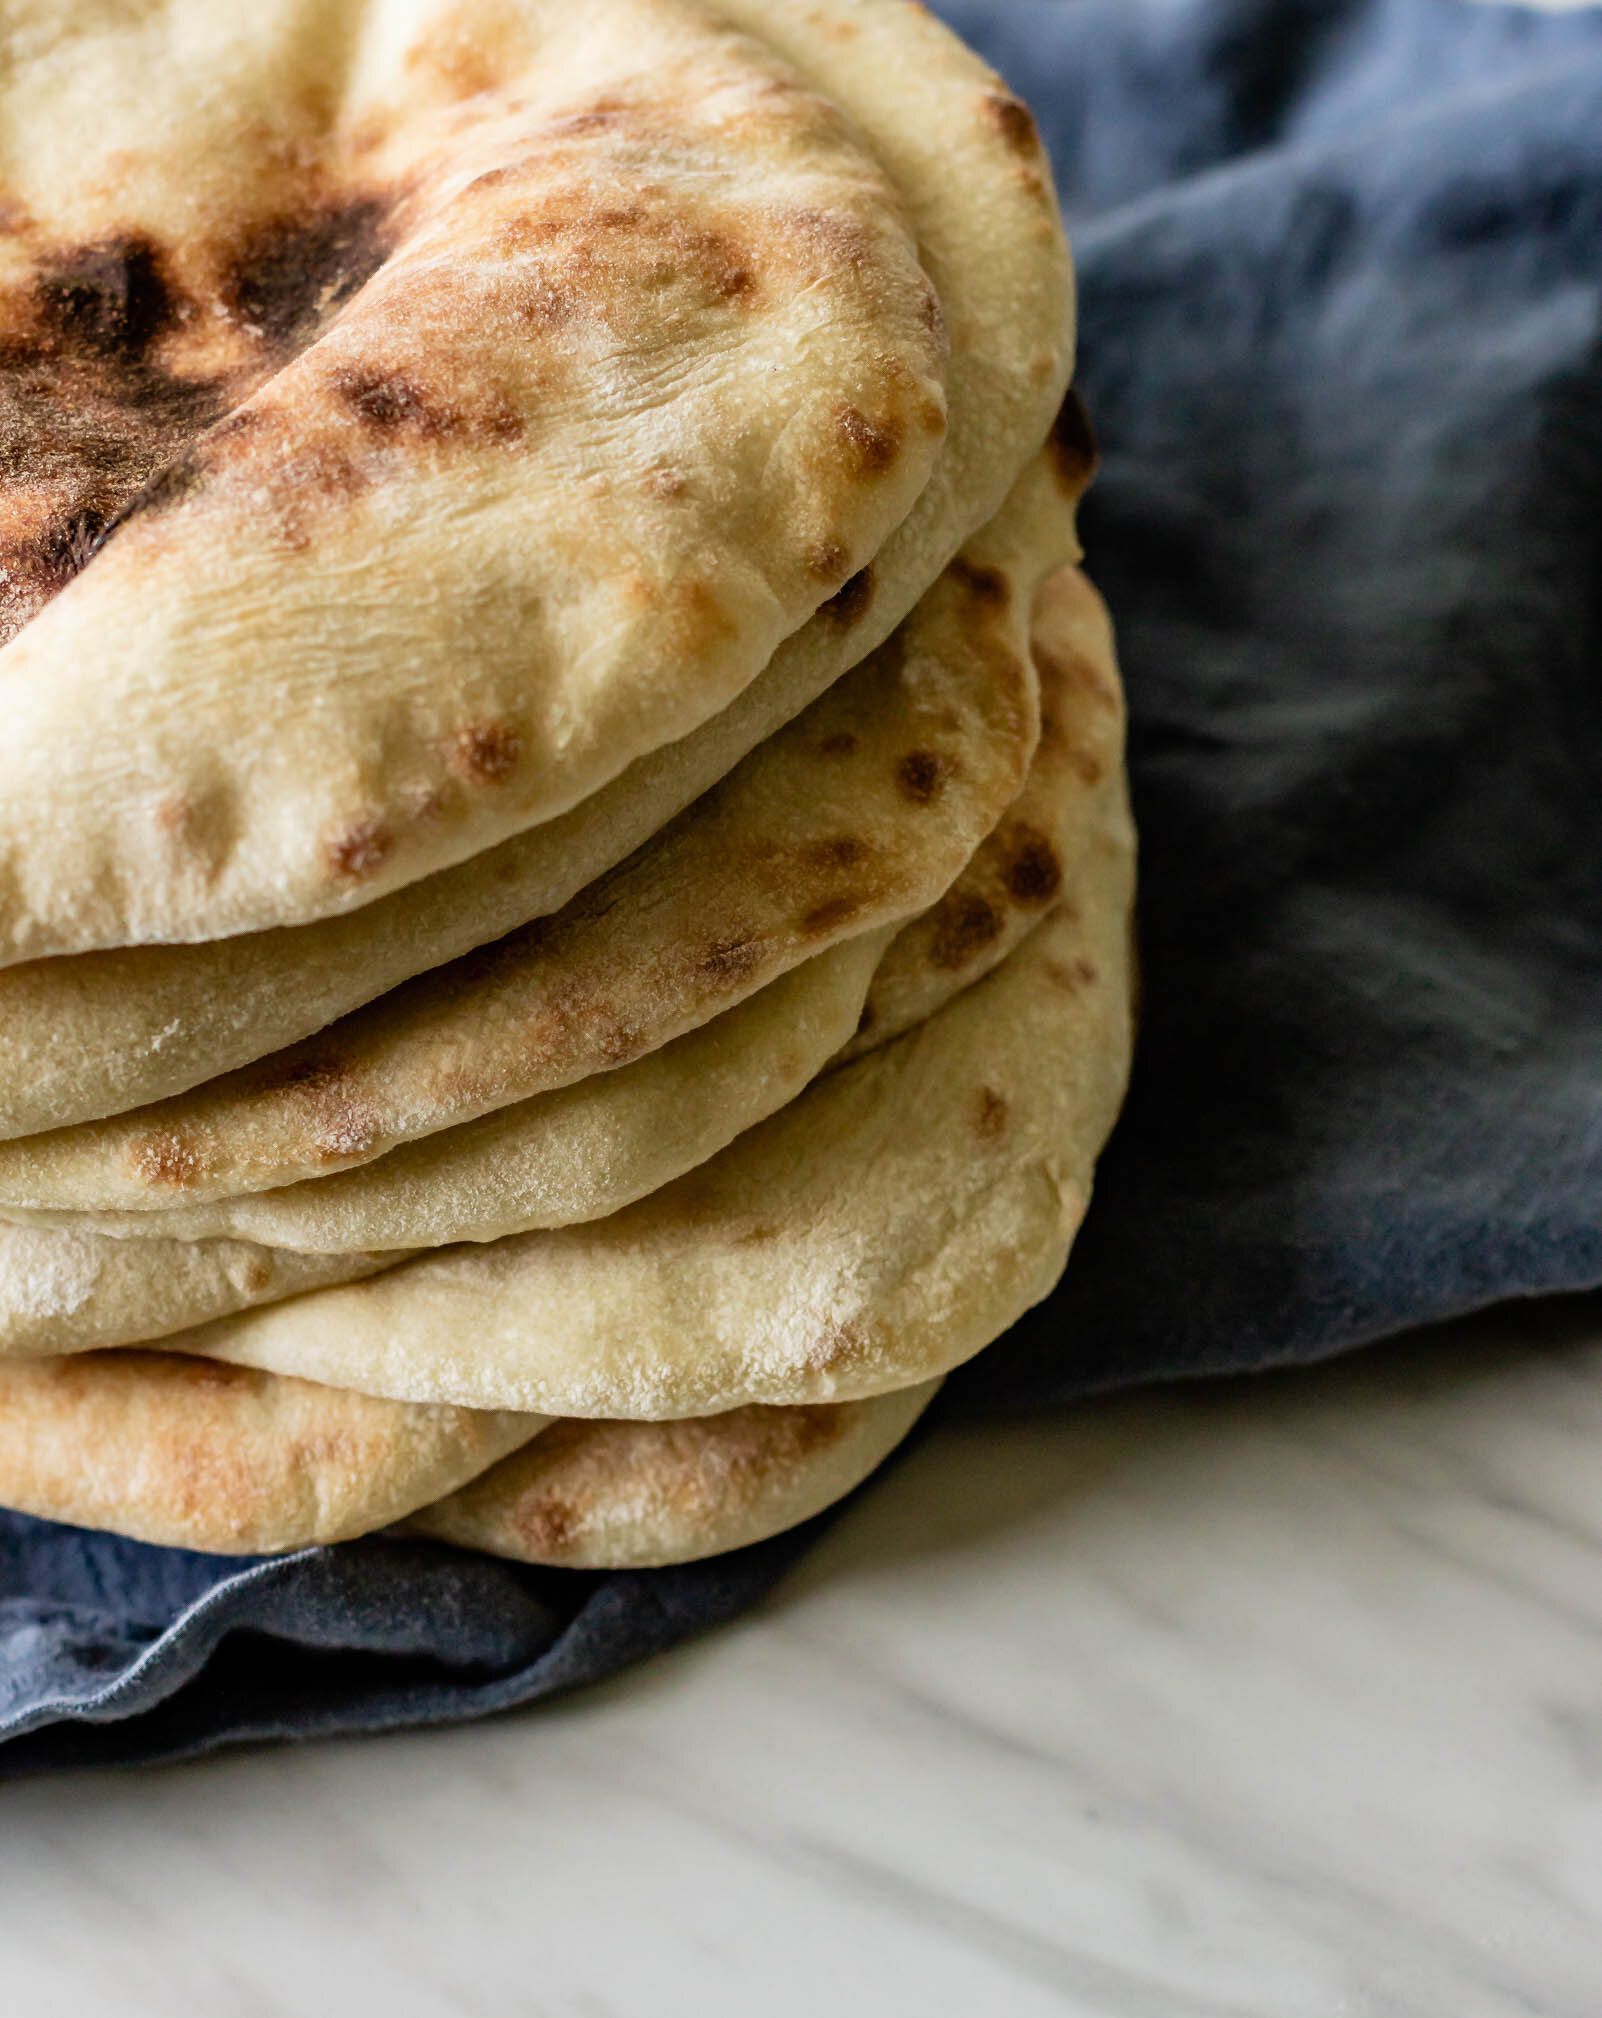
Alon Shaya's Pitas

newpita3.jpg

I already have a pita recipe here on the blog. Way back in the day, when I first started blogging, pitas were one of the first breads we started making in culinary school and I was hooked. While that recipe still makes a darn good pita, I’ve spent the last few years trying out a lot of different recipes, tweaking water amounts, and playing around with baking temperatures and this is my go-to. This recipe is lightly adapted from Alon Shaya, whose food I’ve talked about extensively here on the blog because he’s one of my favorites and if you ever find yourself in Denver or New Orleans (where he has restaurants), it is well worth your time to make a stop in one. I first had Alon’s pitas at Safta in Denver, on a frigid night in late November a few years back. The wind was no joke and we holed up at the bar with a bottle of wine to wait in the warmth until it was time to head to the airport for our flight back home. We made good friends with the bar tender and ate labneh cheesecake, but as we sat, plate after plate of warm, charred pita came floating past us, out of the kitchen, to lucky tables all around. After a little while, we finally gave in and I’m telling you, I don’t know if it was the cold or the wine or a little of both, but those were the best pitas I’ve ever had in my whole entire life.

Unfortunately, I don’t have a big wood-burning pizza oven in my tiny duplex kitchen so getting pitas exactly like Safta is a bit more tricky. In his book, Alon recommends turning your oven to broil and heating a baking stone inside for cooking the pitas on. This makes for beautiful pitas, with smoked centers, but I only used this technique a couple of times before my stone shattered in the oven, mid-pita bake. So now, I use a metal baking sheet and crank my oven to 500° F and it does the trick just fine. I also adapted his recipe to make them a one-day affair with no overnight proof in the fridge, but if you have the time, you can always let your dough chill overnight after the first proof, just bring it back to room temperature before moving on to the next steps.

P.S. Tahini sat so patiently next to me the entire time I was photographing these and just look at how cute his little face is!

Alon Shaya’s Pitas

yield: 8 pitas

this recipe is very lightly adapted from Shaya by Alon Shaya

Ingredients

1 1/2 cups warm water

1 tsp active dry yeast

4 1/2 cups (540 g) bread flour, plus more for dusting

1 tbsp olive oil, plus more for the bowl

2 tbsp kosher salt (Diamond Crystal brand is my favorite)

Procedure 

  1. In the bowl of a stand mixer fitted with the dough hook, combine water and yeast. Stir gently and let sit for 5 minutes, until cloudy. 

  2. Add 4 cups of the flour to the bowl with the yeast and water, along with the olive oil. Mix on low speed for one minute, until flour has begun to incorporate, and then increase the speed to medium. Mix for another minute or two until a dough begins to form. Scrape down the sides of the bowl, remove the dough hook attachment, and cover the bowl with plastic wrap. Let rest for 20 minutes. 

  3. After the dough has rested, turn the mixer back on to low speed and gradually add the remaining 1/2 cup of flour along with the salt. Mix on medium speed for about 5 minutes, until the dough begins to pull away from the side of the bowl. Transfer dough to a floured work surface and shape into a ball. 

  4. Lightly oil a clean bowl and place dough ball inside. Cover with plastic wrap and let proof at room temperature for about 2 hours, until the dough is swollen and has almost doubled in size. 

  5. Once the dough has completed it’s first proof, turn it out onto a floured work surface and divide it into eight equal pieces. Use your hands to roll each piece into a ball and place them on your floured work surface, leaving space between each. Dust the tops with flour, and cover them loosely with plastic wrap. Let proof again for another 2-3 hours, until they are puffy and pillowy. 

  6. Preheat the oven to 500° F and place a cookie sheet upside down (so you have a flat surface) in the oven while it preheats.

  7. Meanwhile, use a rolling pin to roll each ball into a flat circle, about 6” across. When the oven is hot, carefully place 3-4 pitas (however many fit on your baking sheet) on the surface of the baking sheet and close the door. Watching them the whole time, bake for 2-3 minutes until pitas are puffy and starting to brown. Quickly and carefully, use tongs to remove pitas from the oven. Repeat with the remaining pitas and then enjoy them warm with lots of smooth and swoopy hummus!

Print Friendly and PDF

more recipes like this

Pitas.jpg

homemade pitas

IsrealiDPBrighter.jpg

an Israeli-inspired dinner party

triangles1.jpg

schiacciata with caramelized onions and figs

Mediterranean Month: Homemade Pitas

I have always liked the idea of pita, it’s bread with a convenient little pocket that you get to stuff with anything your heart can imagine, but in actuality, for a long time pita was never even made the top 10 of my favorite styles of bread. This is because grocery store pita is, in my opinion, simply disappointing. I have purchased that pack of on-sale pita from the deli rack many times, full of excitement and with a list of well-meaning intentions a mile long that vanish as soon as I get home and untwist the little wire holding the bag closed.  Grocery store pita bread is dry. Desert-island dry. And when you try to pry open that much anticipated little pocket, the bread tears and breaks leaving you with no pocket to fill and flimsy shards of pita to contend with.

These pitas are not at all like those grocery store-style pitas. They are soft and fluffy, moist and chewy and there are no flimsy pita shards that fall off when you try to open them. They also keep well for a few days, freeze excellently, and are not very labor intensive or difficult to make. The key to making a good pita is giving it enough resting time for the gluten to get used to its new size, so that it has the ability to puff up when you bake it. To make these pitas, you just mix together your dough and then give it an hour to an hour and a half to proof and double in size. Then, you punch it down, divide your dough into equal pieces, and shape those pieces into little pita spheres. Let them rest about ten minutes before you roll them into their final pita shape. After you have your final discs, it is super important to let them rest about 30 minutes (covered with plastic wrap because we do not want them drying out) before baking them off. The pitas bake in batches of 4, depending on the size of your cookie sheet and oven, and only take about 7-9 minutes to bake. 

A little effort goes a long way here and once you try your hand at home-made pitas, you’ll never be able to go back to those grocery store “pitas” again. 

Homemade Pita Bread

Yield: 8 pitas

Ingredients: 

1 cup water

2 tsp active dry yeast

Pinch of sugar 

2 1/2-3 cups of flour, plus more for dusting 

2 tsp salt 

1 tbsp olive oil 

Procedure: 

  1. Heat water to 110-115 degrees, add the sugar and yeast and then set aside to let yeast hydrate. After about 2 minutes, you can stir the yeast into the water and then let it sit for another 3-4 minutes, until it starts to create a foam at the top of the water. 

  2. In the bowl of a stand mixer, toss together 2 1/2 cups of flour and salt. Add the olive oil and yeast mixer and mix on medium-speed with a dough hook until everything is combined. Increase the speed to medium and continue to mix for 5-7 minutes until the dough pulls away from the sides of the bowl. Add the last 1/2 cup of flour in tablespoon increments if the dough seems wet —you may not use all of the flour. You are looking for a smooth, slightly tacky dough with full gluten development. 

  3. Place the dough in a greased bowl, cover and let proof for 1-1/2 hours, until doubled in size. 

  4. When dough has proofed, turn out onto a well-floured work surface. Divide the dough into 8 equal pieces and shape each piece into a smooth ball. *It is important to keep your dough balls covered with a piece of plastic wrap as you roll so that they don’t develop a skin because of air exposure.* Let your dough balls rest, covered, for about 10 minutes. 

  5. While the dough rests, prepare a large cookie sheet by dusting it with flour. 

  6. After they have rested, begin rolling each dough ball into a circle 6-7 inches wide, turning and moving the dough as you roll. If the dough starts to stick, add a little more flour to your rolling pin our work surface. As you roll out each circle, place it on the floured cookie sheet and cover with plastic wrap. 

  7. When all of the dough has been rolled out, let your dough circles rest, covered with plastic wrap, for 30 minutes. 

  8. While the dough is resting, place a cookie sheet, upside in your oven and preheat your oven (and the pan) to 450 degrees. 

  9. When the dough is rested and the oven and pan are preheated, carefully and quickly place 4 pitas (or however many you can fit) on the bottom side of your hot pan. Close the oven door quickly and bake pitas for 5-8 minutes, until they have puffed and are beginning to lightly brown on the bottoms. 

  10. Transfer baked pitas to a plate or towel to cool and repeat baking process with the final 4 pitas. 

  11. Let pitas cool before eating. Serve with hummus, tzatziki, stuff with falafel, or just eat them plain! 


Note: Pitas are a temperamental bunch and no matter how many times I have made them, some pitas will puff and some will not. Allowing your pitas that 30 minute resting period will increase your puff likelihood so that is an important step! Don’t fret though, because even if your pita doesn’t puff, you should still be able to split open the pockets and it will still taste delicious. 

Mediterranean Month: Baklava

Our family discovered Disney World the first year that we moved to Florida. I was young enough that I don’t even think I knew Disney was a place before moving to the Sunshine State, but that all changed very quickly. For the first few years after moving, we thoroughly embraced the Florida resident lifestyle, got annual passes, and spent all of our free long weekends at the parks. 

The rides and the characters were cool, but my favorite part of Mickey Mouse’s home was late afternoon Epcot wandering. With a history teacher for a mother, we would inevitably end up at Epcot and often, my dad and sister would go back to the hotel for a few hours in the afternoon to rest and recharge before returning to the Disney night scene. During those, often rainy (because…Florida), afternoons, my mom and I would eat our way around the World Showcase. A bite of gelato in Italy, an eggroll in China, an apple danish in Norway, but the highlight of the afternoon- baklava in Morocco. There was something about that sticky, nut filled pastry that spoke to my heart and ever since then, good baklava transports me right back to those 90 degree afternoons spent wandering around the world with my mom. 

I will not lie to you, baklava is a labor of love. But I will also tell you that is worth every ounce of that labor. Making baklava is not a difficult or challenging process, but it is a process none the less. Layering each piece of filo takes time (hint: it moves quicker if you find a friend to help you), but when you bite into your baklava and all of those little layers begin to flake apart, you will be glad you did it. 

Baklava

Ingredients:

For the syrup: 

1 cup sugar

1 cup honey

1 cup water

1 T lemon juice

Orange peel 

Lemon peel

For the filling: 

About 1 lb nuts (I used 8 oz pistachios and 8 oz walnuts), coarsely chopped

4 T sugar

1/2 tsp cinnamon

1/2 tsp cardamom

1/2 tsp nutmeg

1/4 tsp ground cloves

3 T melted butter

1 lb unsalted butter (clarified)

1 16 oz package filo dough, thawed


Procedure:

  1. Thaw filo dough and remove from the package. It is important to keep the pastry covered so that it doesn’t dry out. Right before you begin assembly, unroll filo sheets onto a large sheet pan and cover with a damp towel and a layer of plastic wrap. (Don’t let the filo set out unwrapped too long before you begin working with it!)

  2. In a medium saucepan, combine sugar, water, honey, and stir together to begin dissolving sugar. Add lemon juice, orange peel, and lemon peel and bring syrup to a simmer over medium heat. Let syrup simmer for about 20 minutes, then remove from heat and let cool while you assemble the baklava. 

  3. While the syrup is simmering, clarify the butter. To clarify butter, place it in a small saucepan over medium heat. As the butter begins to melt, the milk solids will float to the top and you can use a spoon to scrape them off so you are just left with clear butter. It is not necessary to be a perfectionist about this and get all of the milk solids out. When researching, many recipes don’t even clarify the butter, just melt it, so just get as much as you can. 

  4. To prepare the filling, place nuts in the bowl of a food processor and pulse until coarsely chopped. Pour nuts into a large bowl and add sugar, cinnamon, cardamom, nutmeg, cloves, and melted butter. Toss together and set aside. 

  5. To assemble the baklava: brush the bottom of a 9x13 pan with a light coat of clarified butter. Place one sheet of filo dough on the bottom of the pan and brush with butter. Repeat layering filo dough until you have 8 pieces stacked, brushing each with butter before adding the next. After 8 sheets of filo, spread 1/3 of the nut mixture evenly over dough. Top with another 8 sheets of filo, each brushed with butter. After the second set of filo, sprinkle another 1/3 of the nut mixture over the dough. Add another set of 8 sheets, each brushed with butter, and then spread the remaining nut mixture over the dough. Top the final nut layer with 8 more sheets of filo, each brushed with butter, making sure to brush the eighth and final filo sheet with butter. 

  6. Before baking, use a very sharp knife to cut the pastry into squares or diamonds. If your knife is sharp and your cuts are firm, the pastry should easily cut into pieces.

  7. Bake the pastry in a 350 degree oven for 45-50 minutes, or until it is golden brown. Remove from oven. 

  8. Right when the pastry comes out of the oven, pour your cooled syrup over the entire pastry making sure that some of the syrup gets in all the corners and crevices. Let the baklava cool completely and then refrigerate it for at least 3 hours, but preferably overnight. 


Notes: If you want to, you can trim the filo dough sheets to fit the size of the pan that you are using. The package of filo that I bought contained 9x14 pieces so I opted not to trim them down and I just folded the extra inch over onto itself to fit the pan.