Chocolate Buttermilk Snack Cake with Sage Caramel Buttercream

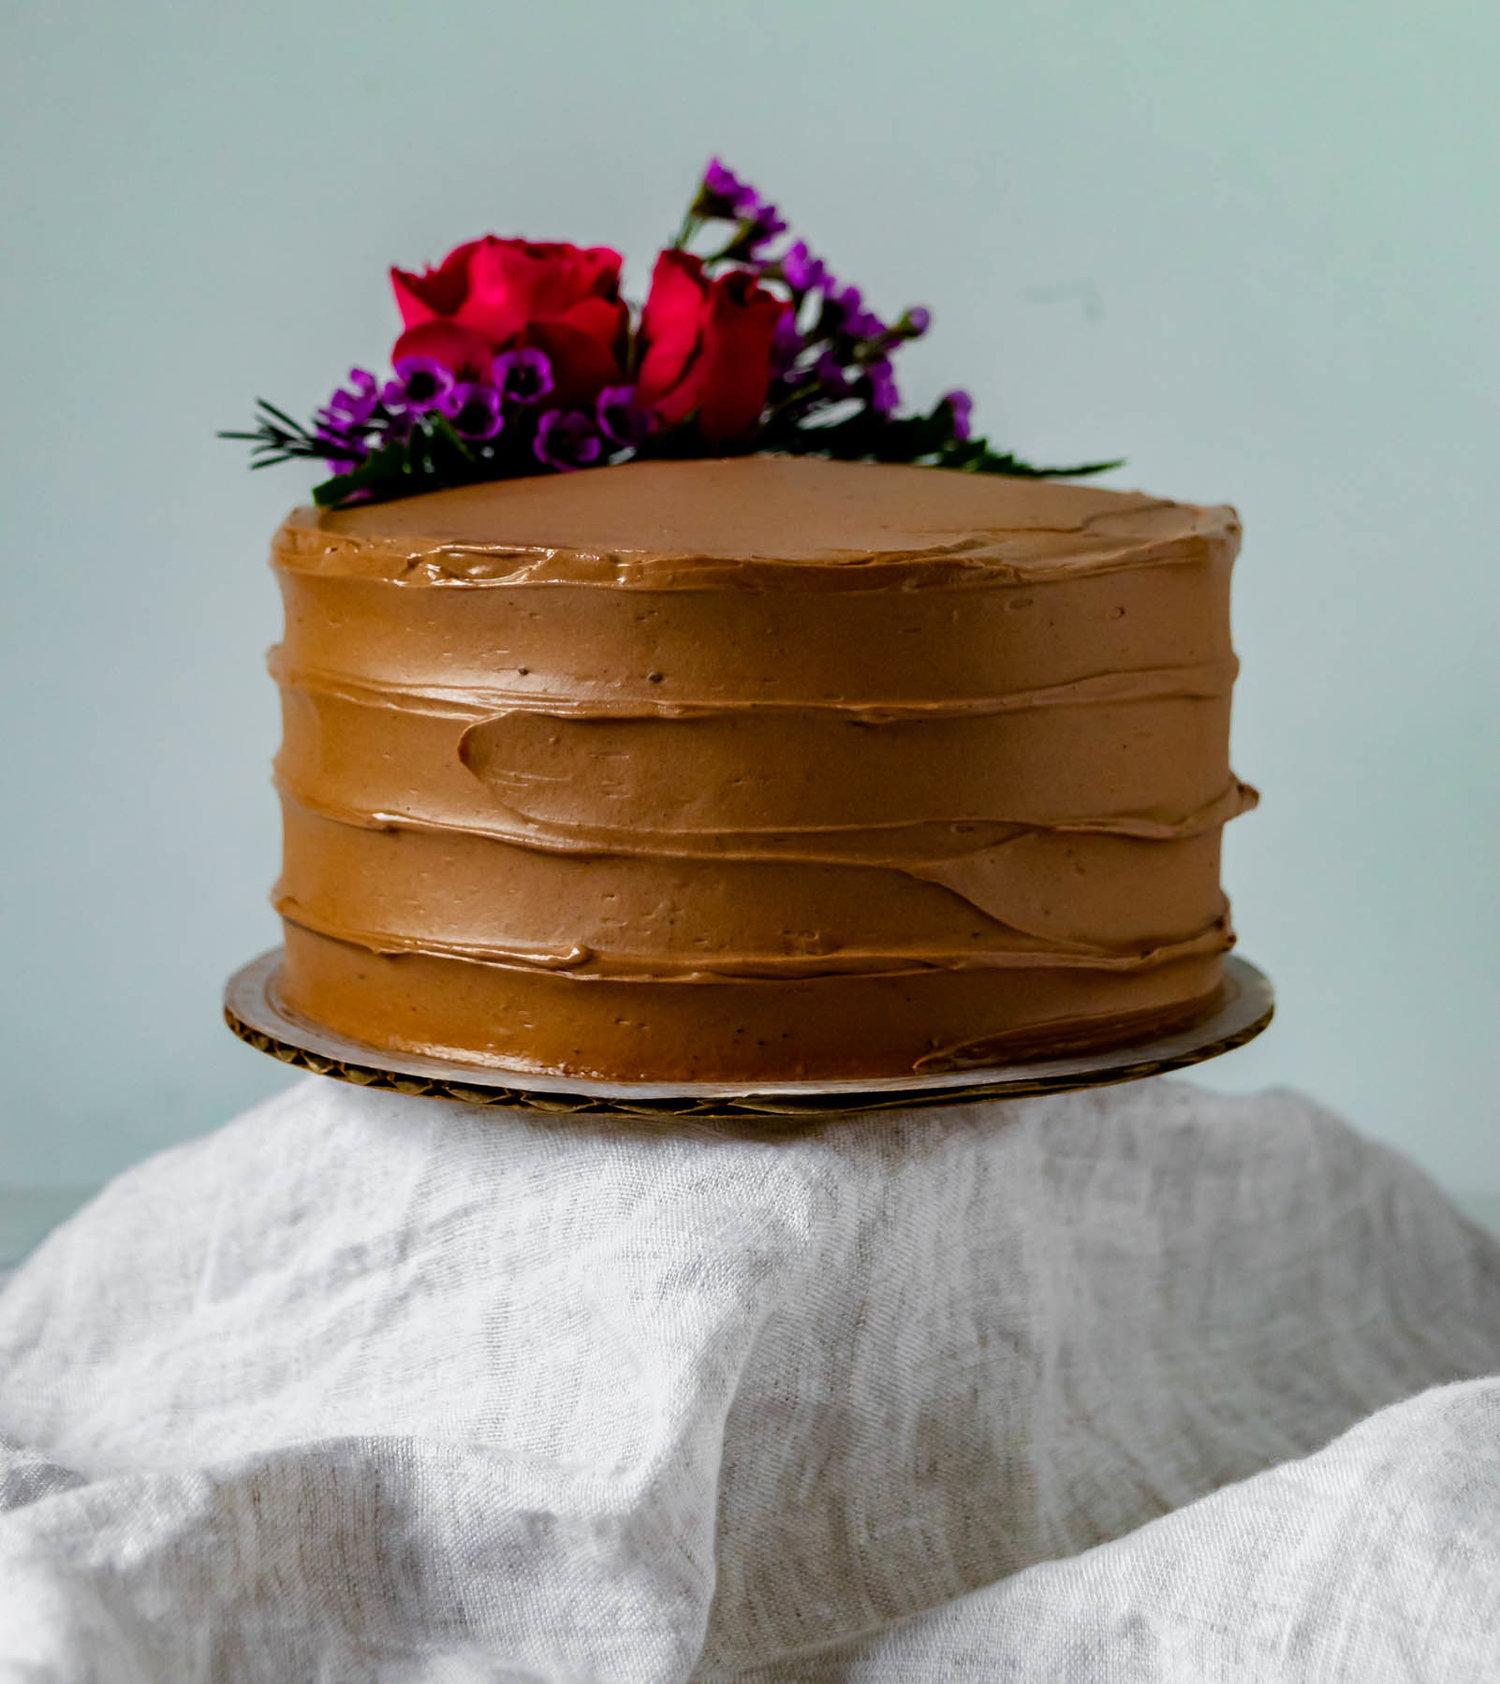
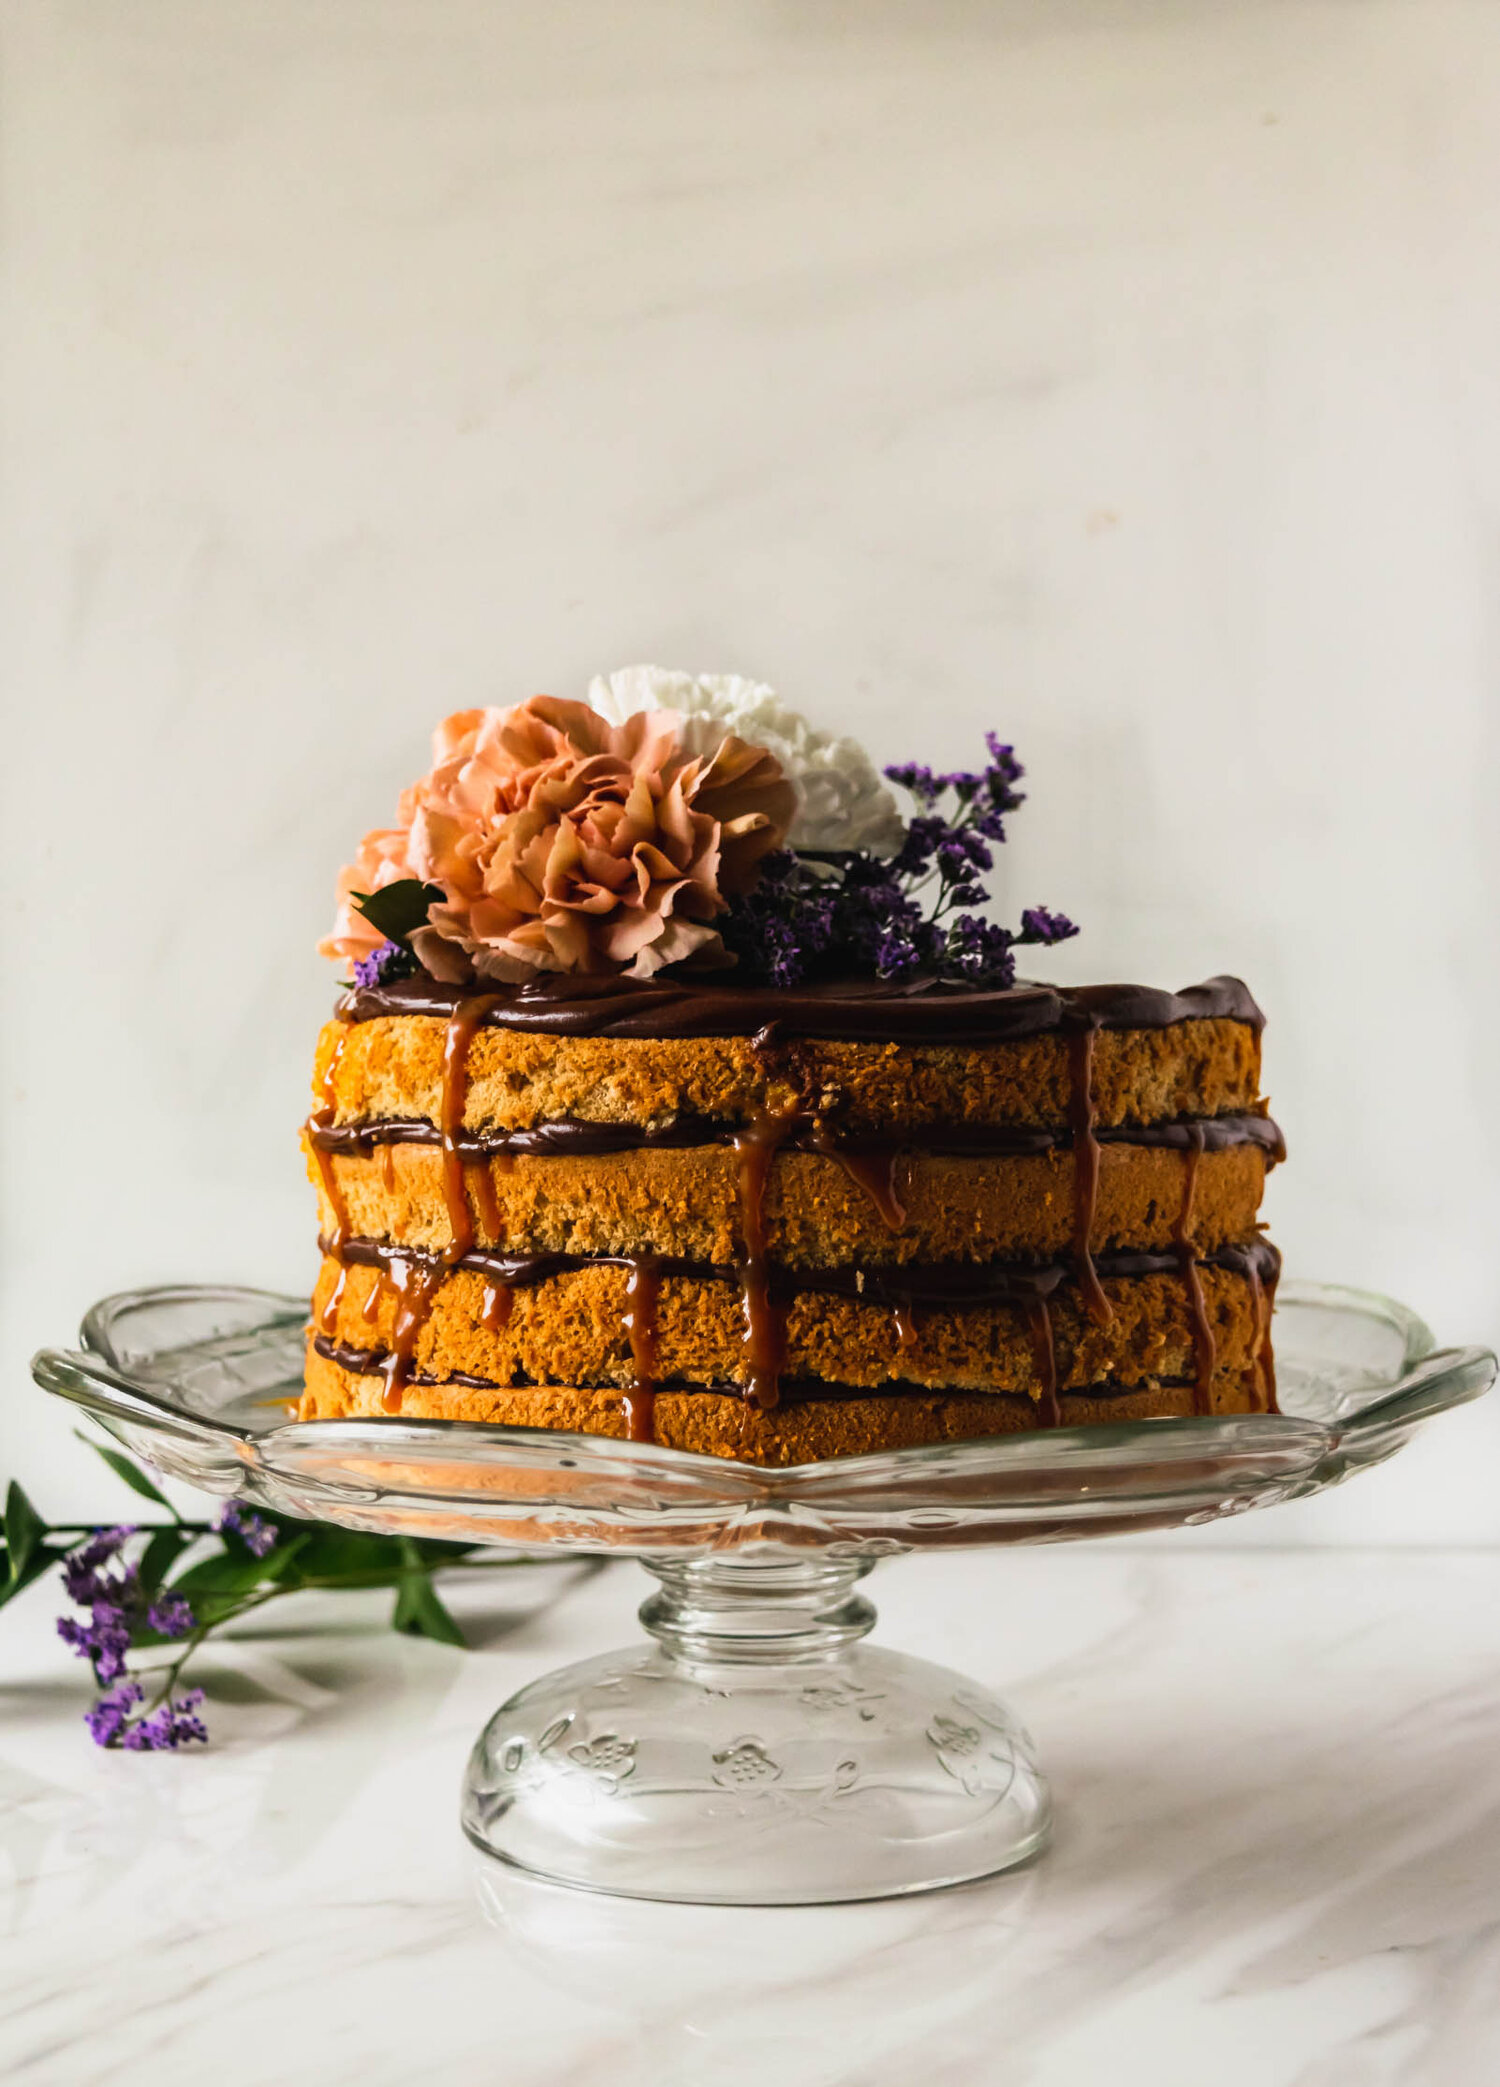
Meet your new favorite snack cake. This ultra-simple, rich chocolate and buttermilk snack cake gets topped with a sage caramel Swiss meringue buttercream and swirled with homemade sage caramel.

I’ve been on a bit of a chocolate dessert kick lately and I’m not mad about it at all. As much as I love me a good fall squash dessert, it’s easy to get a little spiced-out during the holiday baking season and I tend to forget that chocolate desserts still exist. So I set out to cozy-up my very favorite chocolate cake recipe and it was quite the success.

a very simple chocolate snack cake

I am not lying when I tell you that this might be the simplest chocolate cake recipe you will find. It only dirties up one bowl, one measuring glass, a whisk, and a rubber spatula and utilizes pantry ingredients you probably already have on hand.

P.S. If you aren’t someone who keeps buttermilk on hand at all times, I highly recommend it. Buttermilk is one of my top 5 baking ingredients and it will transform the textures of your cakes and breads.

To make the cake, simply whisk together dry ingredients + sugar and set it aside. Then whisk together olive oil and buttermilk, add it to the dry, and whisk until the batter is smooth and lump-free. Transfer the batter to an 8” cake pan and bake it until the center is set and the sides begin to pull away from the edge of the pan. Let cool almost completely and then invert it onto a cooling rack. Voilà. You could totally stop there and just eat the cake frosting-free, maybe with a spoonful of crème fraîche or whipped cream.

But I suggest continuing on with a simple sage caramel buttercream.

homemade sage caramel and a caramel swiss buttercream

I won’t spend too long dissecting the steps of making homemade caramel because you can read about that whole process in-depth here, here, and here! But we are essentially making our classic dry caramel with a bit of added pizzazz. Before making the caramel, we’ll bring our heavy cream to a simmer and steep a handful of fresh sage leaves in the hot cream. Before using it, we’ll strain out the leaves and then that herbal, fragrant cream will get added to our caramel in place of regular cream. This is a really easy way to add flavor to your caramel and you could definitely experiment will all sorts of herbs and flowers (rose! lavender! cardamom!)

Now, for the buttercream.

Swiss meringue buttercream is the swoopiest and fluffiest of all of the buttercreams in my opinion, and it is fairy simple to make once you know the steps and what to look for. Let’s break it down.

  1. Combine egg whites and sugar in a double boiler. You’ll cook this mixture over very even heat, stirring very frequently, until the sugar has completely dissolved and the temperature reaches 160° F. You can use a candy thermometer if you’d like, but I like to dip my finger into the bowl to test for readiness. The mixture should be warm and free of sugar granules.

  2. Whip egg white/sugar to form a meringue. Once you’ve reached your ideal temperature, transfer the mixture to a stand mixer and begin whipping, starting on low speed and then increasing speed gradually, until you have a thick, glossy, room temperature meringue.

  3. Add the buttah. With the mixer on, add your softened butter, one tablespoon at a time. When all of the butter has been added, switch to the paddle attachment and beat it until the light and fluffy and the consistency resembles that of a buttercream.

  4. Stream in the caramel. With the mixer on low-speed, add half of the caramel (this should be room temperature too) and beat until it’s mixed in. Swoop it on your cake, drizzle with more caramel, and enjoy!

Chocolate Buttermilk Snack Cake with Sage Caramel Buttercream
Yield
one 8" round cake
Author
Prep time
15 Min
Cook time
50 Min
Total time
1 H & 4 M

Chocolate Buttermilk Snack Cake with Sage Caramel Buttercream

Meet your new favorite snack cake. This ultra-simple, rich chocolate and buttermilk snack cake gets topped with a sage caramel Swiss meringue buttercream and swirled with homemade sage caramel.

Ingredients

for the cake
  • 1 1/2 cups (195 g) all purpose flour
  • 3/4 cup (60 g) cocoa powder
  • 1 1/2 tsp baking soda
  • 1/2 tsp kosher salt
  • 3/4 cup (165 g) granulated sugar
  • 1/2 cup (100 g) brown sugar
  • 1/2 cup (100 g) olive oil
  • 1 1/2 cups (350 g) buttermilk
for the sage caramel
  • 1/4 cup heavy cream
  • 8-10 sage leaves
  • 1/2 cup (100 g) granulated sugar
  • 1 1/2 tbsp unsalted butter
  • 1/2 tsp kosher salt
for the caramel swiss buttercream
  • 2 egg whites (60 g)
  • 115 g granulated sugar
  • 170 g unsalted butter, at room temperature
  • Sage caramel, recipe included

Instructions

to make the cake
  1. Preheat the oven to 350° F and line an 8” cake pan with parchment paper.
  2. In a large bowl, whisk together flour, cocoa powder, baking soda, salt, sugar, and brown sugar.
  3. In a large measuring cup, whisk together olive oil and buttermilk until smooth and homogenous.
  4. Slowly stream the wet ingredients into the dry and whisk until batter is smooth and no flour clumps remain.
  5. Pour the batter into your prepared cake pan and bake for 40-45 minutes, until the center of the cake is set and the edges pull away from the sides of the pan. Let cool in the pan before inverting the cake onto a cooling rack.
to make the sage caramel
  1. Place heavy cream and sage leaves in a small saucepan over medium heat. Cook until cream has started to bubble, then remove from heat and cover. Let steep for 30 minutes and then discard sage leaves.
  2. Place the sugar in a medium saucepan and set over medium heat. Cook, without stirring, until the sugar begins to liquify. At this point, you can gently swirl the pot to ensure even cooking. Continue to cook, watching closely, until all of the sugar has dissolved and the caramel is a deep amber color.
  3. Remove the caramel from the heat and whisk in the heavy cream. Return to the heat and cook for 1-2 more minutes, until smooth and golden, the remove from the heat and whisk in butter and salt. Let cool completely.
to make the caramel swiss buttercream
  1. Create a double boiler using a heat-proof bowl and a medium saucepan. Combine egg whites and sugar in the bowl and heat, stirring frequently, until the temperature reaches 160 degrees or mixture is hot to the touch. Make sure that all of the sugar crystals are dissolved.
  2. Transfer mixture to the bowl of a standing mixer fitted with the whisk attachment and whip on medium-high speed until completely cool. You should have a stiff, glossy meringue that forms peaks when the whisk is lifted out of it.
  3. With the mixer on medium-high speed, add butter, 1 tablespoon at a time, making sure each piece is incorporated before adding the next. It is very important at this point that the butter and the meringue are the same temperature before adding the butter. As soon as you add the last of the butter, switch from the whisk attachment to the paddle attachment and beat on high speed until mixture is smooth, light, and fluffy. It should look like a familiar buttercream at this point.
  4. With the mixer on low speed, add half of your room temperature sage caramel and salt, and continue to mix until well-combined and homogenous.
  5. To serve, spoon the frosting over the cake and swoop and swirl it however you’d like. Drizzle the top with any remaining caramel and garnish with more sage leaves.
Did you make this recipe?
Tag @gatheredatmytable on instagram and hashtag it #gatheredatmytable

All About Meringue

baked swiss meringue cookies filled with berry jam

baked swiss meringue cookies filled with berry jam

Earlier this week, after spending the last few days working on custard recipes and special order cakes, I found three deli containers of egg whites shoved in the back of my fridge. In an effort to curb food waste and do a little deep dive on here (because it’s been a while), we’re going to spend the day talking about all things meringue—aka, the most fun thing to make with all of your extra egg whites. So let’s get started!

Also, if you’re someone who isn’t into reading and wants a much shorter meringue run-down, you can find a 30 second reel on my Instagram!

What is meringue?

First off, what exactly is meringue? Simply put, meringue is the combination of egg whites and sugar, whipped to create semi-stable air bubbles. It can be baked, piped, buttercreamed, torched…really, the possibilities are endless. Egg whites are made up of water and protein. When they are whipped, the protein strands begin to unravel and they create little stretchy networks that capture the water and air bubbles. (This is what happens when you whip egg whites without sugar for folding into a batter. When baked, those air bubbles create steam and function as a leavening agent.) When sugar is added to the mix, it helps to stabilize the foam and create elasticity, giving us swoopy, glossy meringue. Occasionally, an acid such as cream of tartar or lemon juice is added to give an extra bit of stability insurance, but it’s not a necessary ingredient in the meringue-making process.

italian meringue

italian meringue

While there are a multitude of meringue processes and methods, the three most common types of meringue are French, Swiss, and Italian. Each use the same base ingredients (egg whites + sugar), but each have a slightly different methodology which results in different levels of stability and different usages.

French Meringue

French meringue is also sometimes called “common meringue” and it is the simplest and most straightforward type. Egg whites are placed in a clean mixing bowl and whipped until they begin to froth. Then, sugar is gradually streamed in (while whipping), and after all of the sugar has been added, mixing speed is increased until the meringue reaches your desired stiffness (*see tips and tricks below). When making French meringue, take care not to add all of the sugar at once, or it will weigh down the egg whites, preventing all of those air bubbles from forming. Because French meringue uses raw egg whites, it must be baked, often at a very low temperature, until crunchy on the outside and the bottom of the meringue can be lifted off of the pan. French meringue is a great base for pavlovas, meringue cookies, and eton mess. French meringue is the least stable type of meringue and should be baked immediately to prevent separation and weeping.

Swiss Meringue

Swiss meringue is my very favorite of all the meringues because, IMHO, it’s the most versatile. Swiss meringue is the second most stable meringue and is can be used in really any application. Want to bake it like a French meringue? Go for it. Looking for a buttercream base? Meet your BFF, Swiss meringue. Interested in torching it on the side of a Baked Alaska? Swiss is here for you. To make Swiss meringue, egg whites and sugar are combined in a heat-proof bowl and then placed over top of a pot of boiling water. They are cooked, stirring frequently to prevent scrambling, until hot to the touch and all of the sugar has dissolved. The mixture is then transferred to a mixture and whipped until room temperature, glossy, and beautiful.

Italian Meringue

Finally, we have Italian meringue. Italian meringue is the most stable type of meringue, and is often considered the most difficult type. She's gonna make you work for her stability. I wouldn’t say the Italian meringue is difficult, just a little tricky. Egg whites are added to the bowl of a mixer and then set aside for a bit. Meanwhile, the sugar is combined with water in a saucepan and cooked to a syrup (242°F). While the sugar is cooking and when it is starting to get close to that perfect syrup temperature, you begin whipping your egg whites. Ideally, your egg whites will be starting to froth just as your syrup reaches 242° F and that’s when the real fun happens. The hot syrup is slowly streamed into the whipping egg whites. When all of the syrup as been added, the mixer speed is increased and the meringue gets whipped until cool and elastic. It takes a little practice, but once you’ve mastered the temperature and the syrup drizzle, Italian meringue makes the best buttercream around town.

P.S. there is a great, very versatile Italian meringue buttercream recipe, as well as a French meringue pavlova recipe + even more on meringues, in my e-book, Pastry Foundations

bananas foster eton mess made with French meringue, recipe coming soon

bananas foster eton mess made with French meringue, recipe coming soon

What can you do with meringue?

Meringue can be used in many different applications and is the base of some of our favorite desserts. Baked meringues can be made into pavlovas or cookies, topped with fruit, jams, whipped cream, nuts…pretty much anything. Maybe the most common application is buttercream. For both Swiss and Italian meringue, room temperature butter can be added to room temperature meringue to create a very smooth, buttery frosting. Swiss and Italian meringues can be piled on top of finished pies, like this Key Lime Pie, and torched in place of whipped cream, while French meringue can be baked atop your favorite pie or tart. Italian meringue is also the base of homemade marshmallows.

Meringue Tips and Tricks

  • When it comes to working with meringue, cleanliness is your best friend. Egg whites can be a bit finicky and will refuse to whip if there are any traces of fat near them. This means that you should make sure that your bowl is clean and that there are no little wisps of egg yolk in your whites.

  • Cleanliness is also important when it comes to sugar. Make sure that there are no large clumps or little foreign specks in your sugar, as these can weigh down your whites or cause crystallization.

  • The fresher the egg, the better your meringue. If you’re struggling with your meringues and the egg whites don’t seem to be whipping properly, they may be too old. Dump it out and try with fresh eggs.

  • Heat and humidity do not play well with meringue. Once baked, store meringue in a cool, dry place to prevent stickiness and collapse.

  • Most of the time, meringue done-ness is discussed in terms of peaks—soft, medium or stiff. I usually like to explain the difference between the three by using pictures, but I’ll try to use my words to help you create a picture in your head. When you remove the whisk from the bowl, the meringue at the top should create a tip. If the tip immediately falls back over onto itself, you’ve reached the soft peak stage. If the tip stays upright, but the very top of it falls back onto itself creating a little wave look, you’ve reached medium peaks. If, when you pull the whisk out of the bowl, the tip stands upright, you’ve reached the stiff peak stage.


Print Friendly and PDF

more meringue recipes

PavlovaswithBerries2.jpg

brown sugar pavlovas with mascarpone cream

angledtorched1.jpg

key lime pie

Cake10.jpg

chocolate cake with chocolate milk swiss meringue buttercream

Classic Chocolate Cake with Chocolate Milk Swiss Meringue Buttercream

I spent this past weekend in Knoxville drinking wine on front porches (and huddled around fires) and soaking up all the fall weather that I could. The official purpose of my trip was to help out with a Side by Side wine dinner some friends were hosting. It was a private dinner perched atop an East Tennessee hillside, with sprawling views of the city, a picturesque backdrop for one of the most beautiful dinners I’ve ever been a part of. I spent the weekend hand rolling agnolottis, singing karaoke, having drinks with one of the most prolific food writers around, and drinking 1995 vouvray. It’s been a long time since I’ve had friends that felt more like family and every time I leave Knoxville I start thinking about my next excuse to return.

Recently, I’ve been trying to shift my mindset from apprehension to gratitude. There has been a lot of transition in leaving a full-time career to pursue a future in food writing and my day-to-day has taken some getting used to. Having to manage my time and discipline myself to put in the work, whether in the kitchen or at the computer, has challenged me in ways I didn’t anticipate. Sometimes I feel like I’ve been working all day and still don’t have anything to show for it and I often find myself holding a tight grasp to the “someday”, looking forward to the day when I see a paycheck, my name on a byline, or my own book in my hands. Don’t get me wrong, it’s great that I have a goal to push towards on the days when I feel like I don’t know what I’m doing, but I’m realizing that I also don’t want to miss the time I have right now. I’m trying to view my days as flexible instead of empty, grateful that I am able to take a weekend in Knoxville or that I have the time to make a birthday cake, like this one, for a sweet friend. These are the times I want to make the most of.

Cake3.jpg

All of that being said, let’s be grateful for whatever season we’re in and let’s chat about Swiss meringue buttercream. I have never been a fan of traditional American buttercream, it’s a little too sweet for me and I don’t like its gritty texture. During culinary school, however, I discovered an entire world of buttercreams. Swiss buttercream is one of the easier buttercreams to execute and its silky smooth texture makes it one of the best for frosting layer cakes. You begin by heating egg whites and sugar over a double boiler, stirring frequently to make sure that you don’t end up with chunks of cooked egg whites because that’s gross. You’re going to heat the mixture to about 160 degrees F (feel free to use a candy thermometer if that floats your boat), but I find it’s easiest to just watch for the sugar to dissolved. The mixture should be warm to the touch and you should be able to rub a little between your fingers without feeling any sugar crystals. You will then transfer the mixture to the bowl of a stand mixer with a whisk attachment and beat it until it is stiff and glossy and room temperature. This is really important because your meringue and your butter need to be the same temperature or you will either have a chunky mess or a liquid mess-either way, a mess. With the mixer on medium high speed, add the butter piece by piece. As soon as the butter is completely added, switch from the whisk attachment to the paddle attachment and beat until smooth. At one point, your buttercream may look a little curdled and you may think it’s about to break. This is okay, as you continue to beat it, it will thicken up and start to take on that voluptuous buttercream shape. If it looks a little liquidy after you’ve added all the butter, pop the entire bowl into the fridge for a few minutes to cool it off and then try mixing it again. Because of all the butter in this recipe, when you add the melted chocolate, this buttercream tastes like a big glass of Ovaltine and takes on an ultra smooth consistency, perfect for cake swooping.

Chocolate Olive Oil Cake 

Yield: 1-1/2 sheet pan or 3-8” cake layers or 6-5” cake layers

Adapted from Ina Garten


Ingredients: 

1 3/4 cup all purpose flour

3/4 cup cocoa powder, sifted

2 cup sugar

2 tsp. baking powder

1 tsp. baking soda

1 tsp. salt 

1 cup buttermilk, room temperature

1/2 cup olive oil 

1 T vanilla extract

2 eggs, room temperature 

1 cup brewed coffee, warm 

Procedure:

  1. Preheat oven to 350 degrees. Coat pan with cooking spray and line with parchment paper.

  2. In a medium bowl, whisk together flour, cocoa powder, sugar, baking powder, baking soda, and salt.

  3. In a large measuring cup, whisk together buttermilk, olive oil, eggs, and vanilla. Add wet ingredients to dry ingredients and whisk until no lumps or flour streaks remain. Whisk in warm coffee until homogenized.

  4. Divide and/or pour batter into your prepared cake pans. Baking times will vary depending on the size of your pans. For a 1/2 sheet pan, I baked the cake for 7 minutes, rotated it, and baked for another 10-12 minutes. For 8” cake pans, I would recommend baking for 12 minutes, rotating, and then another 12 minutes, adding more time if needed. You will know that the cake is done when the top springs back when touched and the edges begin to pull slightly away from the sides of the pan.

  5. Remove from oven and let cool completely. Slice and layer as desired!


Cake10.jpg

Chocolate Milk Swiss Meringue Buttercream

Ingredients: 

115 g egg whites

230 g sugar

345 g unsalted butter, room temperature

1 tsp vanilla extract

Pinch of salt

4 oz bittersweet chocolate


Procedure: 

  1. Create a double boiler, using a heat-proof bowl and a medium saucepan. Combine egg whites and sugar in the bowl and heat, stirring frequently, until the temperature reaches 160 degrees or mixture is hot to the touch. Make sure that all of the sugar crystals are dissolved.

  2. Transfer mixture to the bowl of a standing mixer fitted with the whisk attachment and whip on medium-high speed until completely cool. You should have a stiff, glossy meringue that forms peaks when the whisk is lifted out of it.

  3. With the mixer on medium-high speed, add butter, 1 tablespoon at a time, making sure each piece is incorporated before adding the next. It is very important at this point that the butter and the meringue are the same temperature before adding the butter. As soon as you add the last of the butter, switch from the whisk attachment to the paddle attachment and beat on high speed until mixture is smooth, light, and fluffy. It should look like a familiar buttercream at this point.

  4. Melt chocolate over a double boiler and then cool to room temperature.

  5. With the mixer on low speed, add melted chocolate, vanilla, and salt and mix until combined. Scrape down the sides of the bowl and use a rubber spatula to fold buttercream, ensuring that everything is evenly mixed.

*Note: Measuring egg whites without a kitchen scale is a pain in the butt, so you will notice that this recipe is written using metric measurements. If you’re interested in why I think all baking should be done using a kitchen scale, you can read more here. If you don’t have a kitchen scale and have your heart set on making this Swiss buttercream, there is a bit a of a workaround. An average large egg weighs about 50 grams and each white weighs about 30 grams. You can do a little mental math to divide 30 into 115 and then use the number of egg whites that will get you closest. Also, one stick of butter weights about 113 grams and a cup of sugar weighs about 200 grams. If you are feeling like a real arithmetic whiz, you can scale this recipe up or down fairly easily. Swiss Meringue buttercream always uses 1 part egg whites, 2 parts sugar, and 3 parts butter. Feel free to get a little wild!