Project Baking: 8 recipes for when you're stuck at home

It seems like most of us will be spending our days at home for the foreseeable future thanks to COVID-19. Martin works in professional soccer and MLS has suspended their season for the next 30 days, so things feel a little up in the air around here. Thankfully, since I work from home, I will still continue to develop and share recipes with you as normal for the next few weeks. I’ve decided, though, that all of this social distancing and self-quarantine is perfect for what I like to call ‘project baking’. These are recipes that you may not turn to for a weeknight dessert; they are little more labor-intensive and need a little more time (which is something we all have). So if you’re home, I encourage you to grab your kiddos or family or quarantine buddy, and hop in the kitchen. Knead some dough, decorate some cakes, and make something beautiful during this time.

BarnSour10.jpg

Classic Sourdough- Where better to start than a good ‘ole loaf of bread. Sourdough is one of my favorite things to make, and it’s made it’s way into my regular rotation. Here you’ll find a step by step guide to starting your very own sourdough journey—everything from creating a culture to the final loaf. I also have a video of the entire baking and shaping process saved to my Instagram highlights to make things a little easier for you.

Baklava2.jpg

Baklava- Sure there is a bit of layering involved in baklava-making, but it is worth it. If you’re looking for a nutty, buttery dessert to share with your loved ones, this is the one for you. Plus, there is nothing more delicious than pouring honey sauce on hot baklava and watching it bubble. As Lizzie McGuire says, “This is what dreams are made of.”

Babka5.jpg

Chocolate Tahini Brioche Babka- This might be my favorite recipe on the blog. It’s definitely in the top ten. Swirls of tahini and dark chocolate are tucked into fluffy brioche and the whole thing sort of melts in your month. Also, shaping babkas are fun and they’re very photogenic.

Bomboloni4.jpg

Bombolonis with Limoncello Cream- Bombolonis are Italian-style yeasted doughnuts. They are fried until they are golden brown, tossed in sugar while warm, and filled with a slightly citrus limoncello cream. Eat them for breakfast, brunch, dessert, lunch, really whenever. Also, if you tackle the Chocolate Tahini Brioche Babka (above), you can use the remaining half of the brioche dough for these doughnuts. See, you can multi-task project baking!

Chamomile Cake with Blood Orange Curd and Swiss Meringue Buttercream- Quarantine is the perfect time to dust up on your cake decorating skills. This chamomile cake feels like spring and it’s filled with a bright, citrusy blood orange curd. You can easily substitute whatever citrus you have on hand to make this cake your own.

HoneyCakeNewEdit.jpg

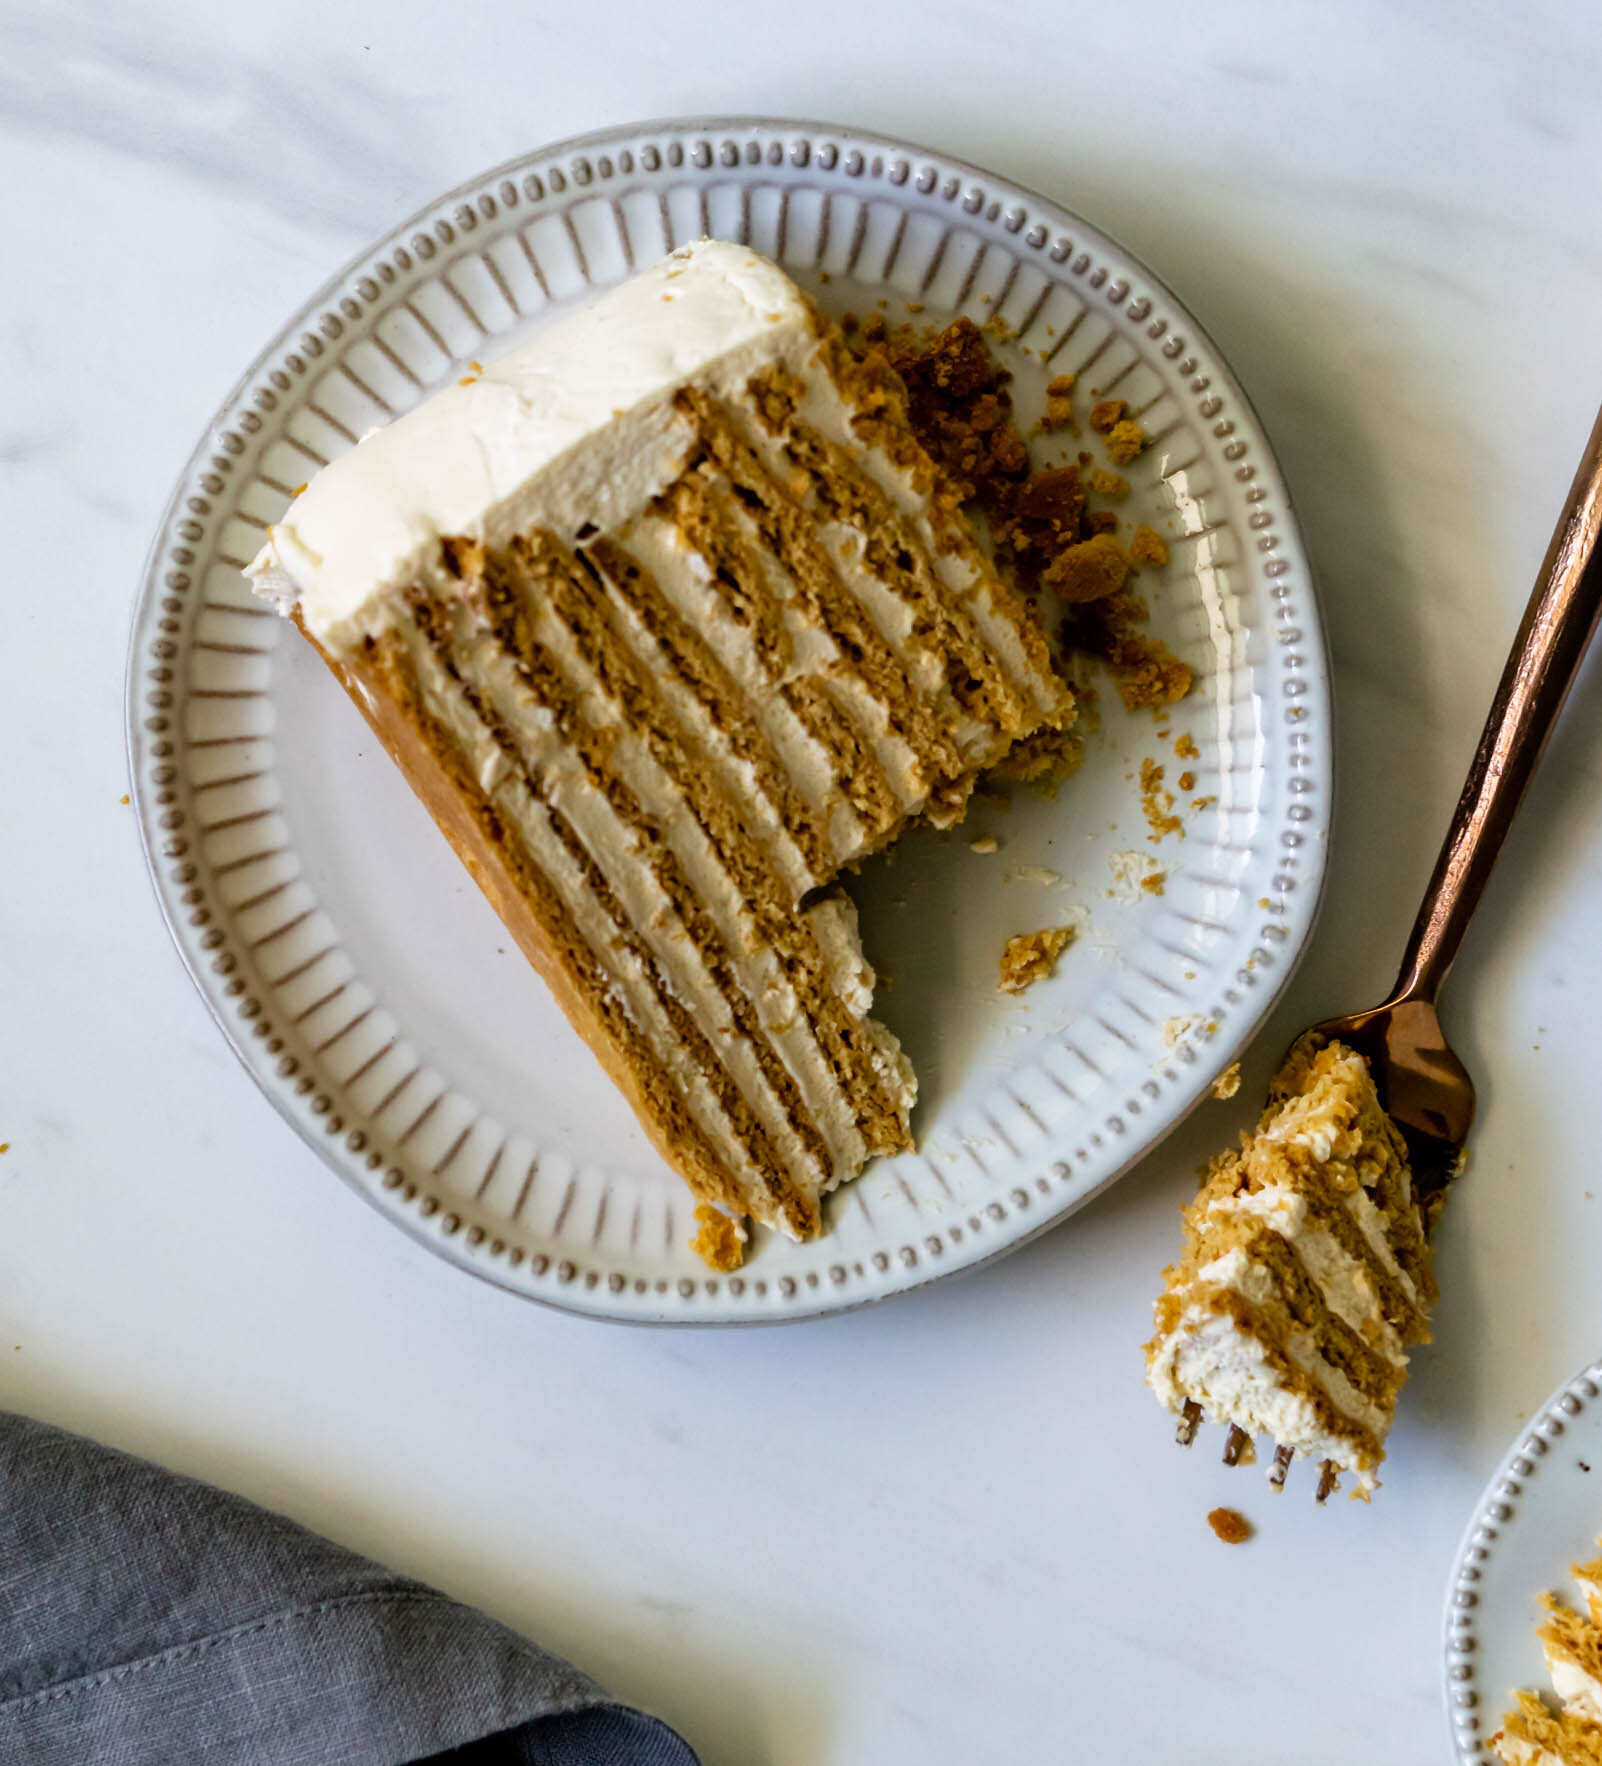
Russian Honey Cake- I first discovered Russian Honey Cake in pastry school. We made it as a project for one of my cake classes and I’ve since added it to my own kitchen repertoire. The cookie layers are similar to graham crackers and they’re sandwiched with a dulce de leche cream that softens the cookies just enough to be able to cut through them. It’s sweet and show-stopping at the same time.

CroissantsBrightEdit.jpg

Classic Croissants- Everyone should make croissants at least once in their lives. If nothing else, you will gain a new appreciation for your local bakery that makes those perfect croissants that flake into a million pieces the second you bite into them. These are classic, but feel free to fill them with chocolate or spinach or ham and cheese—really anything your heart desires!

bagelscc9.jpg

Multigrain Bagels with Quinoa and Arugula Cream Cheese- These bagels are filled with quinoa for a little extra protein and they freeze beautifully— a win-win in my book. Pair them with a bright, herby cream cheese and you’ve got a beautiful brunch pairing.

Chocolate Tahini Brioche Babka

You’ve probably heard about Marie Antoinette and her infamous “let them eat cake” phrase. As the story goes, Marie Antoinette, who was the Queen of France during the French Revolution, was informed that her poorer subjects were starving and had no bread to eat and she callously replied with the French phrase “Qu’ils mangent de la brioche!” which is more correctly translated to “Let them eat brioche!” This response didn’t work out so well for Marie, as it was used to illustrate her lack of understanding of the plight of the everyday man and she wasn’t very well-liked by her constituents. Turns out, historians haven’t actually been able to confirm that Marie Antoinette actually spoke those words (you can read more here if you’re a history nerd like me), but regardless, the phrase stuck.

But what exactly is brioche and how does it differ from other types of breads? Brioche falls into the “enriched dough” category because in addition to the basics (flour, water, yeast, salt) it contains a much higher fat content through the use of eggs, milk, and lots of butter (traditionally about 60 percent of the weight of the flour). Brioche is typically baked in loaves or cute little rolls, but it’s also a great base dough and can be filled or twirled any way that you like. There are two important things to remember when making brioche. First, the temperature of the butter matters. Butter should be soft and pliable, and around the same temperature as the dough. When you add it piece by piece, it will work into the dough and if the butter is too cold you will be left with chunks flaked throughout your brioche. If the butter is too warm, though, it will begin to melt and seep out of the dough. Neither of these are great for your final product. Second, the high fat content gets in the way of gluten development and it will need to mix or knead for much longer than a dough lower in fat. The word “brioche” actually comes from the old Norman verb “broyer”, which means “to pound” and it refers to the exceptionally long kneading process. After you have added your butter, the dough will mix for a good long time. Since every mixer and baker is different, the exact mixing time will vary so it’s easier and more accurate to look for specific signs that the dough is ready. Once you add the butter, the dough will look very soft, more like a thick cake batter, and it will kind of stick to the bottom of the bowl. As you continue to knead it, the dough will eventually become more elastic and it will start to pull away from the sides of the bowl-this is what we want. When it’s done mixing, it will be smooth and almost velvety in texture. To test the gluten structure, you can pull off a small piece of dough, pinch it in your fingers and gently stretch it to make a small square. If the dough doesn’t break in the center, it means that the gluten is developed and you are good to go. If it rips immediately when you try to stretch it, it needs some more kneading time. (This is called the windowpane test and you can see pictures of what it should look like here.)

When you have your finished dough, it will proof for two hours, turning it a couple of times throughout, until it’s doubled in size. After proofing, you can either continue to shape and build your babka, or you can cover the dough and chill it overnight. This particular brioche recipe is from Tartine Bread and it uses a sourdough starter to create the overnight pre-ferment or leaven. If you don’t already have your own starter and you would like to try your hand at making one, you can find step by step instructions here. If you don’t have your own starter and have zero interest in making one, I have a brioche recipe that doesn’t use a sourdough starter here.

*Note: If you choose to follow the Tartine brioche recipe below, you will have enough dough for two babka loaves (or a babka and something else; spoiler: there’s a fall inspired recipe using more brioche coming in a few weeks). If you use my brioche recipe from the Cinnamon Swirl Brioche, you will only have enough for one babka.


Tartine Brioche

Babka1.jpg

Yield: 1600 g of dough, or 2 babka loaves


Ingredients: 

poolish: 

100 g water

100 g flour

Pinch of yeast


leaven: 

1 1/2 tsp starter

110 g flour

110 g water


for the dough: 

500 g bread flour

13 g salt

60 g sugar

5 g active dry yeast

250 g eggs (about 5), at room temperature 

120 g milk, at room temperature

150 g leaven 

200 g poolish

225 g butter, at room temperature


Procedure: 

  1. The night before baking, stir together poolish ingredients and place in a plastic container with lid. Store in the refrigerator overnight. Mix together the leaven ingredients and store in another plastic container. Leave on the countertop overnight.

  2. In the bowl of a stand mixer fitted with the dough hook, combine wet ingredients (milk, eggs, leaven, poolish). I like to stir these together with a rubber spatula to break up the leaven and poolish. On top of the wet ingredients, add the flour, salt, sugar, and yeast. Mix on low speed for 3-5 minutes until everything is combined and a dough begins to form. Cover the mixer with a kitchen towel and let the dough rest for 15-20 minutes.

  3. Scrape down the sides of the bowl and increase speed to medium-high. Mix for 6-8 minutes, adding the softened butter 1 tablespoon at a time, until all the butter is incorporated. Continue to mixing for about 15-20 more minutes. It is much easier to determine sufficient mixing by looking for specific qualities in the dough, rather than by using a mixing time. The dough is ready when it is smooth and elastic and pulls away from the sides of the bowl. When you pull a piece of the dough out, it will be soft, but you should be able to stretch the dough into a small square without it tearing. This is called the window pane test.

  4. Cover the bowl with a kitchen towel, place in a warm space in your kitchen, and proof for two hours. You will turn the dough three times during this time, at the 30-minute mark, the one hour mark, and the one and half hour mark. To complete a turn: grab the bottom of one side of the dough and stretch it up and over to the other side of the rest of the dough. Turn the dough 90 degrees and repeat until you have folded all four sides of the dough. This is considered one turn. Cover and continue to proof, repeating the turn every 30 minutes.

  5. After the bulk fermentation, cover the bowl with plastic wrap and place in the refrigerator for 30 minutes to an hour. This will make the dough much easier to shape and will prevent the butter from melting out while you are working. If you are not ready to shape right away, you can store dough in the refrigerator overnight.


Babka4.jpg

Chocolate Tahini Babka 

Ingredients: 

750 g brioche dough

1 stick (113g) unsalted butter, melted and cooled

110 g brown sugar

50 g dark chocolate cocoa powder

Pinch of salt 

1/3 cup tahini

for the egg wash: 

1 egg yolk

1 egg

1-2 T water

Procedure: 

  1. Stir together butter, brown sugar, cocoa powder and salt. You should have a thick, but spreadable paste. Set aside.

  2. Spray a 9x5 loaf pan with cooking spray and line with parchment paper. Set aside.

  3. On a floured surface, roll dough out to a 10x18” rectangle. If the dough is sticky, make sure that your are lifting it up and moving it around often in order to prevent it from adhering to your work surface.

  4. Use a small offset spatula to spread chocolate mixture in an even layer over the dough, leaving about 1/4” border on all four sides. Drizzle tahini over chocolate.

  5. Starting from a short end of the dough, roll dough tightly into a log and pinch the ends to seal. Starting about 1/2” from the top, use a sharp knife to slice the log lengthwise. You should have two strands, connected by a small dough portion at the top. Flip the strands so that the layers are facing up. Begin to braid the dough strands, crossing one over the the other, and pinch the bottoms to seal. Place your dough braid into your prepared loaf pan, cover with a kitchen towel, and let proof until almost doubled in size. This should take 1-1/2 hours, depending on the temperature of your dough.

  6. When you are ready to bake, preheat the oven to 350 degrees. Combine egg, egg yolk, and water in a small bowl to make egg wash.

  7. When the babka has risen, use a pastry brush to lightly coat with egg was. Bake for 30-35 minutes, until golden brown and a skewer or knife comes out clean when inserted. Remove from oven and let cool in the pan for about 20 minutes. Turn out onto a wire cooling rack and let cool completely before slicing and serving.