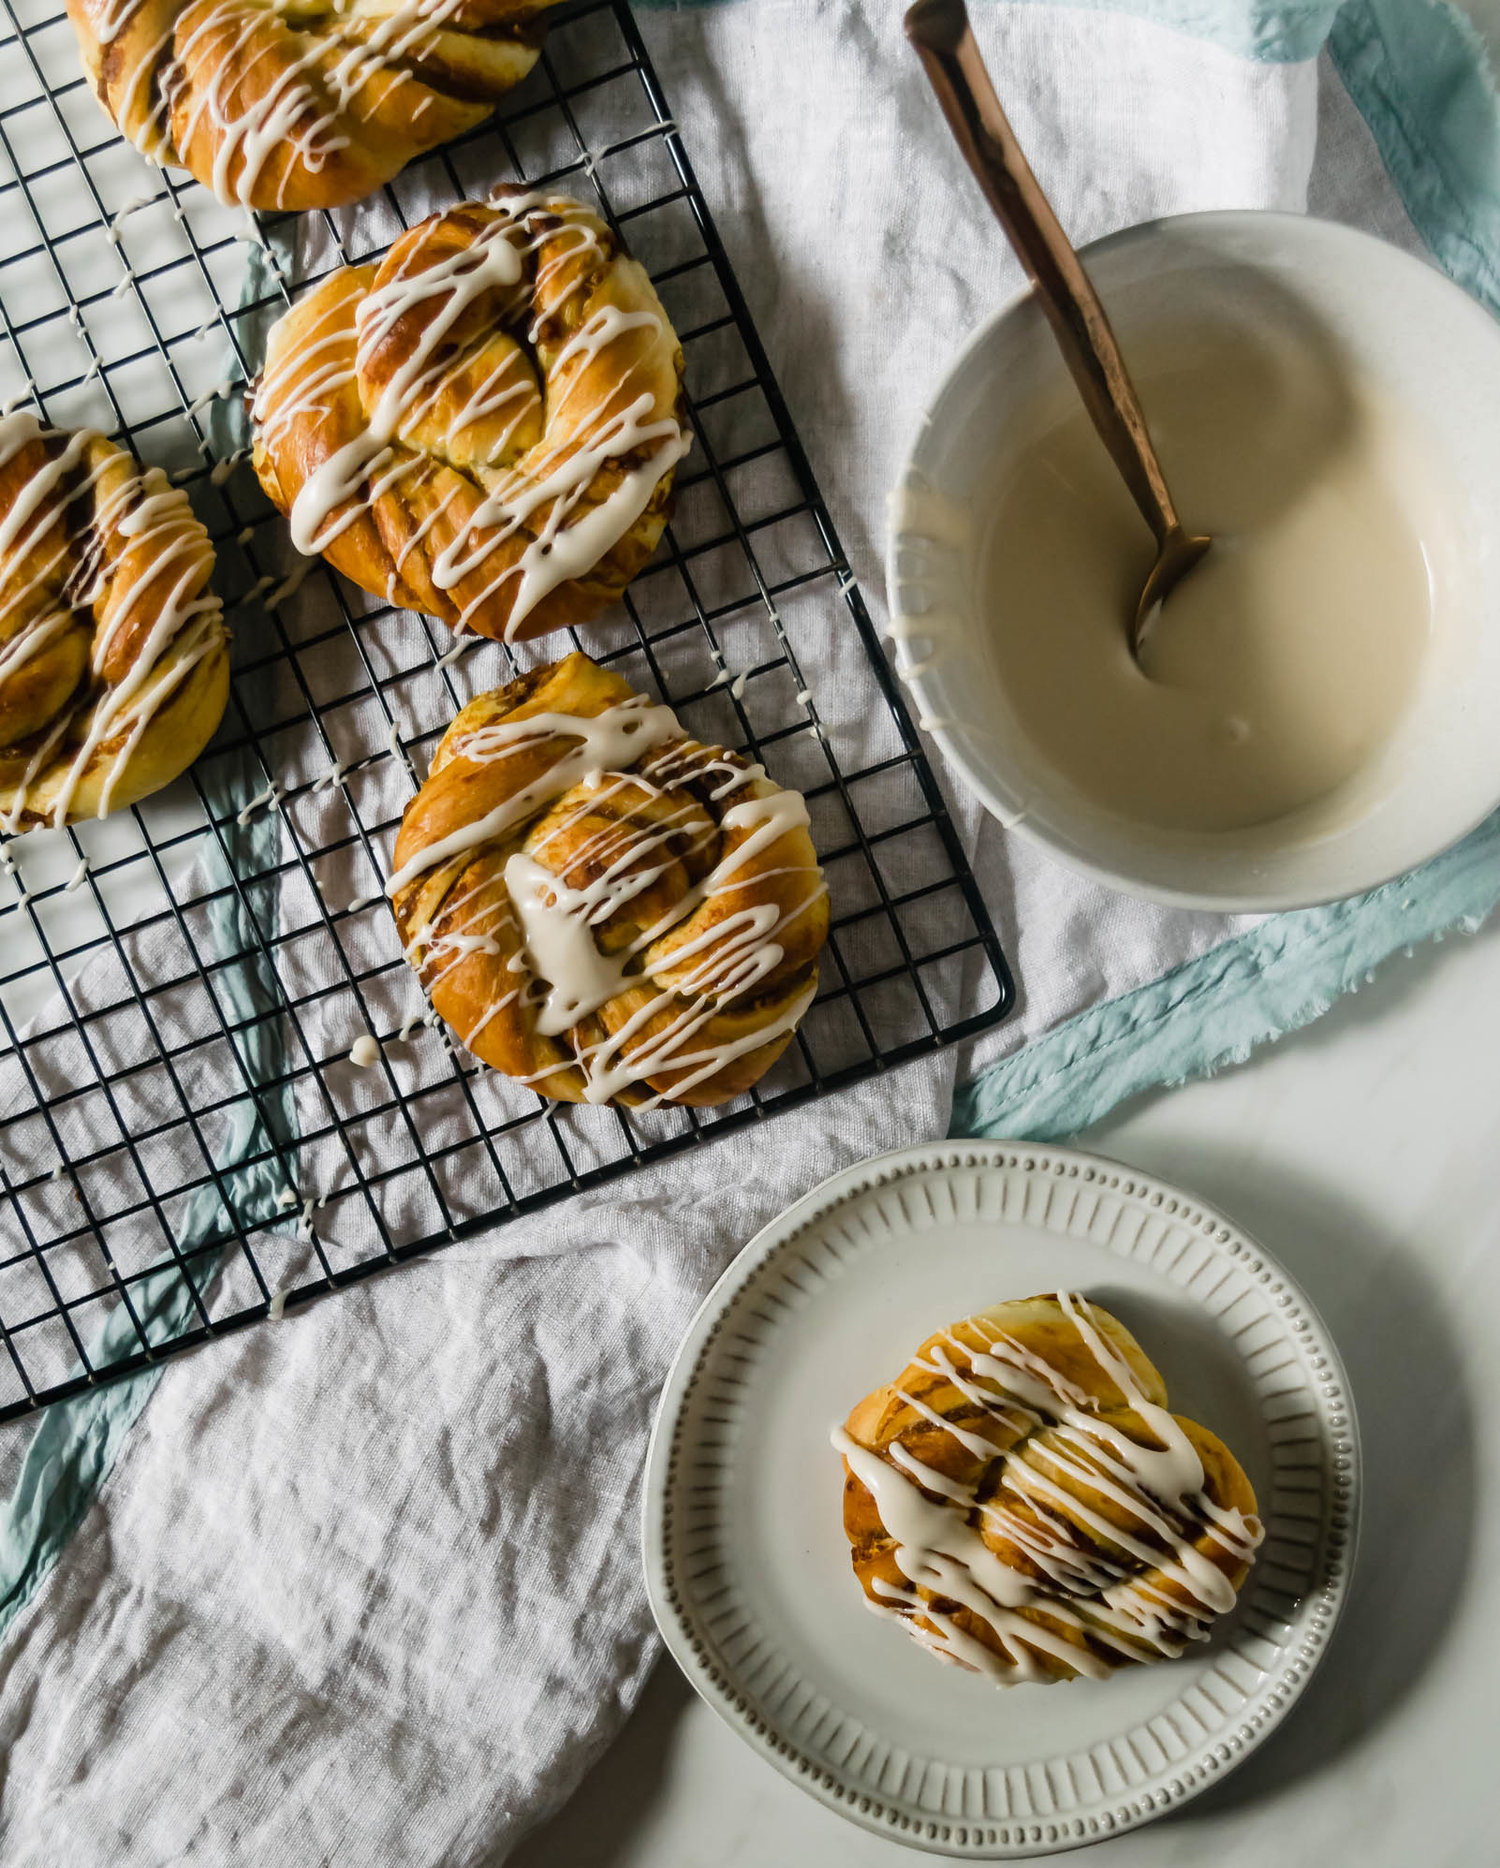
Tahini Orange Cinnamon Rolls with Browned Butter Cream Cheese Frosting

These warm, buttery cinnamon rolls are filled with cinnamon sugar, tahini, and a bit of orange zest. They are topped with an addictive browned butter and cream cheese frosting.

tahini orange cinnamon rolls-7.jpg

I am truly, truly soaking up every moment of fall this year. For the first time in a long time, I’m baking cinnamon rolls and drinking apple cider and around me, the leaves are actually changing and the temperature is dropping! In sunny, sweet Florida, fall baking was done from my 90° kitchen, no matter the month, and trees stayed green and palm-y all year long. (I’m not complaining though, because the beach was always close by….just soaking up this new climate while I have it).

In my mind, the number one fall baking project is cinnamon rolls. I have a few different sweet roll type recipes on the blog, but this is the first true and classic cinnamon roll and it is a very good one. They are fairly straightforward and traditional, but you guys know me, so they do have a little tahini mixed into the filling and some orange zest brightens things up. They are finished with a browned butter cream cheese frosting that is one of the best I’ve ever eaten and I wouldn’t judge you one bit for doubling the recipe and keeping some in the fridge for frosting emergencies. You never know.

So let’s dive in!

tahini orange cinnamon rolls-11.jpg

homemade cinnamon roll dough

This recipe, like a lot most cinnamon roll recipes is made with an enriched, brioche-like sweet dough. Enriched doughs are yeasted doughs that include some sort of combination of eggs, butter, milk, and sugar. A brioche is one that has a very high concentration of eggs and butter and often incorporates milk. It’s exceptionally soft and buttery, but can sometimes be a bit tricky to work with. A sweet dough is basically the same as a brioche dough, but has a lower amounts of butter, eggs, and sugar, and sometimes doesn’t include milk. (If all of this interests you like it does me, Erin McDowell has a great breakdown of enriched doughs that you can read here.)

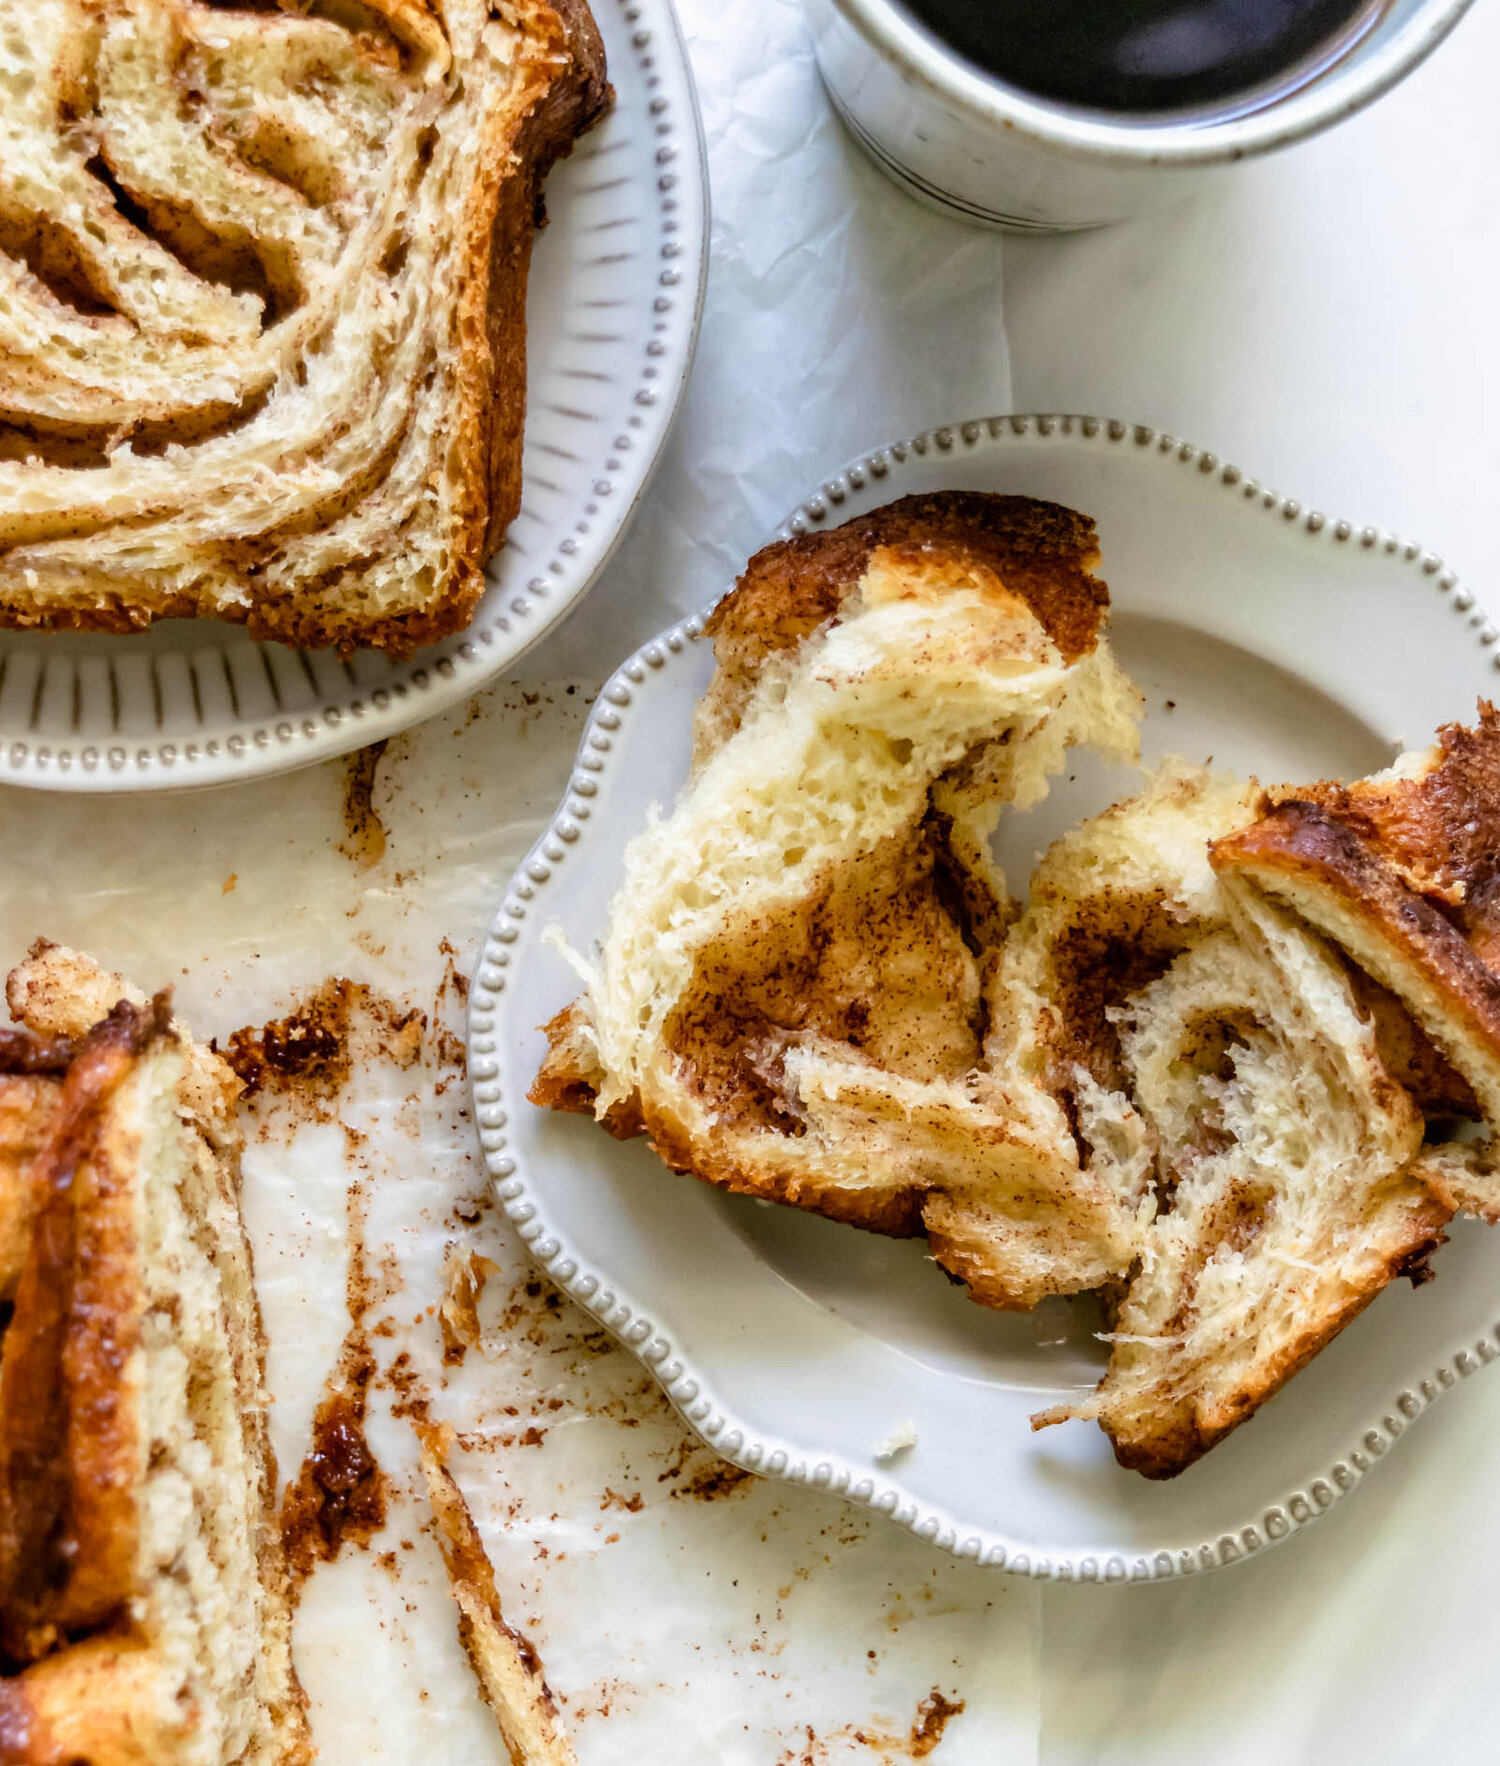
This dough recipe falls somewhere in the middle of the the brioche-sweet dough spectrum. It doesn’t have quite as much butter as some of my other brioche recipes (like this Cinnamon Swirl Brioche and this Chocolate Tahini Brioche Babka), but it does incorporate buttermilk and decent amount of eggs. It’s also made in a brioche-style of mixing.

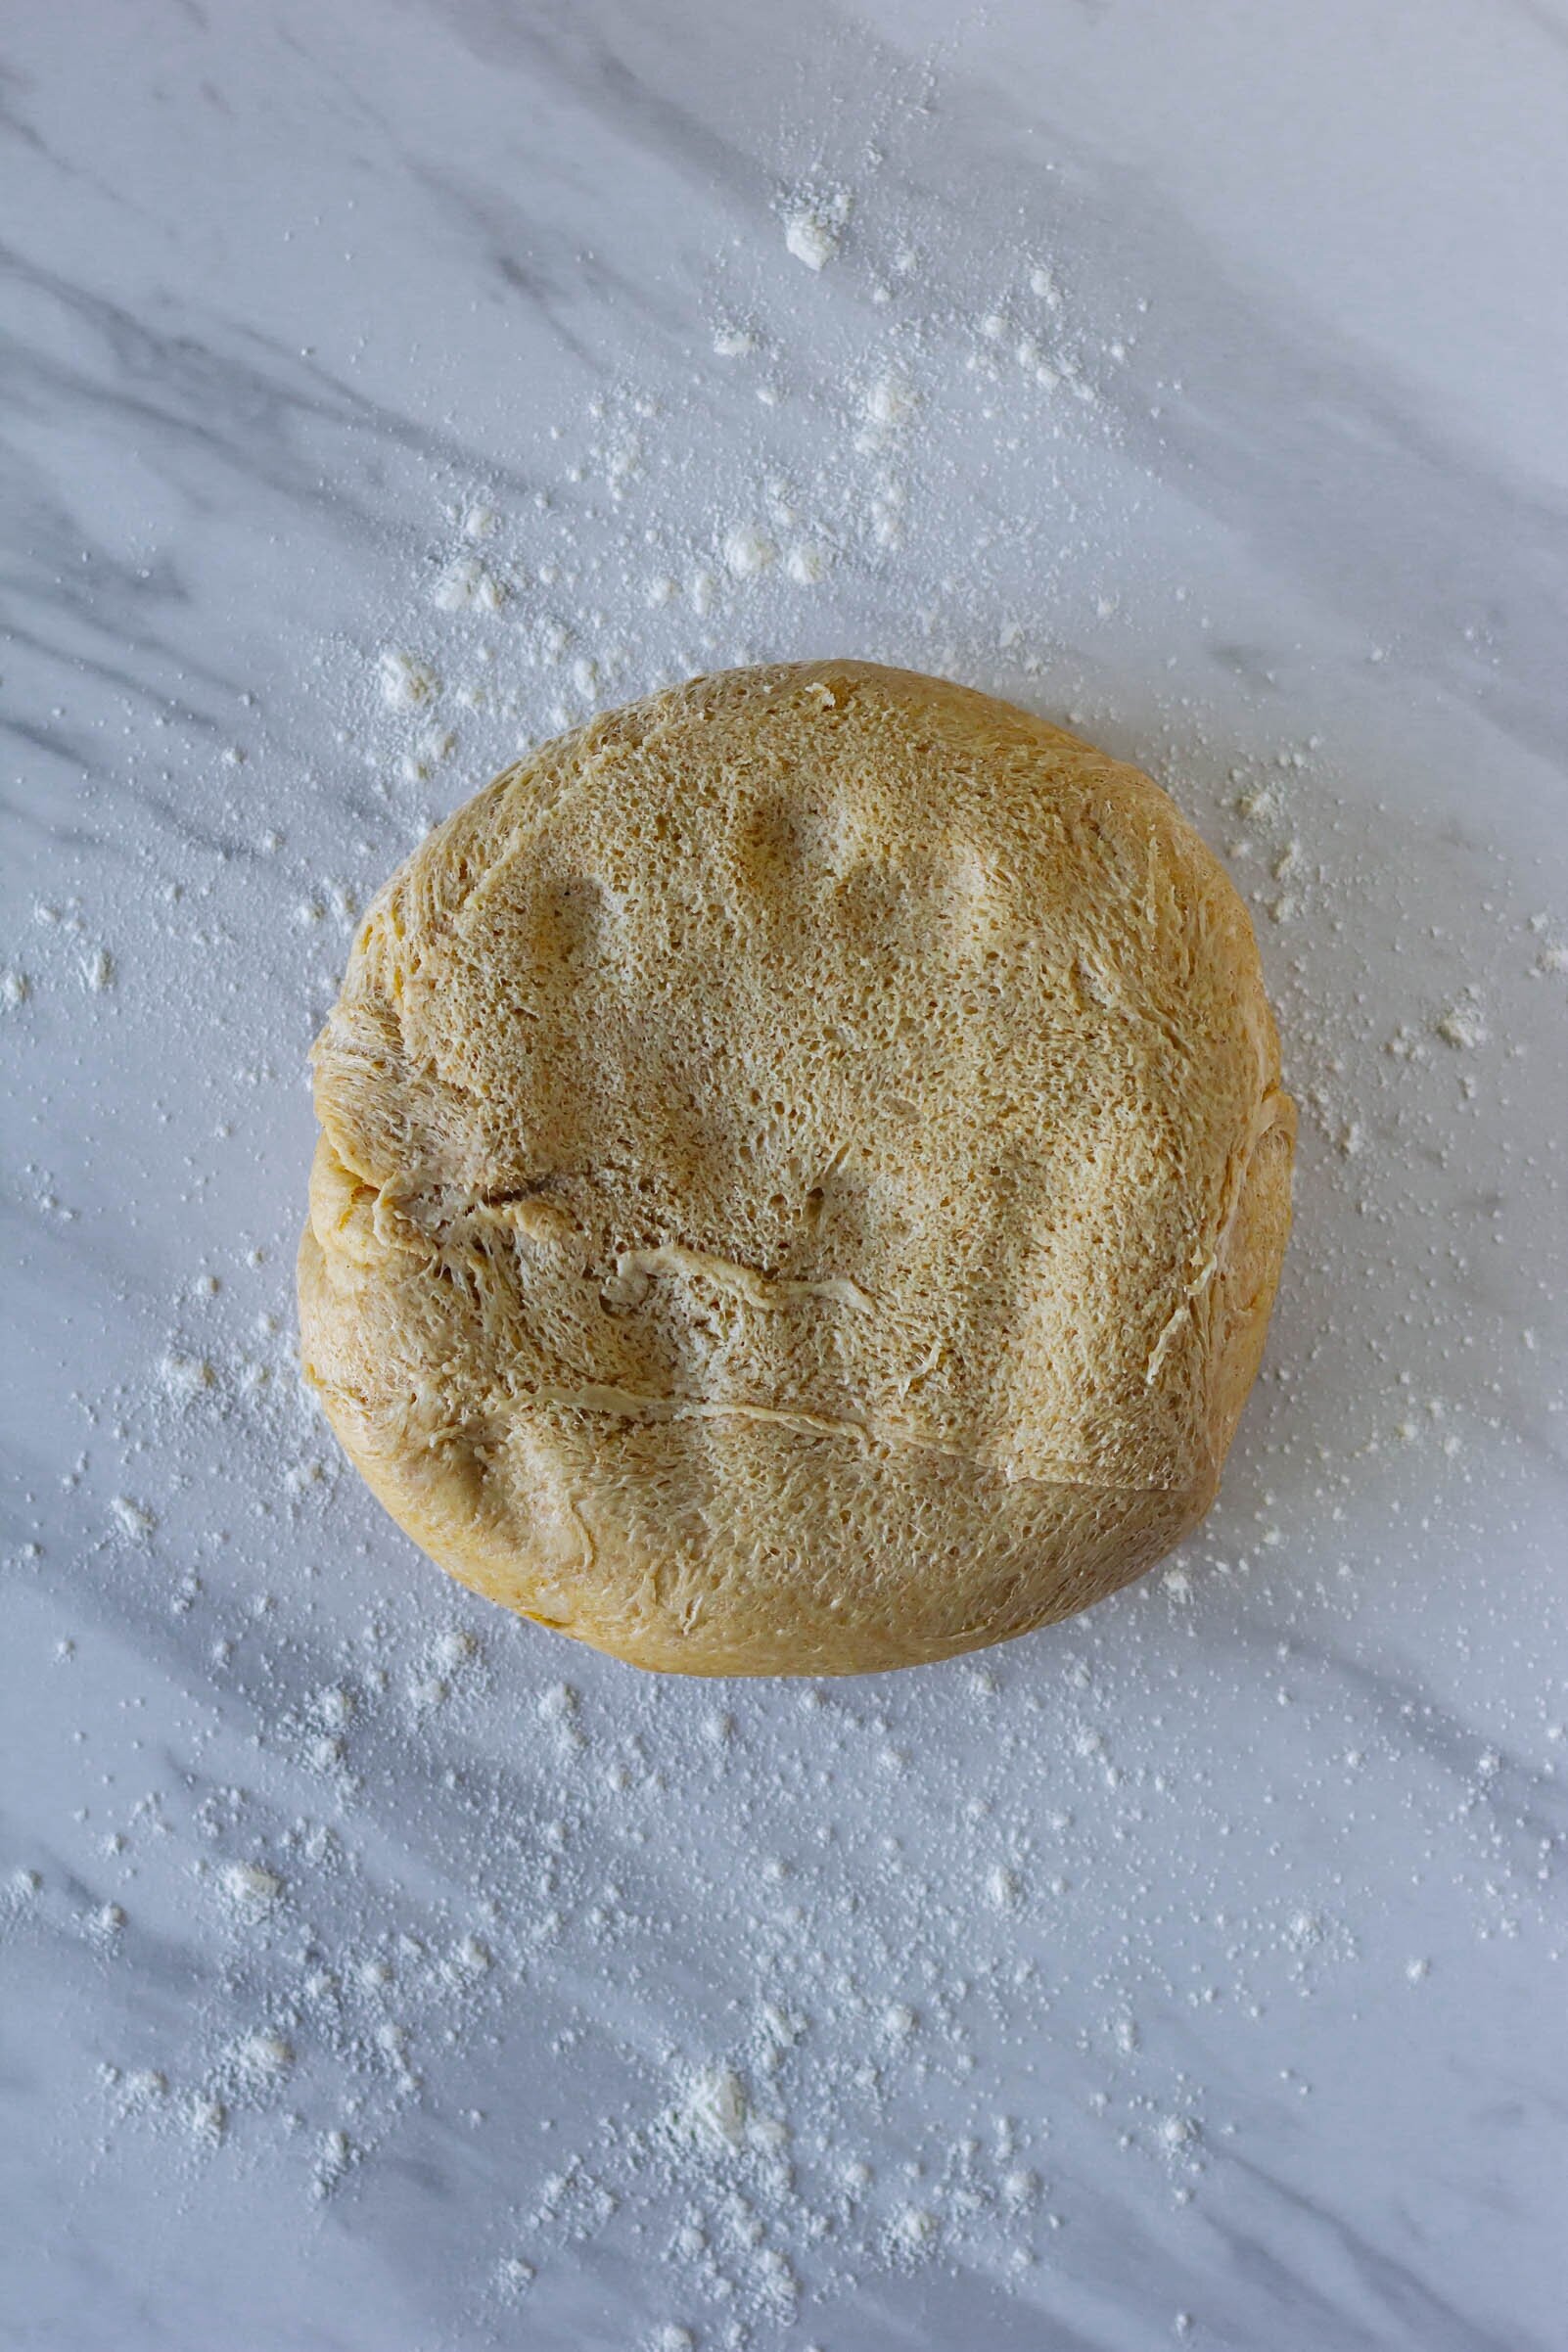
Yeast and buttermilk start us off. Then dry ingredients and eggs get added and kneaded into a shaggy dough, before softened butter is added cube by cube. Using a stand mixer is pretty important here since brioche undergoes a pretty extensive kneading process (made a bit stickier by all of the butter). Because this dough is enriched, all of those additions like sugar, eggs, milk, and butter get in the way of gluten formation. This means that it’s going to take a bit longer for sufficient gluten formation to form—a stand mixer makes this so much easier!

chilling the dough

I will forever preach cold-proofing. Cold proofing is simply allowing your dough to complete a long rise in the fridge in order for flavor to fully develop. It’s something that bakers and pastry chefs always do that is often skipped over in home-baking style recipes and I think it makes a really big difference in your final product. If are absolutely pinched for time, you can skip the overnight cold proof (see the recipe notes), but I highly recommend you don’t. The difference is a cinnamon roll where flavor comes from the dough, the filling and the frosting as opposed to one where the filling and frosting takes spotlight and the dough is just a cinnamon-sugar vessel. Try it once for yourself and taste the difference!

tahini orange cinnamon rolls-19.jpg

filling and frosting

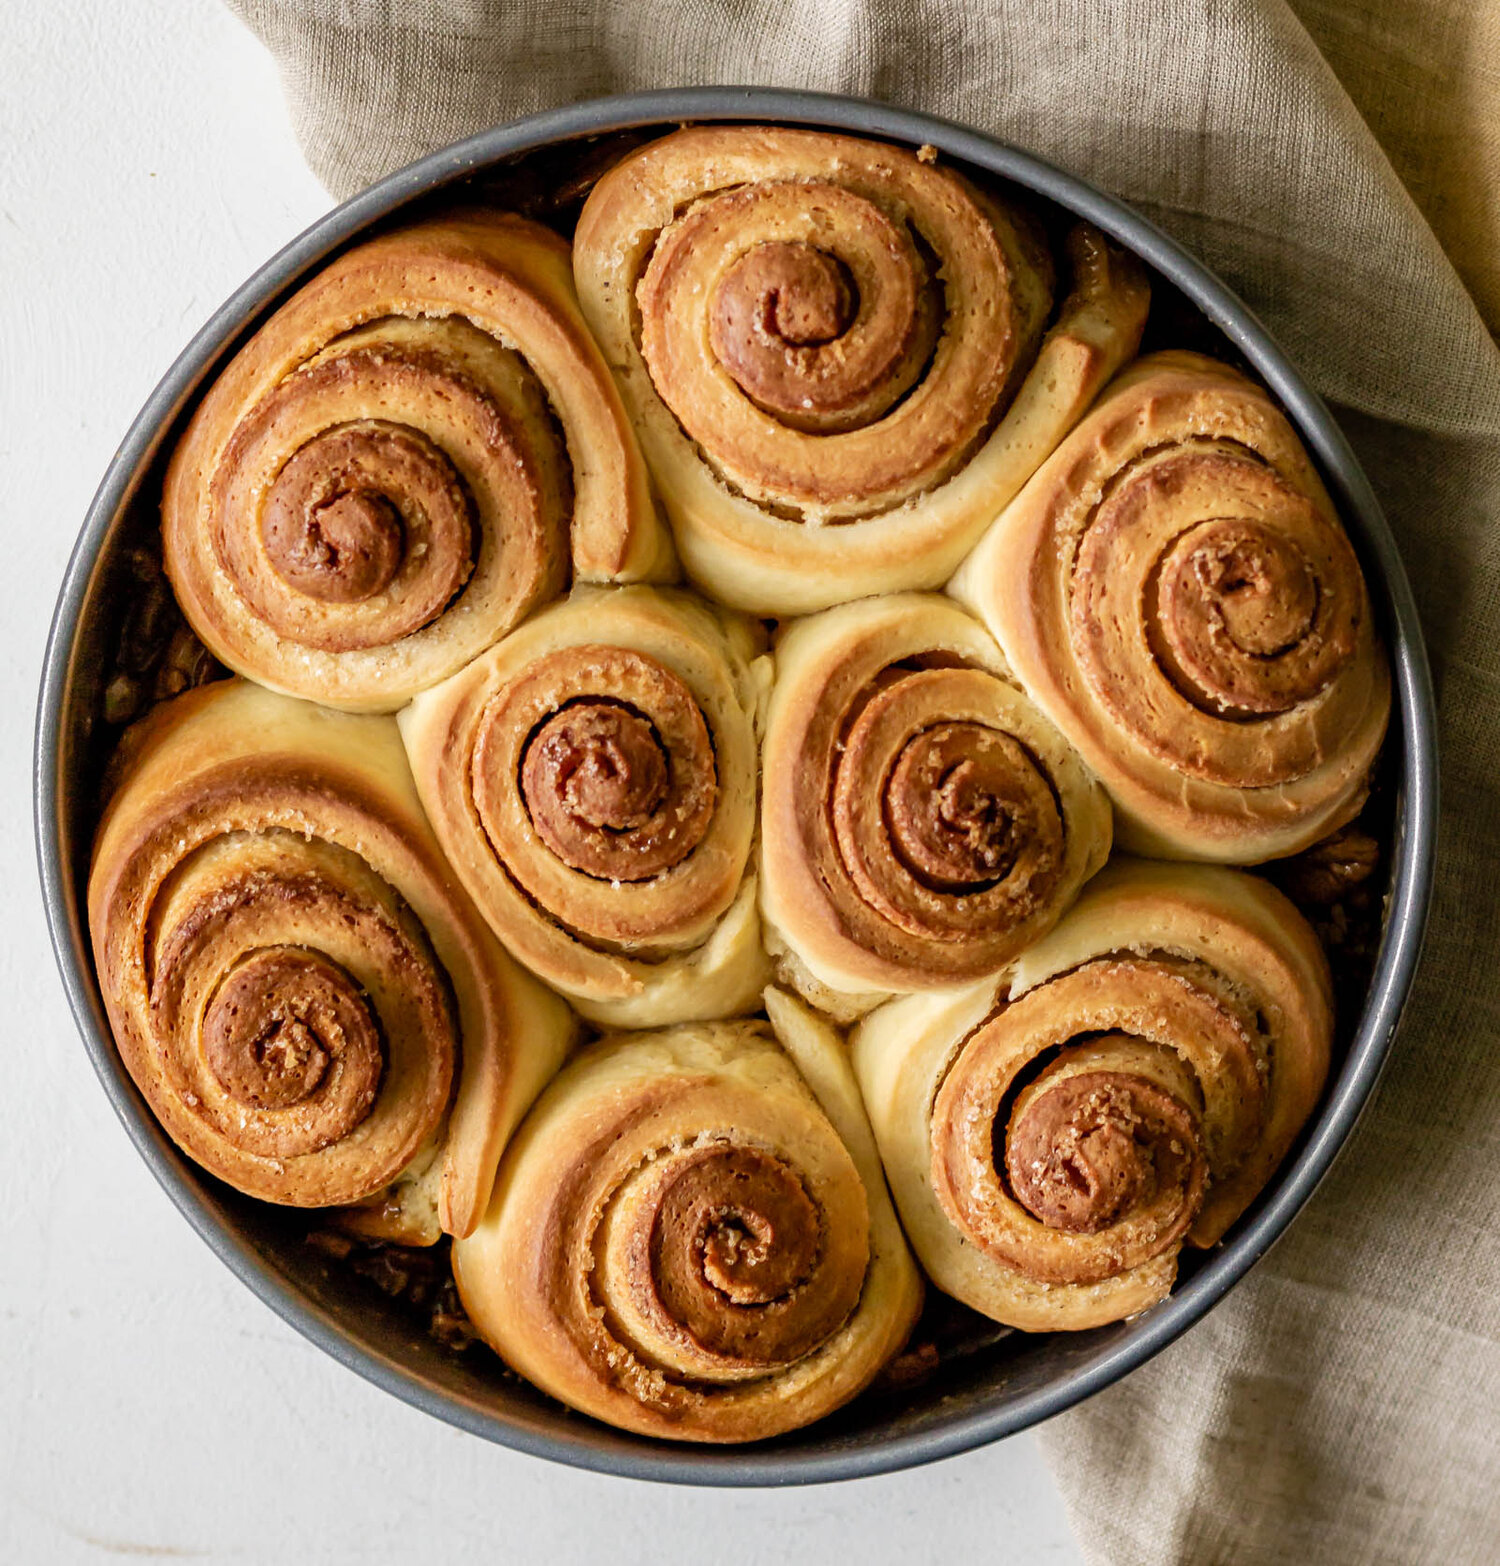
The rest of this cinnamon roll recipe is familiar. The dough is rolled out and filled with a cinnamon, butter, tahini, spice mixture. It is rolled and shaped into a tight log and cute little swirls are sliced, proofed, and baked.

The frosting is a real show-stopper. Brown some butter, chill it, and then beat it into a classic cream cheese frosting. Swoop it all on top of warm cinnamon rolls so that oozes down into the crevices and then eat them immediately with lots of coffee and soak up all that autumnal goodness.

Tahini Orange Cinnamon Rolls with Browned Butter Cream Cheese Frosting
Yield
12
Author
Prep time
30 Min
Cook time
35 Min
Inactive time
12 Hour
Total time
13 H & 4 M

Tahini Orange Cinnamon Rolls with Browned Butter Cream Cheese Frosting

These warm, buttery cinnamon rolls are filled with cinnamon sugar, tahini, and a bit of orange zest. They are topped with an addictive browned butter and cream cheese frosting.

Ingredients

for the dough
  • 70 g (1/3 cup) buttermilk
  • 2 tsp active dry yeast
  • 345 g (2 3/4 cup) all purpose flour
  • 40 g (2 tbsp + 1 tsp) granulated sugar
  • 1/4 tsp kosher salt
  • Zest of one orange
  • 2 eggs
  • 113 g (1/2 cup) unsalted butter, softened
for the filling
  • 4 tbsp unsalted butter, softened
  • 10 g tahini
  • 1/2 cup brown sugar
  • 1 1/2 tsp cinnamon
  • 1 1/2 tsp cardamom
  • Zest of one orange
  • Pinch of salt
for the frosting
  • 113 g (1/2 cup) unsalted butter
  • 8 oz cream cheese, softened
  • 1 1/2-2 cups powdered sugar*
  • 1 tsp vanilla extract
  • Pinch of salt

Instructions

to make the dough
  1. Heat buttermilk until warm to the touch. Combine warmed milk and yeast in the bowl of a stand mixer fitted with the dough hook. Let proof for about 5 minutes, until foamy, while you prepare the rest of the ingredients.
  2. In a medium bowl, combine all purpose flour salt, and sugar. Set aside.
  3. Lightly beat eggs and then add them to the mixer with the milk and yeast. Stir with a rubber spatula to gently combine.
  4. Add the dry ingredients to the liquid and begin mixing, starting on low speed and gradually increasing speed, for 2-3 minutes, until a thick dough begins to form.
  5. With the mixer running on medium-low speed, add the softened butter, one tablespoon at a time, until incorporated. Once all of the butter has been added, increase the mixer speed to medium-high and knead for 6-7 minutes, until a smooth, elastic dough has formed. Turn the dough onto a work surface and knead by hand for another minute and then shape the dough into a ball. Place the dough ball into a greased bowl, cover, and let proof at room temperature for 1 1/2 hours, until swollen and almost doubled in size.
  6. After the dough has completed its first proof, punch it down and cover the bowl tightly with plastic wrap. Transfer to the refrigerator and chill overnight, or approximately 12 hours*.
to make the filling
  1. Stir together all filling ingredients to form a smooth paste.
filling, shaping, and the final proof
  1. Remove the dough from the refrigerator and let rest at room temperature for 30 minutes.
  2. Turn it out onto a lightly floured work surface and roll out into a large rectangle, approximately 1/4” thick and about 16”x20”.
  3. Dollop the filling over the dough and use an offset spatula to spread it into an even layer, reaching all the way to the edges of the dough.
  4. Starting from one of the long edges, tightly roll the dough into a log. Use a serrated knife to slice the log into 12 equal pieces. Places rolls cut side down in a 9x13” baking dish. Cover and let proof again for 1-1/2 to 2 hours, until rolls are puffy.
  5. Bake at 350° F for 30-35 minutes, until deeply golden. Let cool slightly and then frost while warm.
to make the frosting
  1. Place butter in a small saucepan and cook over medium heat for 6-7 minutes, until nutty and fragrant and little brown bits appear at the bottom of the pot.
  2. Transfer browned butter to the fridge and let cool completely.
  3. Place cooled browned butter and softened cream cheese in the bowl of a stand mixer fitted with the paddle attachment. Beat until smooth and well combined.
  4. Scrape down the sides of the bowl and add the vanilla, salt, and powdered sugar. Continue mixing for 1-2 minutes, until light and fluffy.
  5. Spread over warm cinnamon rolls and serve!

Notes:

  • If you are pressed for time, you can skip the overnight rest in the fridge and substitute it with a 30 minute chill. Completing a long cold proof helps flavor develop in enriched doughs like this one, so I HIGHLY recommend that you work it in, if possible, but it can be skipped if needed.
  • The sweetness of a frosting is highly subjective, so I recommend starting with a lower measurement of powdered sugar, tasting as you go, and adding more bit by bit until you reach your ideal sweetness level. If at any point, the frosting gets too thick, you can loosen it with a teaspoon or two of heavy cream or milk.
Did you make this recipe?
Tag @gatheredatmytable on instagram and hashtag it #gatheredatmytable

Browned Butter and Spelt Cinnamon Buns

speltcinnamonbuns2.jpg

Did you know that the first weekend in October is Cinnamon Bun Day in Sweden? They celebrate by eating cinnamon buns and often those cute little Swedish dough twists are brought into workplaces and given to friends all over the country. This sounds like the most wonderful holiday and I’m ready to move to Sweden where I can live among my kind of people.

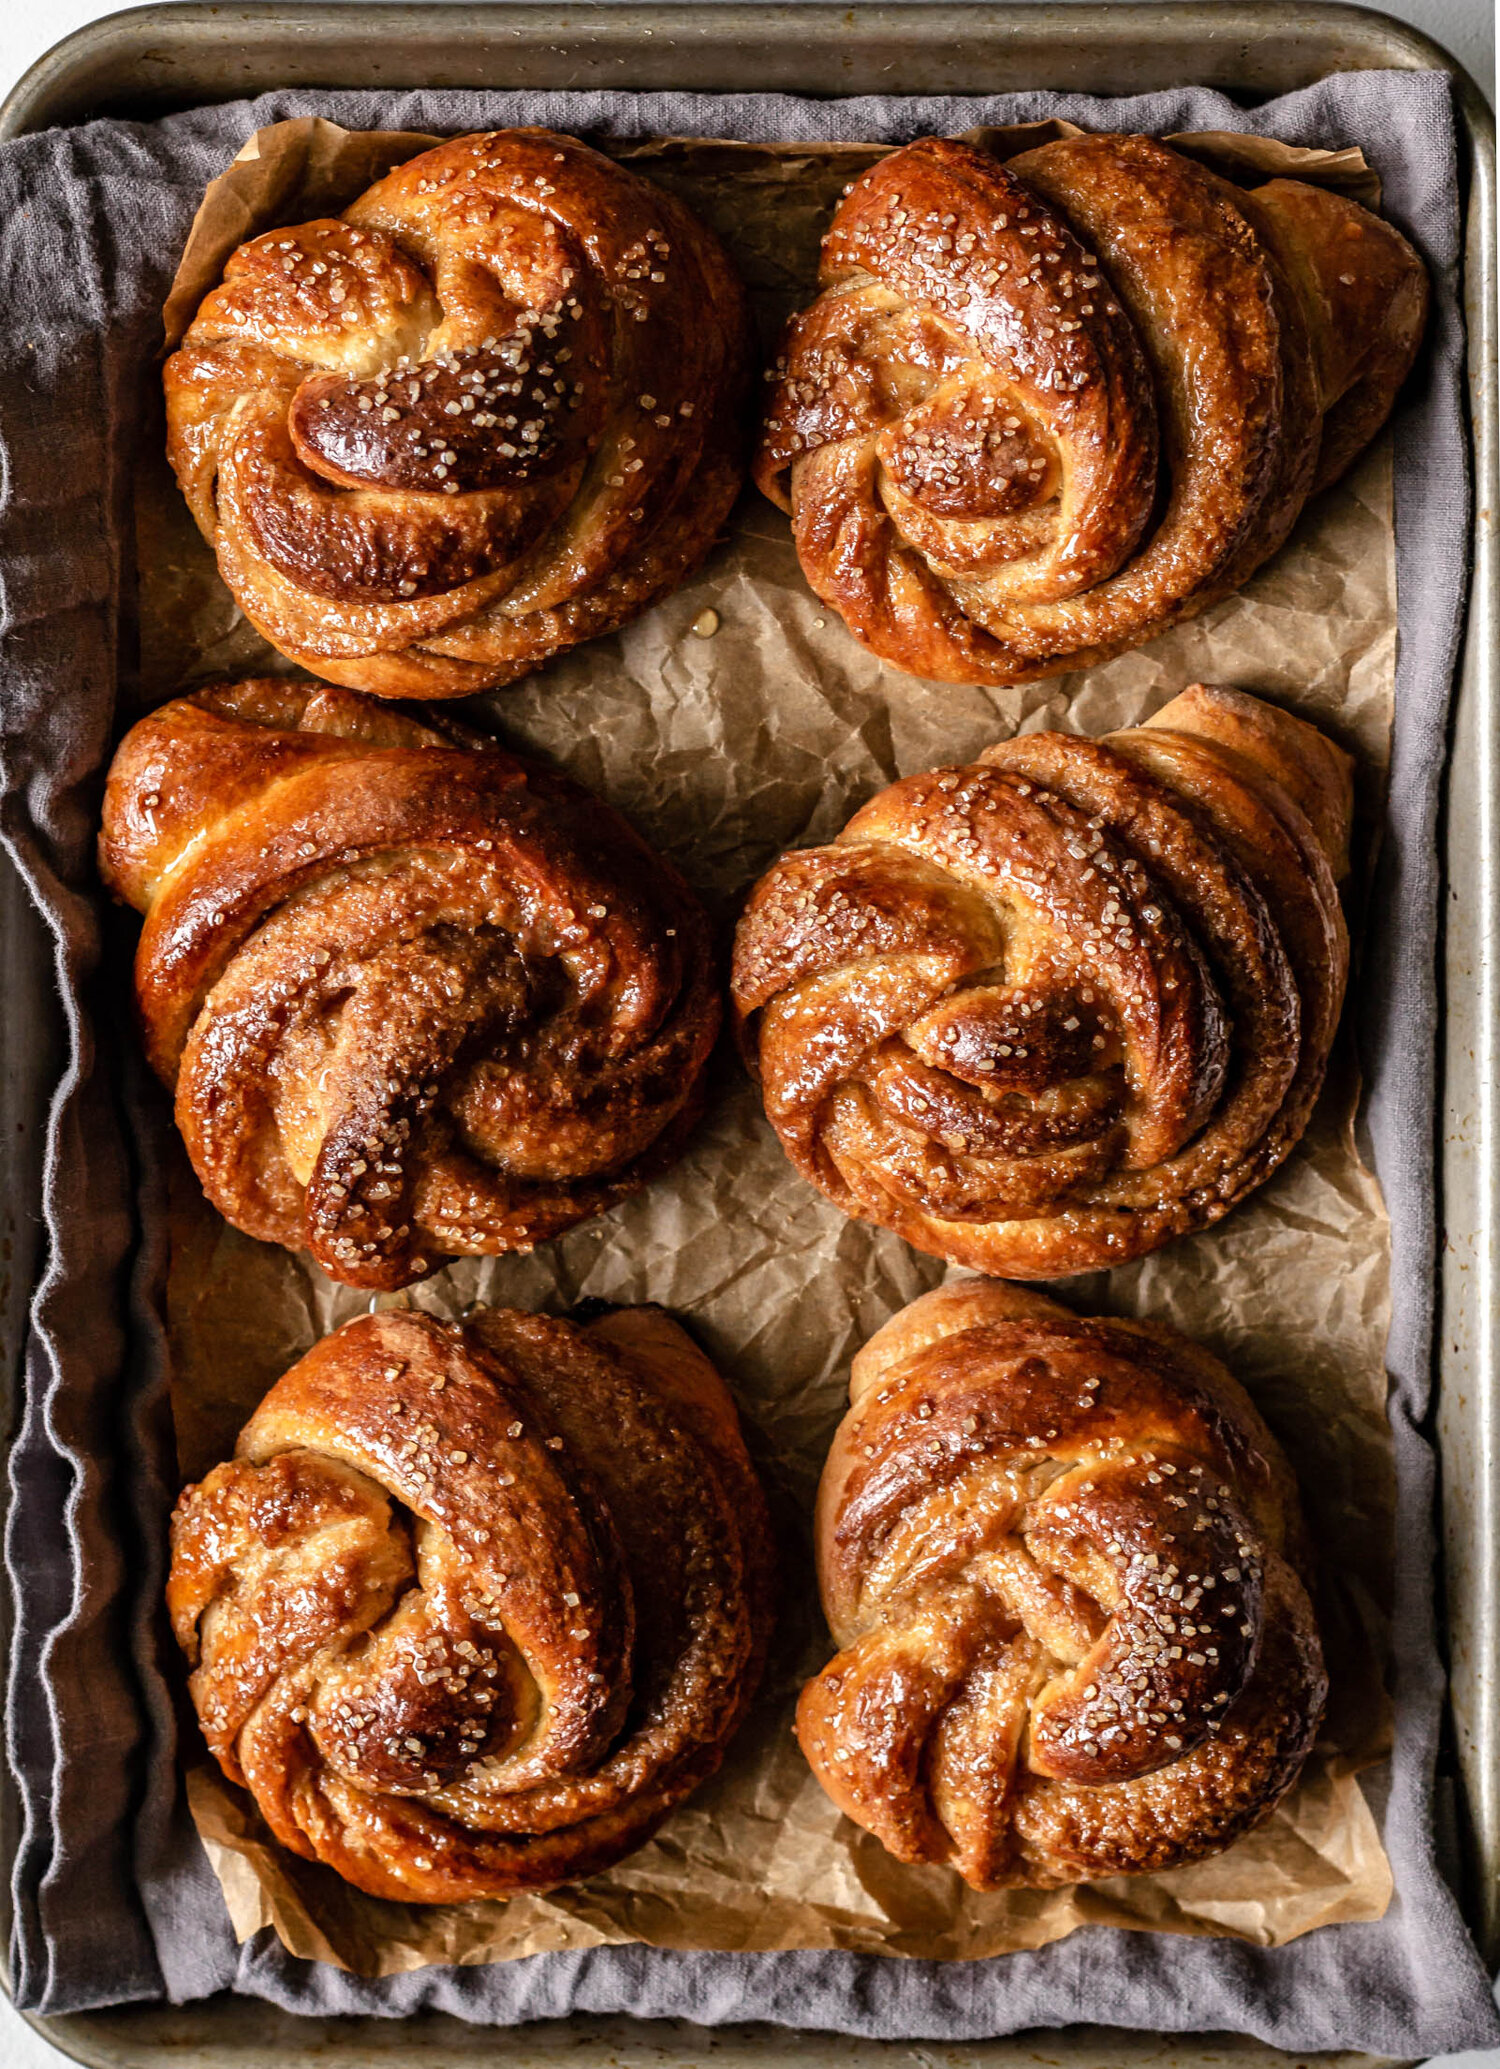
I discovered this because one of Martin’s players is from Sweden and this kind man brought IKEA cinnamon buns to work for everyone to celebrate. It was a Sunday afternoon and I got a text from Martin that said “Did you know it’s Cinnamon Bun Day in Sweden?! We should make some tonight!” Side note: When Martin says “we” should make something, he mostly means I should make something so that he can eat something, but in all fairness, he washes dishes for me so I can’t complain. Anyway, it was already 4 pm and I am not a night baker, but I felt moved by the holiday and decided to go for it. I adapted one of my brioche recipes and made these sweet little buns. We baked off a few that night (for testing purposes, of course) and I let the rest do a little overnight proof in the fridge. Friends, they were beautiful. Their little Circus-bakery-esque twists were filled with cinnamon and tahini and cardamom. They were fluffy and pillowy and I brushed them with a honey cinnamon syrup and all was right with the world.

We may not have a National Cinnamon Bun Day (or maybe we do, there are so many food holidays, I can’t keep it straight), but December feels like unofficial Cinnamon Bun season which gives us permission to eat cinnamon-swirled dough of all shapes and sizes well into January.

In practical information, I have lots of notes on this recipe regarding proofing, chilling, and shaping. There are many options to help you work this recipe into your schedule, so be sure to read the notes at the bottom. There are also step-by-step shaping instructions down there, too! And as always, feel free to leave a comment if you have any questions. I love talking baking with friends. :)

speltcinnamonbuns12.jpg
speltcinnamonbuns18.jpg

Browned Butter and Spelt Cinnamon Buns

makes 12 rolls


Ingredients

for the brioche

100 g (about 1/2 cup) milk

100 g (about 1/2 cup) buttermilk

14 g (3 tsp) active dry yeast

400 g all purpose flour

130 g spelt flour

60 g granulated sugar

1 tsp kosher salt

3 eggs, at room temperature

113 g (1/2 cup) butter


for the filling

4 tbsp unsalted butter, softened

10 g tahini, well-stirred

135 g (2/3 cup) brown sugar

2 tsp ground cinnamon

1/2 tsp ground cardamom

pinch of salt


for the honey syrup

1/2 cup water

170 g (1/2 cup) honey

3 cinnamon sticks


egg wash

demerara sugar


Procedure 


to make the honey syrup: 

  1. In a small saucepan, stir together water and honey. Add cinnamon sticks and bring to a boil. When the mixture is boiling, remove from heat and let cool completely. Strain out cinnamon sticks and set aside.

    You will have a decent amount of syrup leftover- we love to use this in coffee in the mornings.

to make the filling:

  1. Combine butter and tahini in a medium bowl and stir together until smooth. Add brown sugar, cinnamon, cardamom, and salt and mix well until a paste forms. Set aside.


to make the brioche 

  1. Place butter in a small saucepan over medium heat. Cook, swirling occasionally, for 6-7 minutes until butter is fragrant and foamy and small brown bits are beginning to appear at the bottom of the saucepan. Remove from heat and immediately transfer butter to a clean bowl to stop cooking. Set aside and let cool completely.

  2. Combine milk and buttermilk in a glass measuring cup and heat in the microwave for 30-45 seconds, until just warm to the touch. Add yeast to the warm milk and stir gently. Let rest for about 5 minutes, until yeast is foamy and dissolved.

  3. While the yeast is proofing, combine all purpose flour, spelt flour, sugar, and salt in the bowl of a stand mixer fitted with the dough hook attachment. Mix briefly, about 20 seconds, just to combine.

  4. In a small bowl, lightly beat eggs. Create a small well in the center of the dry ingredients, then pour in milk/yeast mixture, along with the beaten eggs and the cooled browned butter.. Knead, beginning on low speed and gradually increasing to medium for 2-3 minutes until everything is combined and hydrated and no flour bits remain. Once a dough begins to form, increase your mixer speed to medium-high and knead for 6–8 minutes more, until a smooth, elastic dough has formed.

  5. Scrape down the sides of the bowl and gently press dough into a ball. Cover with plastic wrap and let proof for 1 hour in a warm space, until dough is doubled in size.

  6. When the dough has completed it’s first proof, gently punch it down, re-cover it, and place it in the refrigerator to chill for at least one hour, or up to 12 (see notes below for more instruction on overnight proofing).

  7. When the dough has finished chilling, turn it out onto a lightly-floured work surface. Roll the dough out into a rectangle about 13x16” in size and about 1/4” thick.

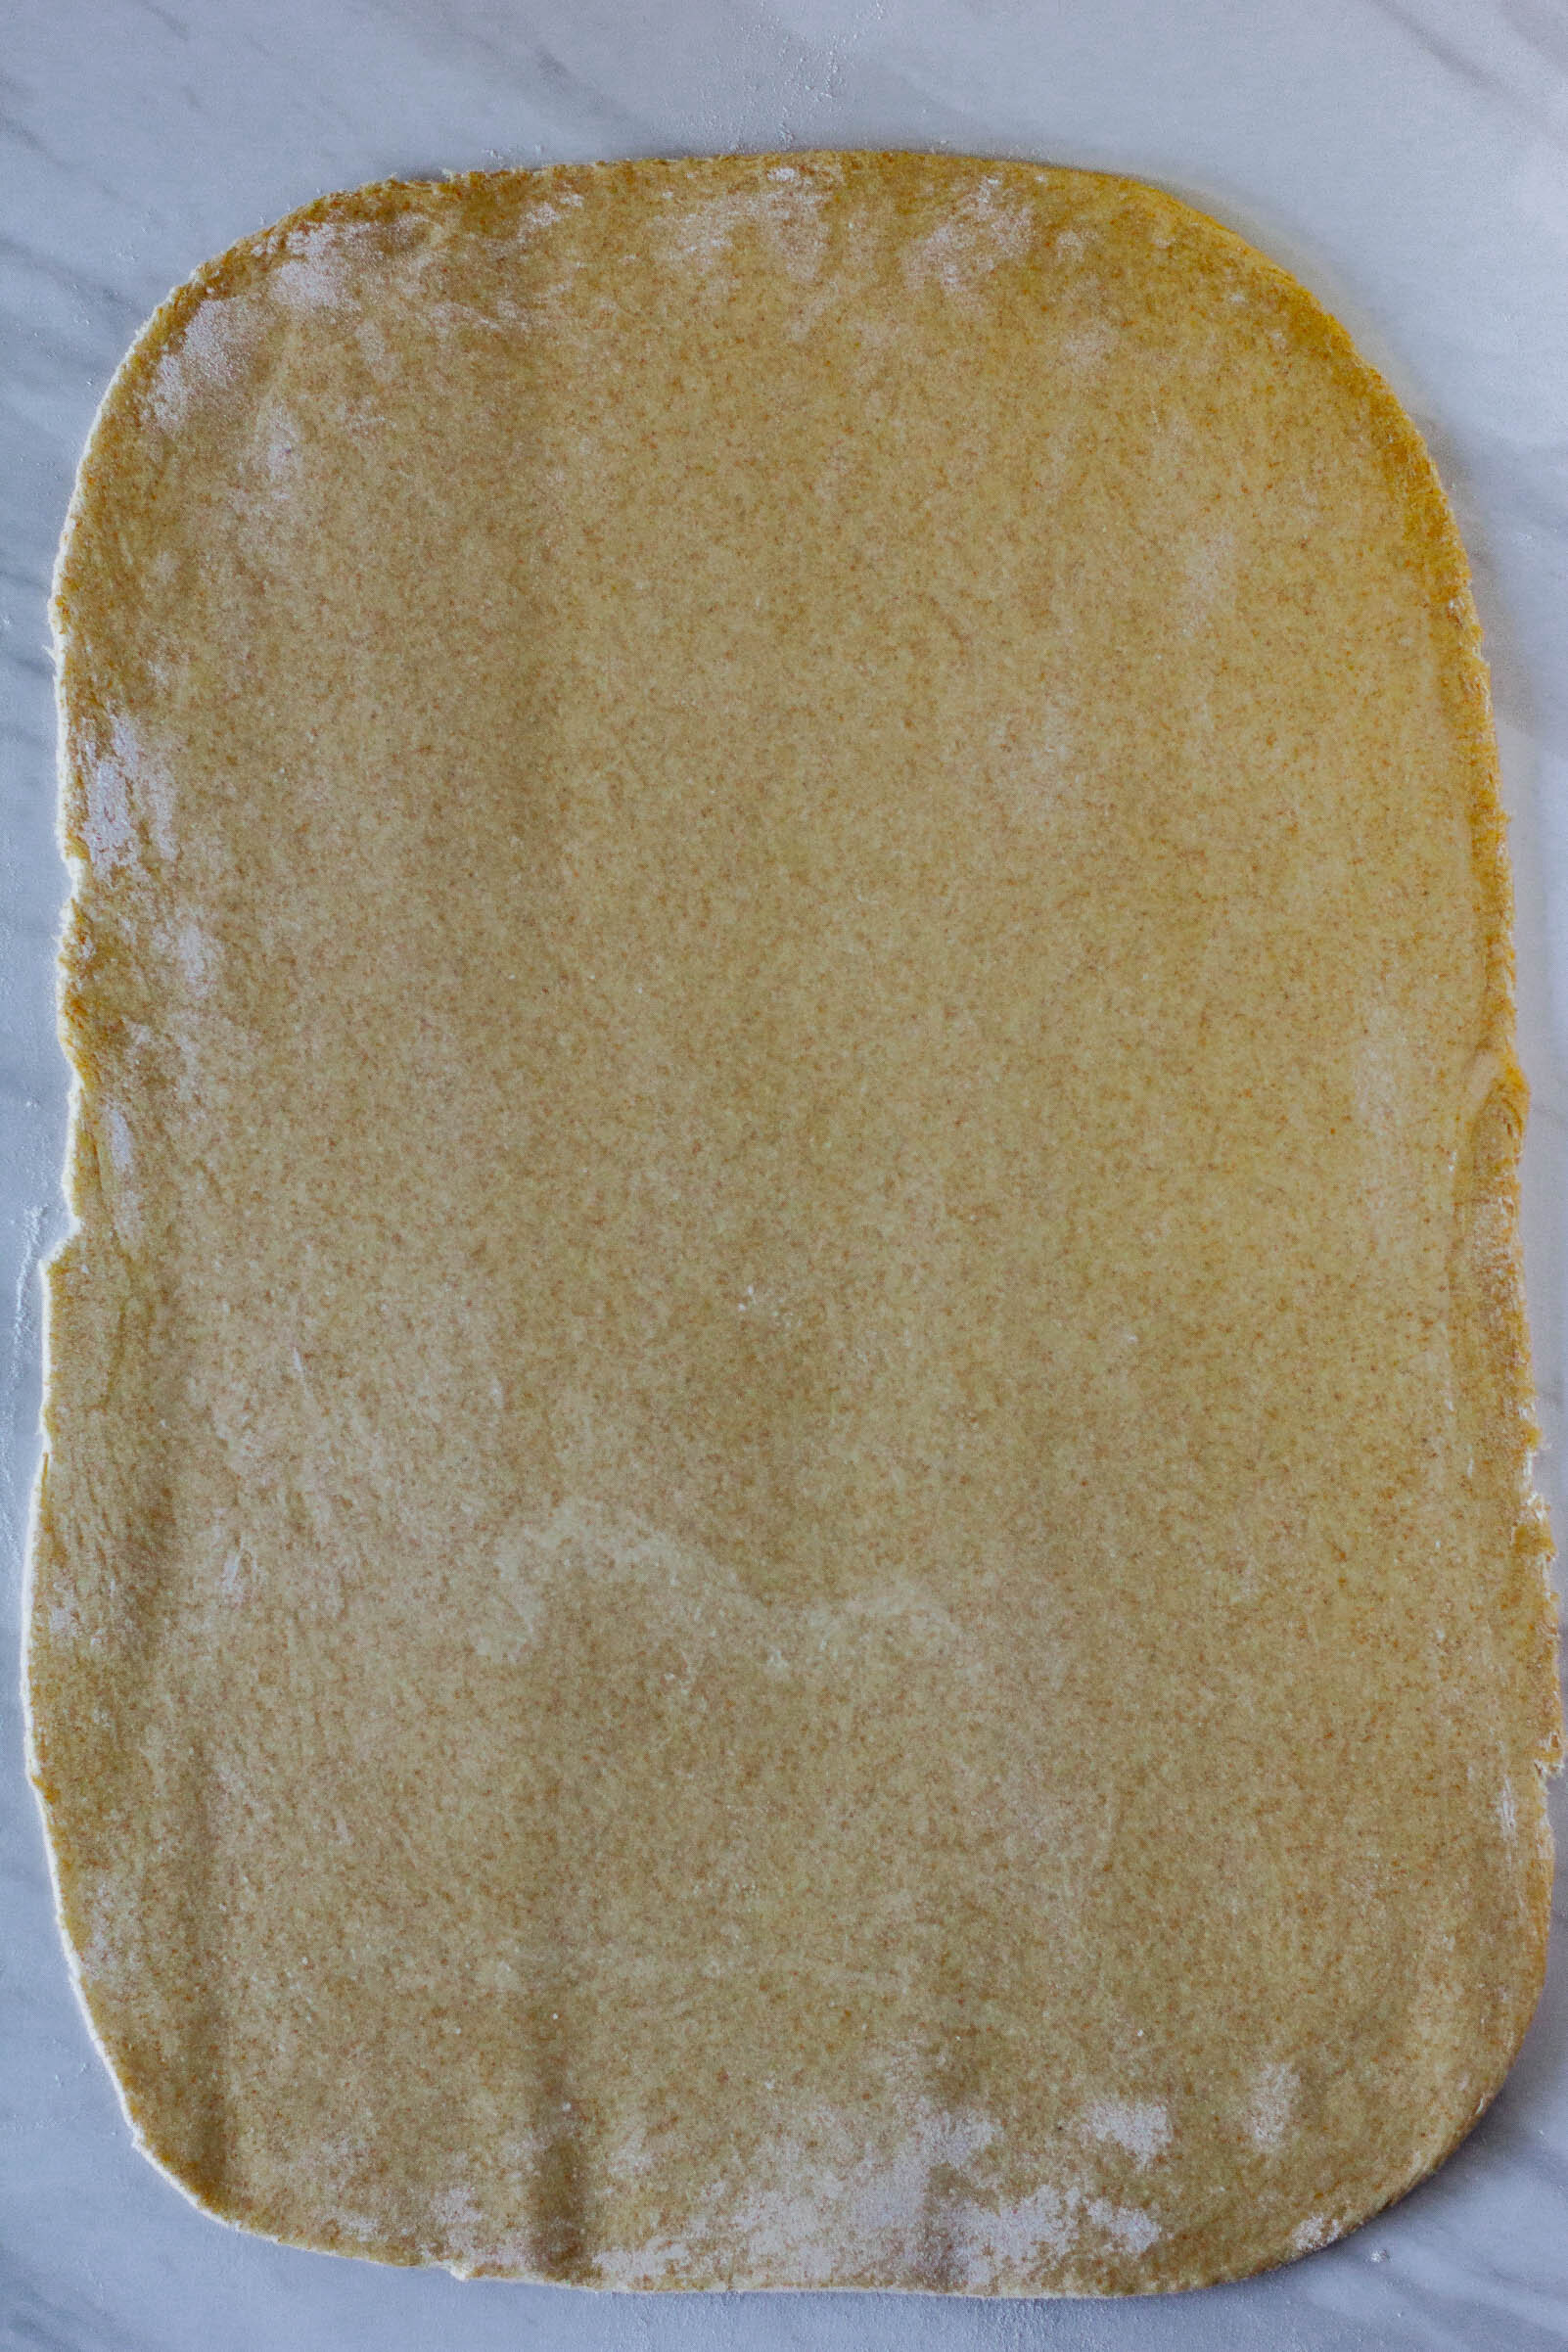
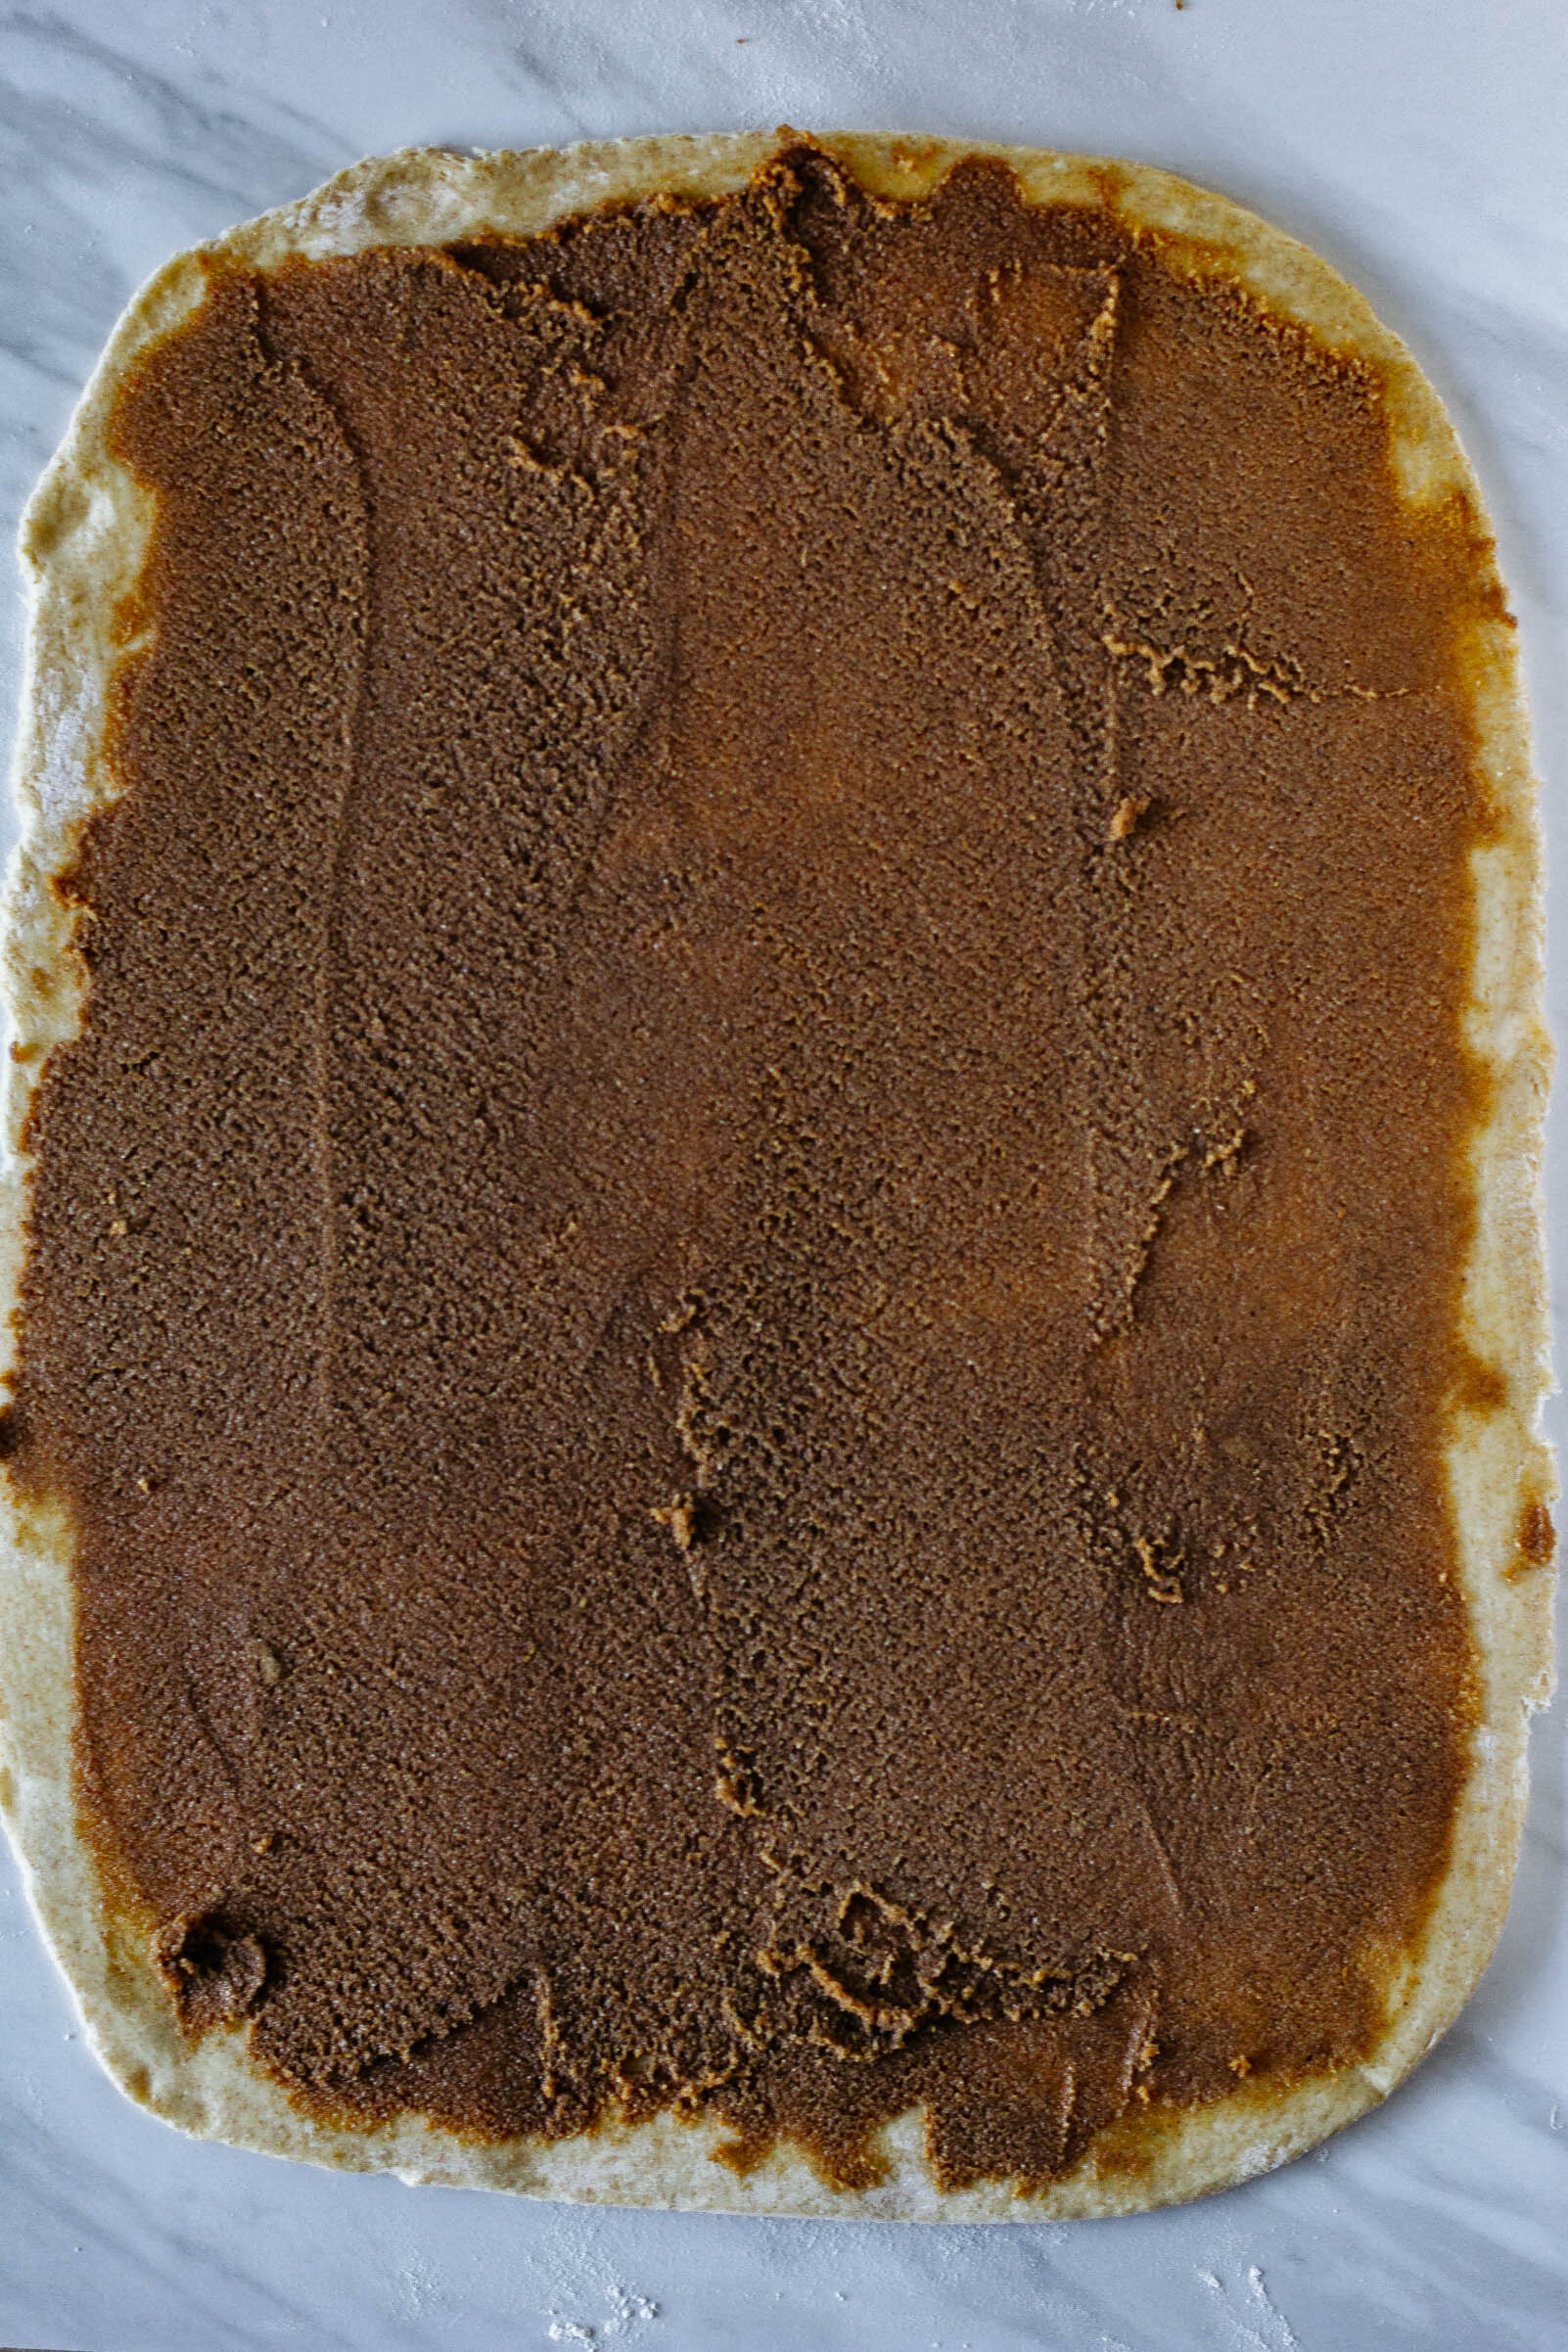
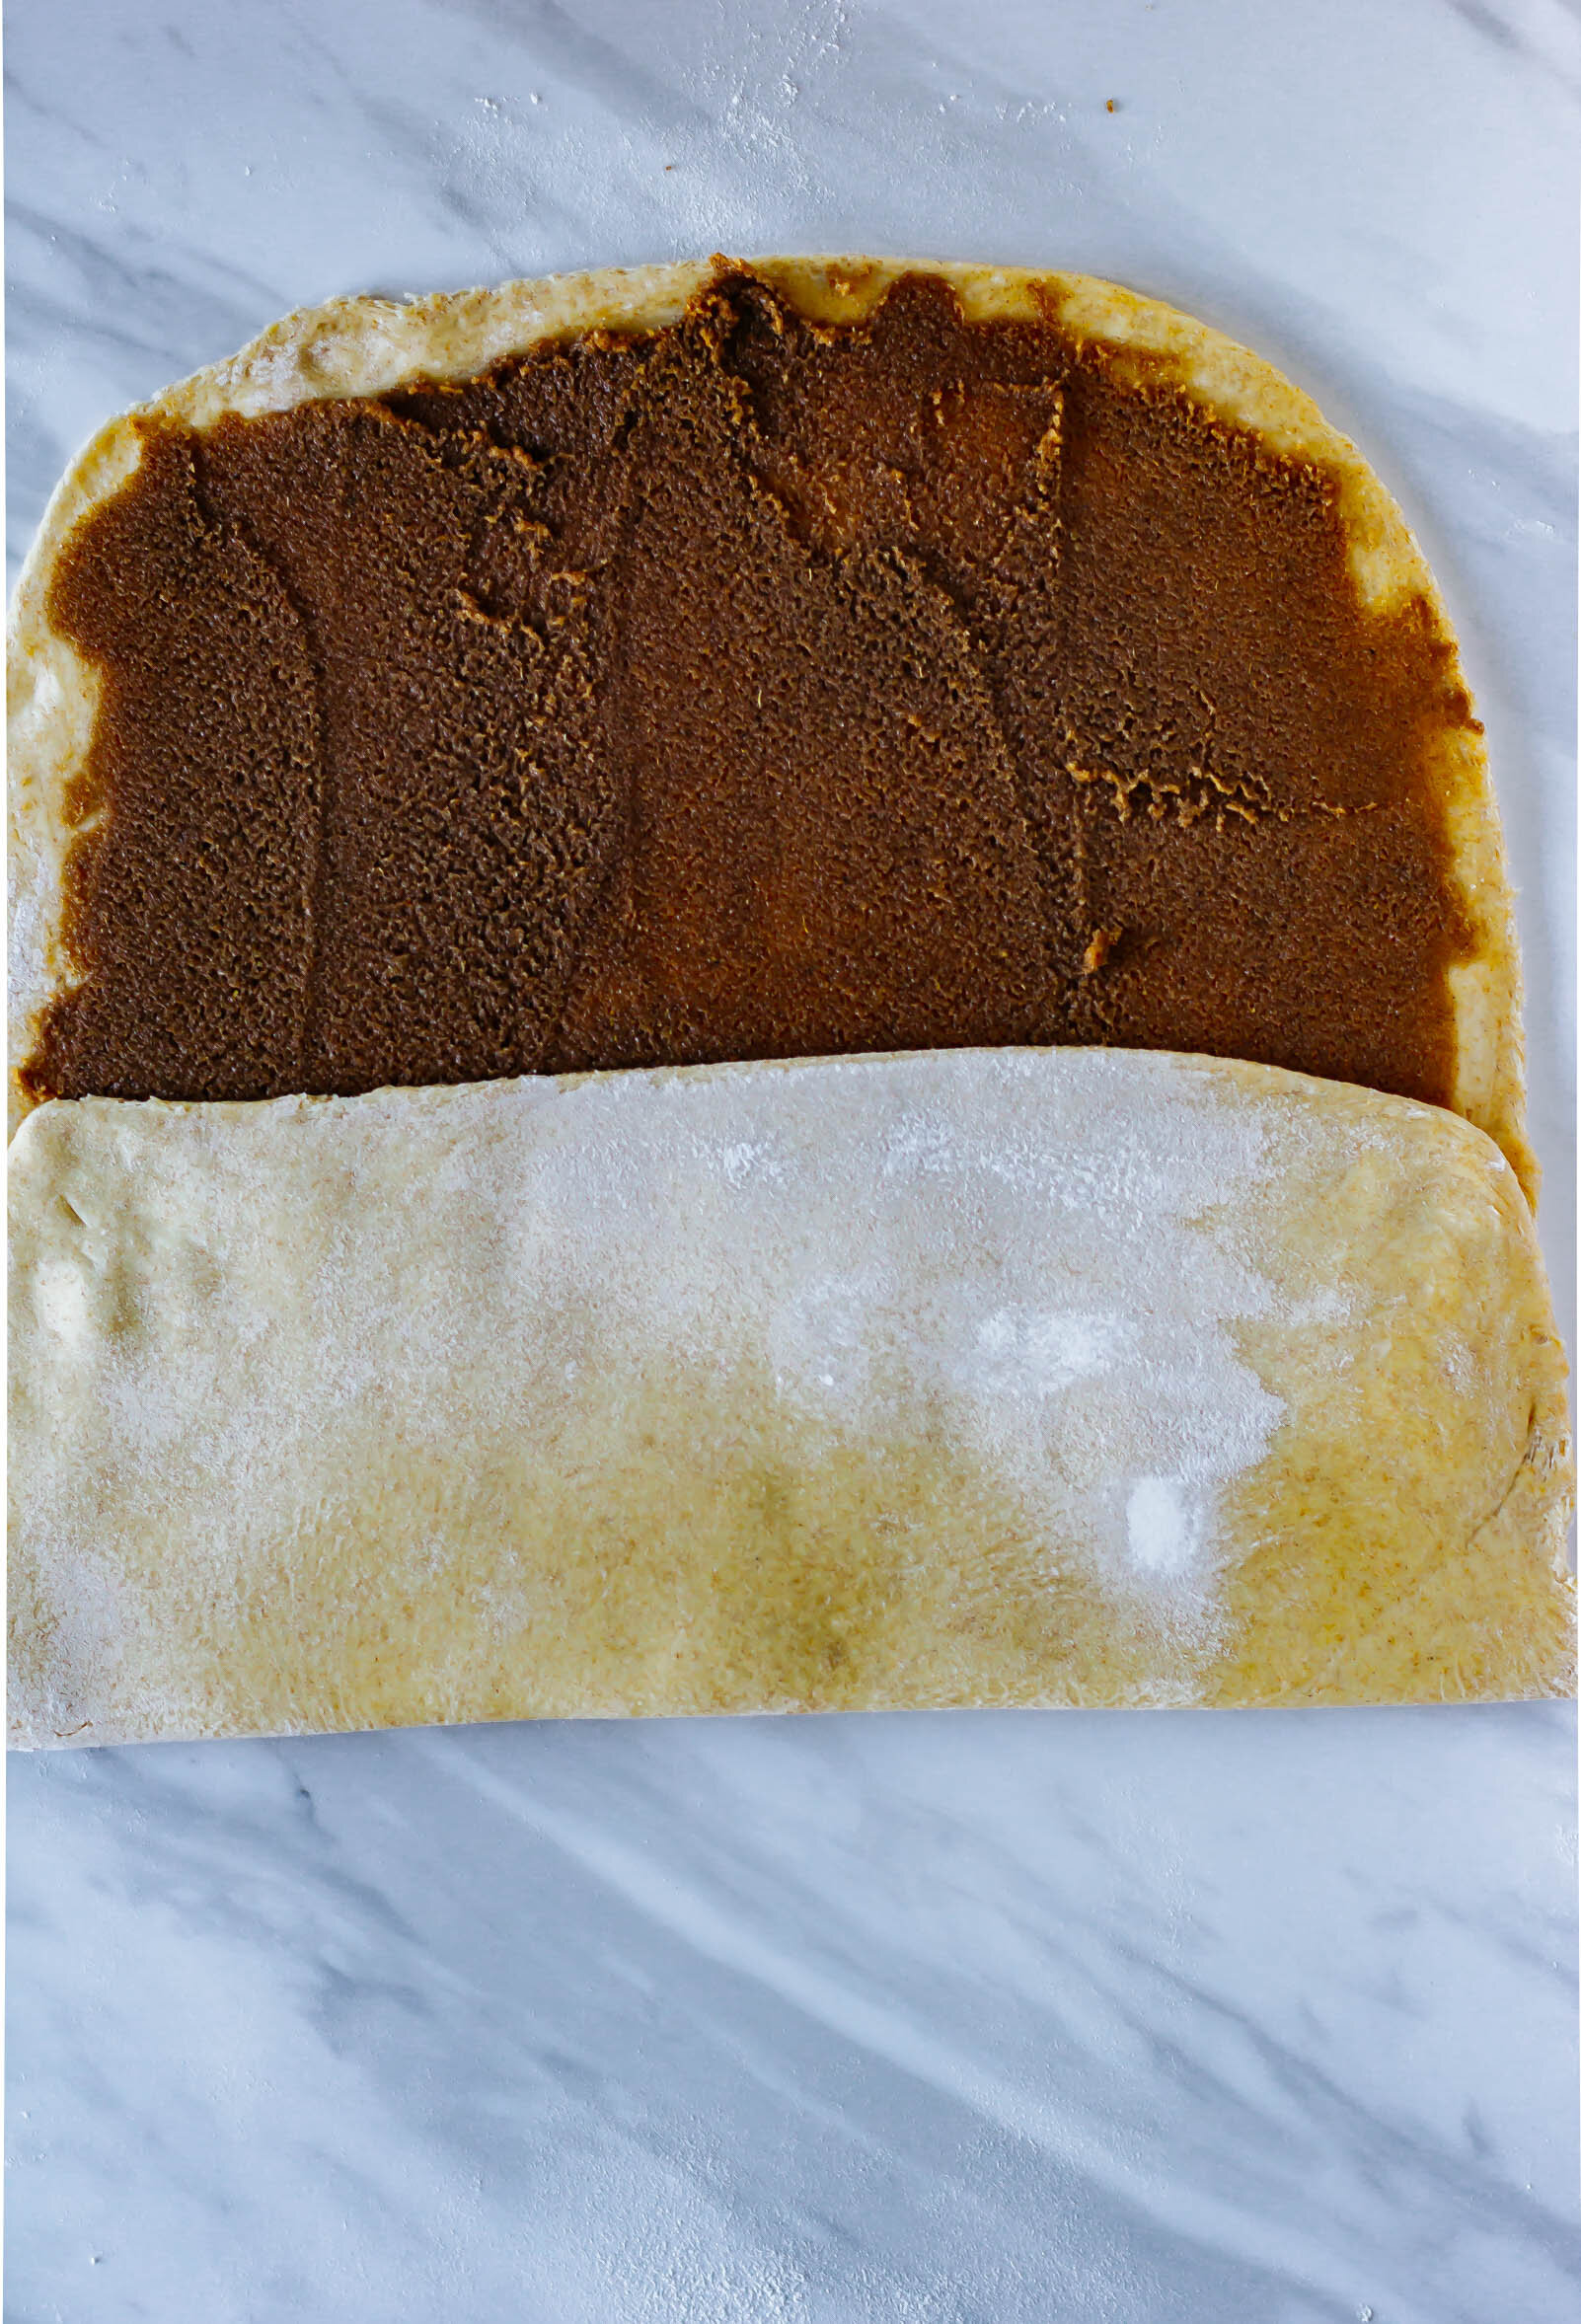
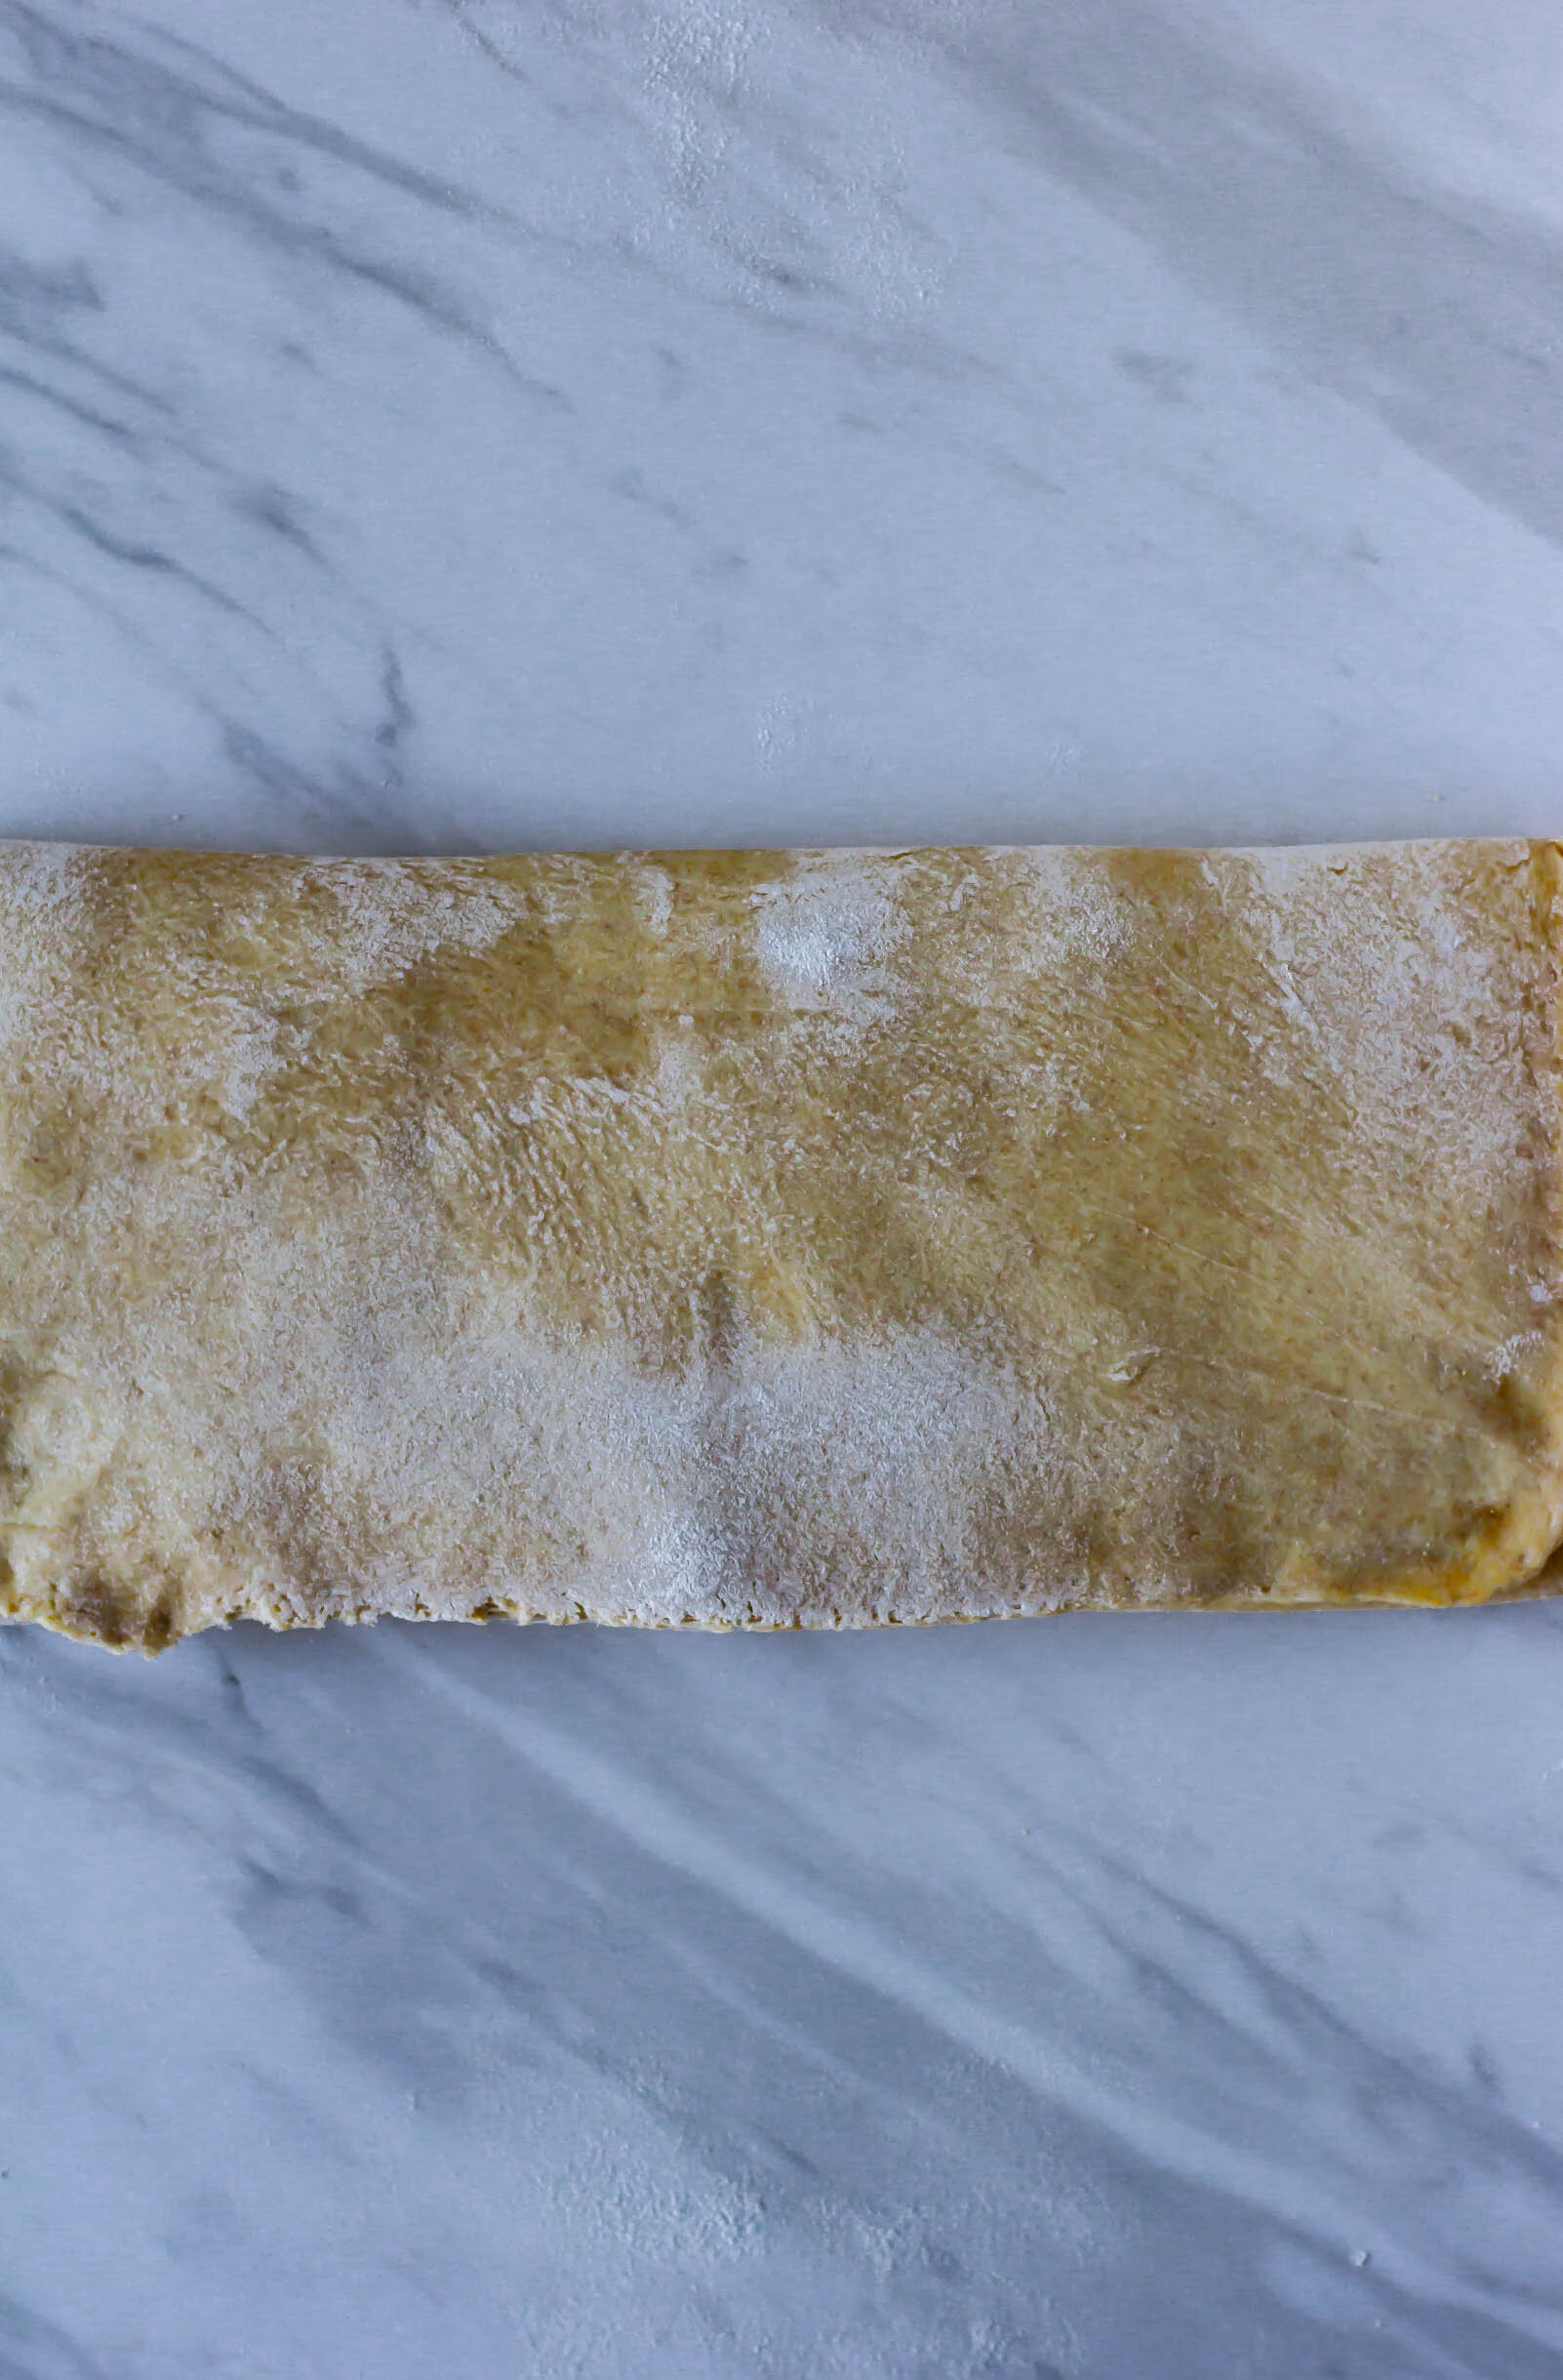
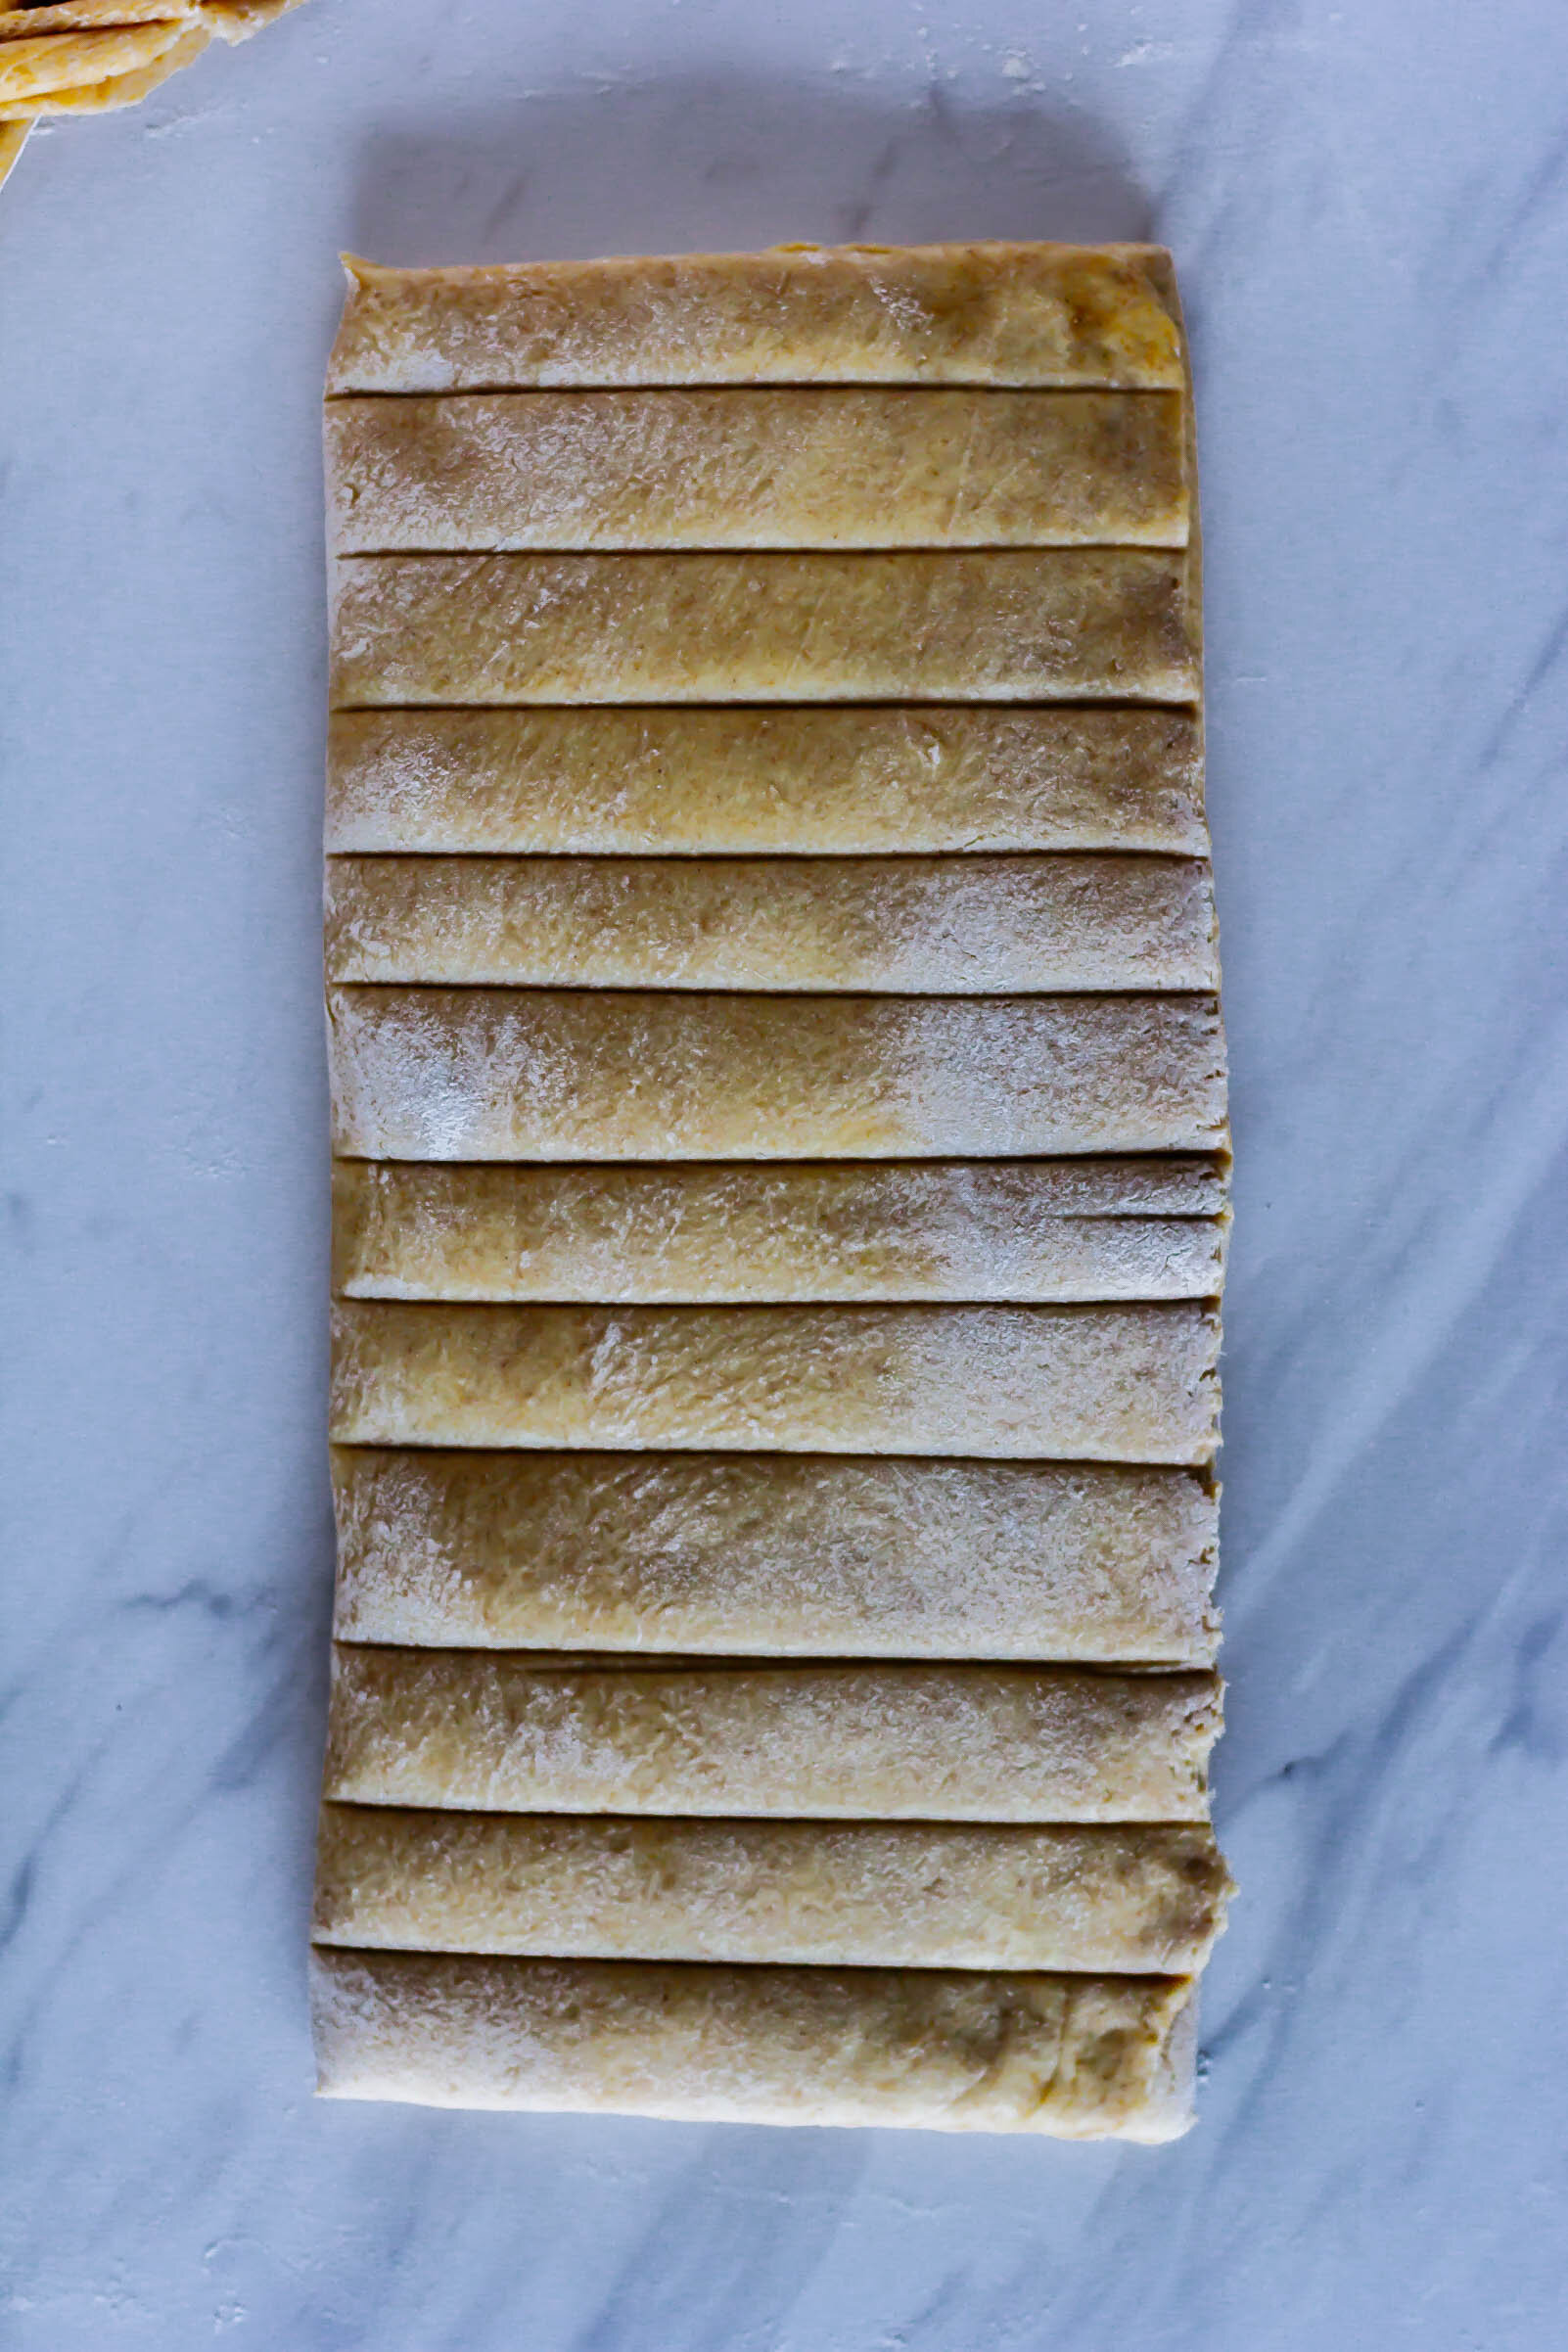
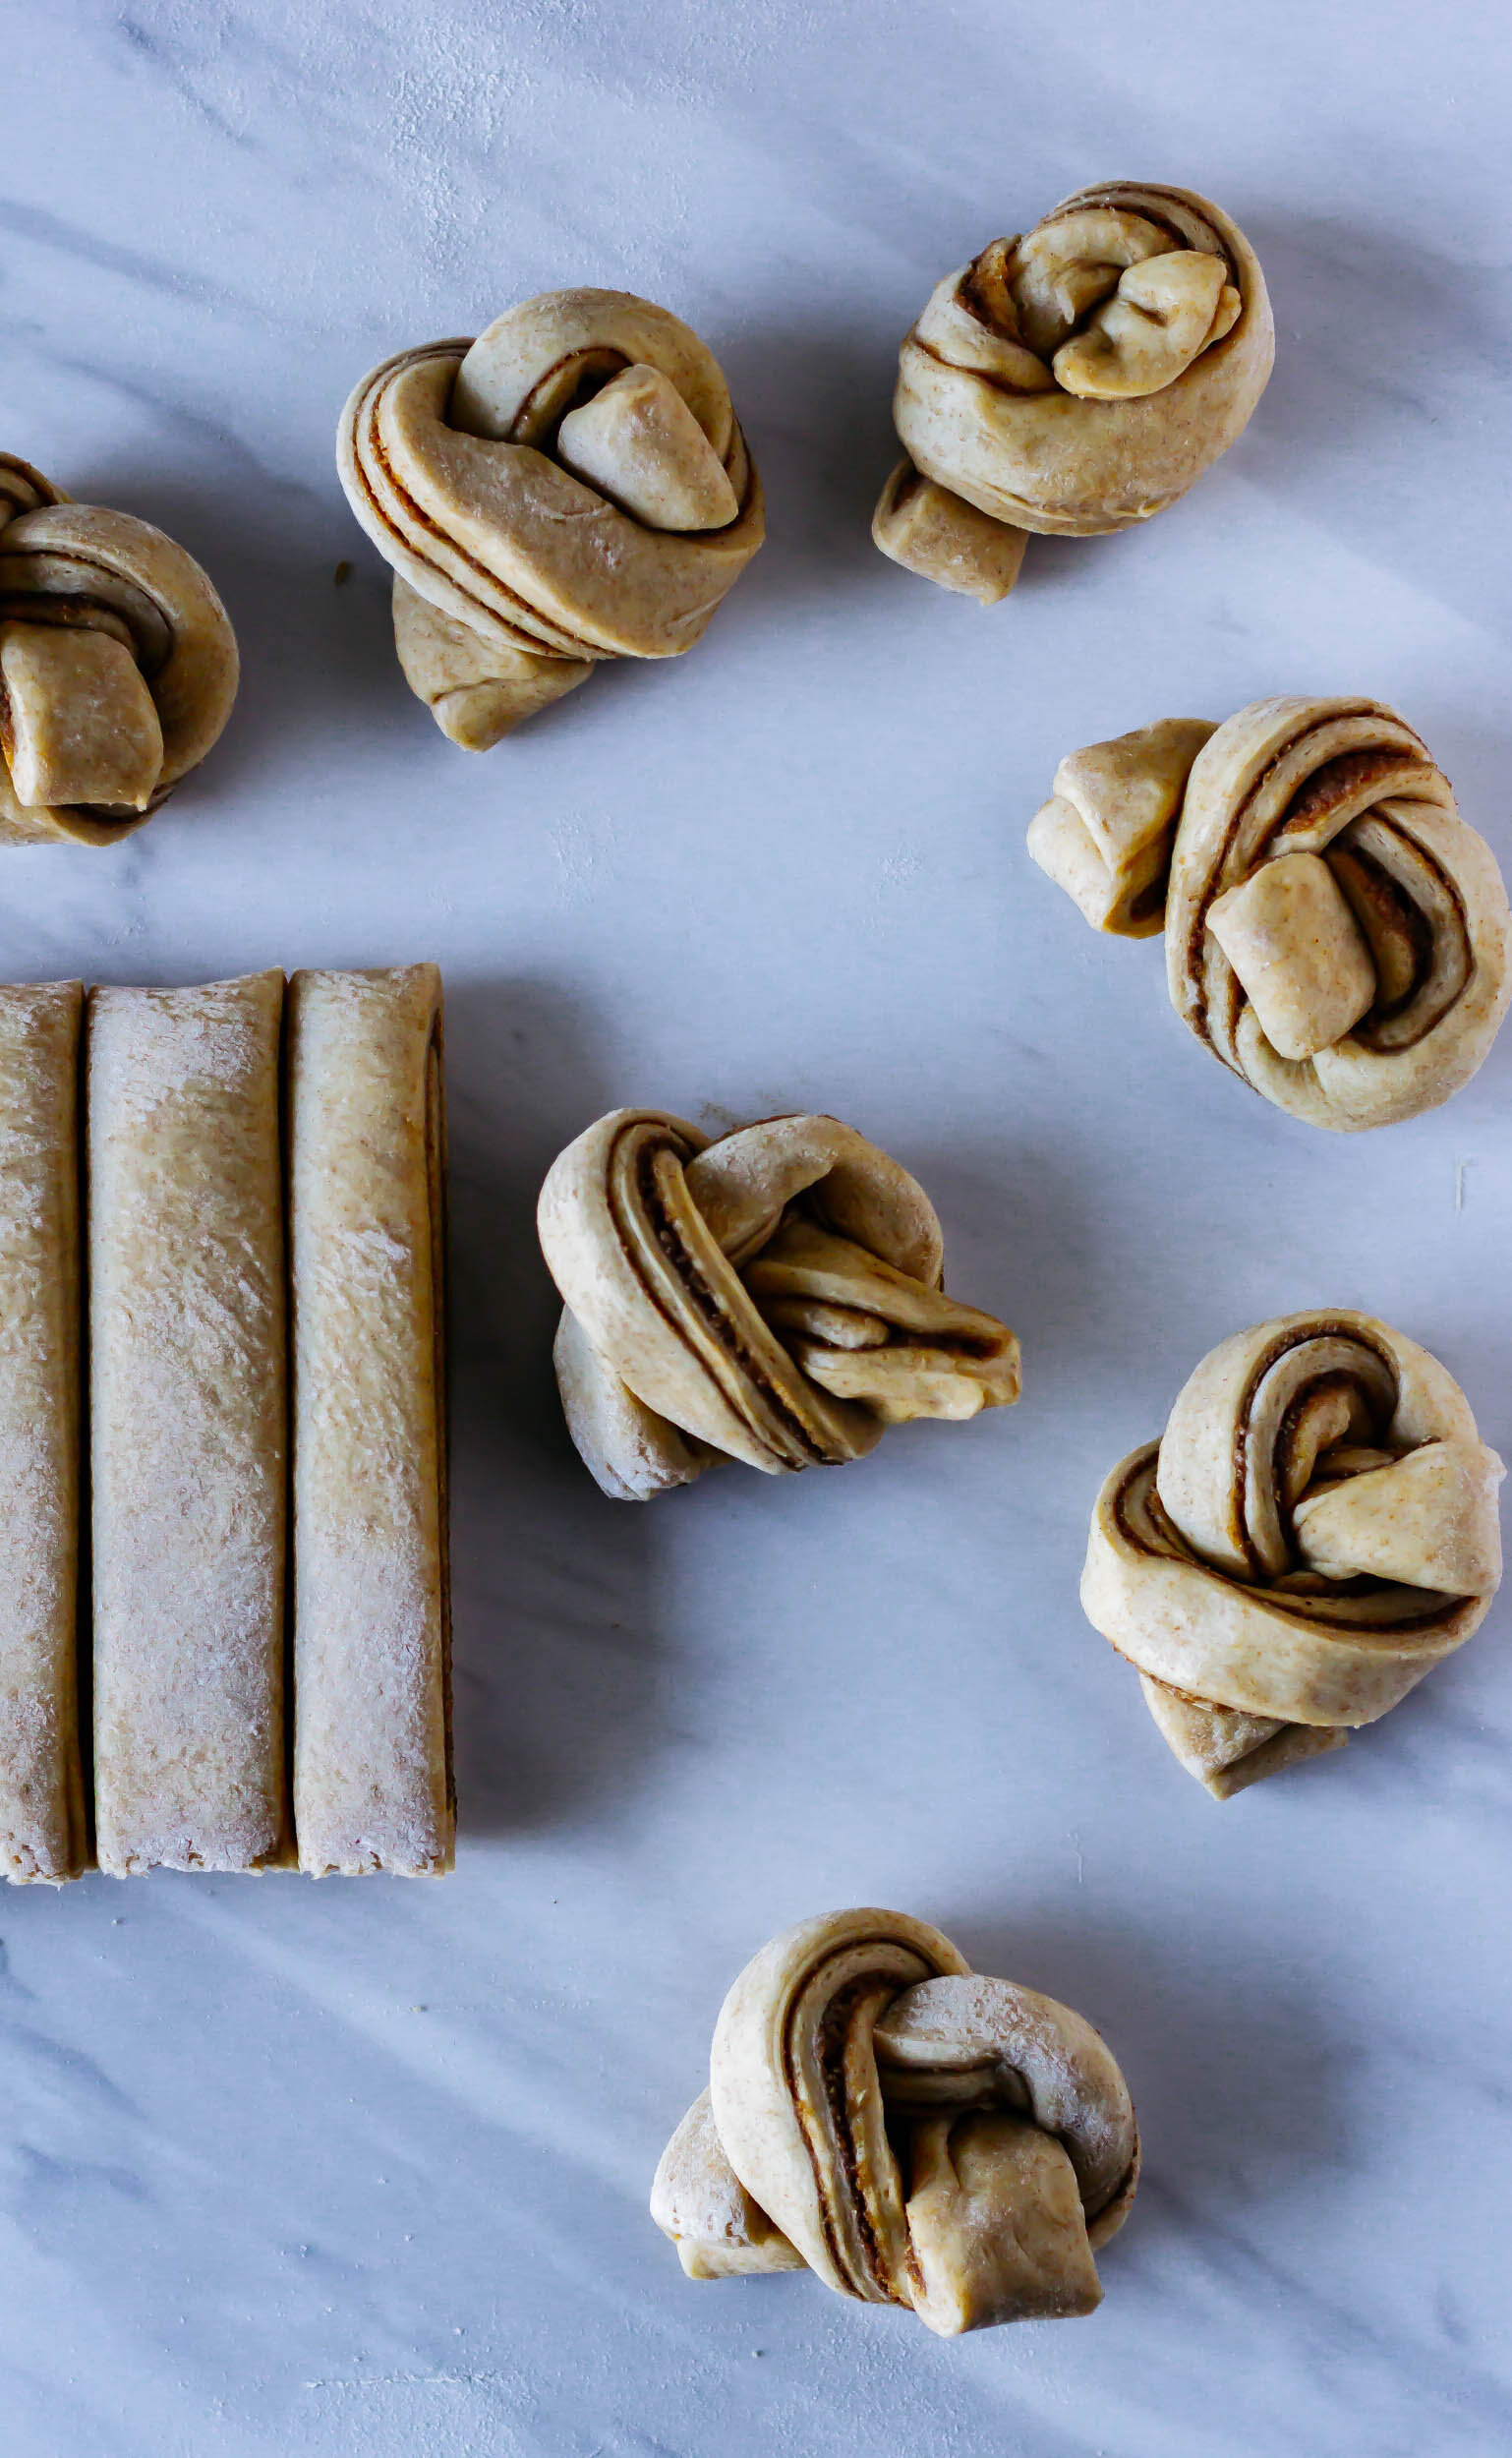
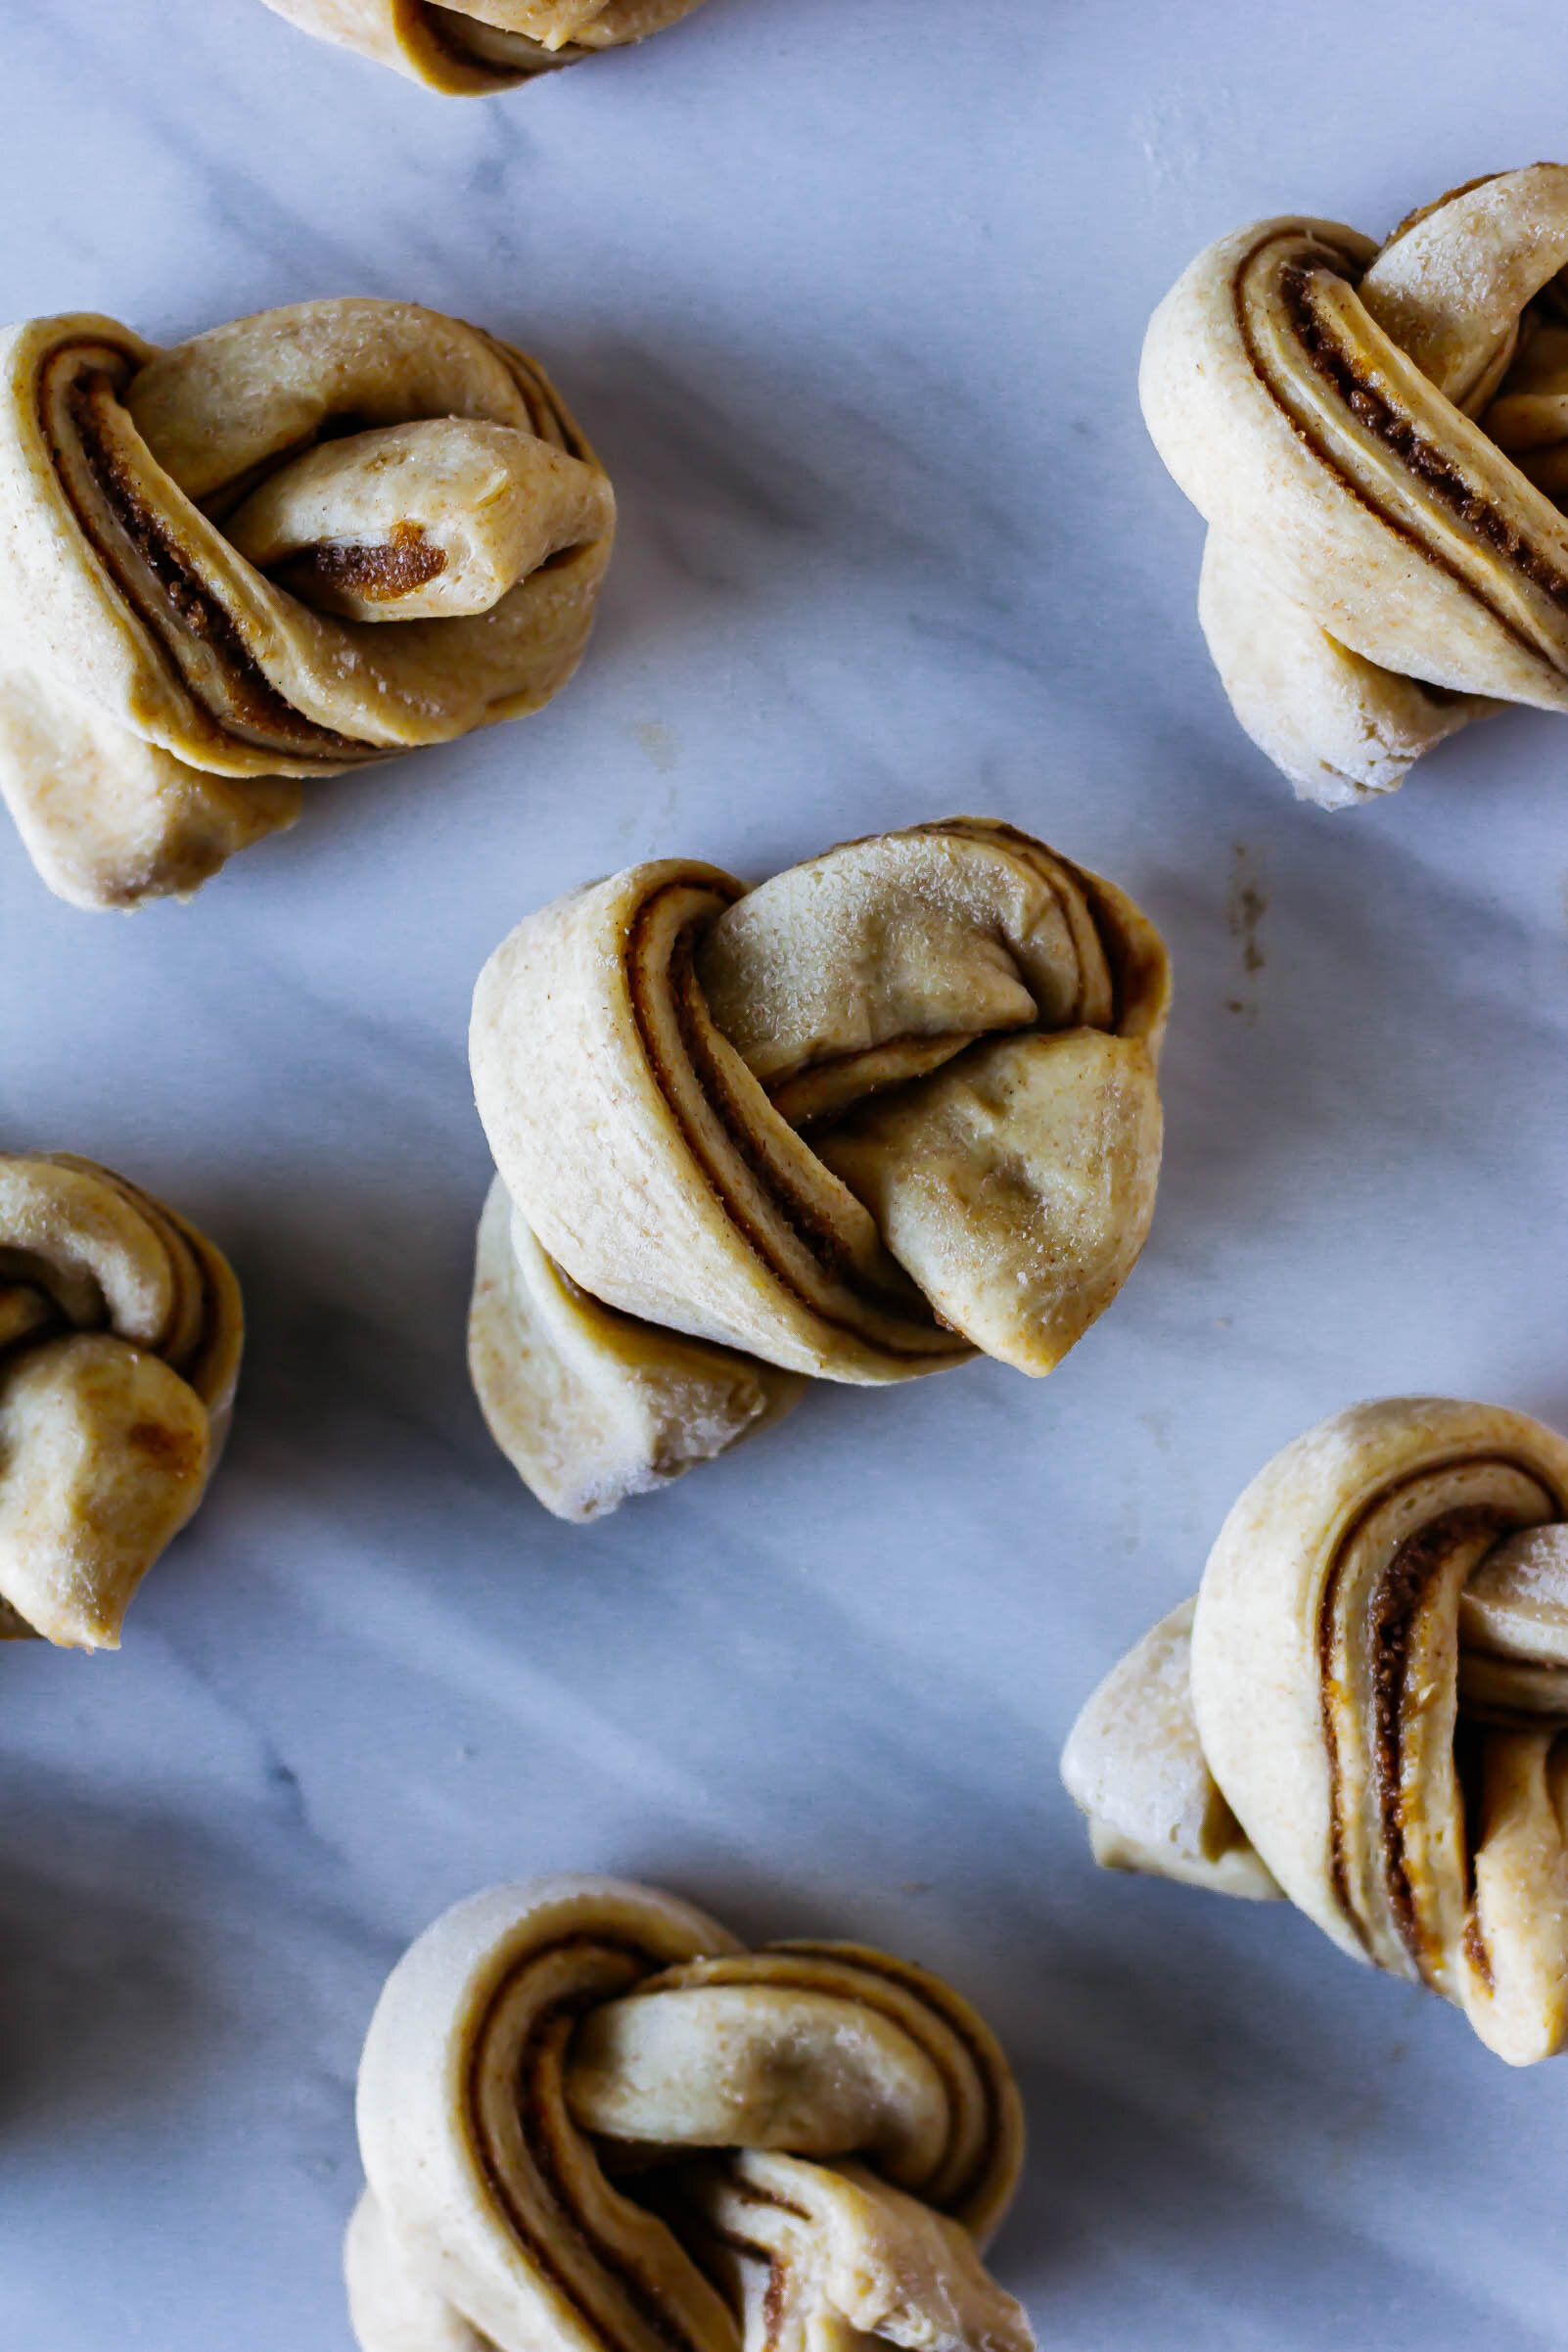
  8. Filling and shaping: Use a small offset spatula to smear the filling mixture in an even layer over the surface of the dough, reaching all the way to the edges. Fold the dough into thirds, as if you were folding a letter (see pictures below) and then cut the dough into 1” strips. Twist each strip into a knot and place onto a parchment-lined baking sheet, leaving at least 2” in between each bun. Cover the baking sheet with plastic wrap and let proof again for 45 minutes, until buns are puffy.

  9. When you’re ready to bake, preheat the oven to 375° F. Brush each bun with egg wash and then sprinkle with a bit of Demerara sugar. Bake for 22-25 minutes until buns are deeply golden brown. Immediately brush hot buns with honey syrup and enjoy!

Notes:

Options for chilling/proofing

As with any yeasted dough, refrigeration helps to slow down fermentation and allows for more flavor development. With enriched doughs, it also helps to make the dough easier to handle because it gives the butter a chance to cool down and return to a more solid state. 

-For the quickest buns, follow the instructions exactly as they are written in the recipe above by proofing the dough for an hour at room temperature, then transferring it to the refrigerator to proof for another hour before rolling, shaping, final proofing (shaped), and baking. 

-You can also proof the dough for an hour on the countertop and then transfer the the dough to the refrigerator overnight (or 12-18 hours). After a long chill, let the dough rest at room temperature for 30 minutes-1 hour (just to take the chill off) before rolling, filling and shaping, following steps 8 and 9 in the recipe as written above. This method gives the dough the longest bulk fermentation and will allow for the most flavor development. 

-Finally, a third option is to follow the above recipe through the shaping and filling. After creating your buns, you can cover the sheet tray well with plastic wrap and refrigerate them shaped overnight. Allow the dough to proof at room temperature for closer to 2 hours before baking (so that dough can come to room temperature and then complete that 45 minute proof), before brushing and baking. 

Shaping

Print Friendly and PDF

more recipes like this

Babka5.jpg

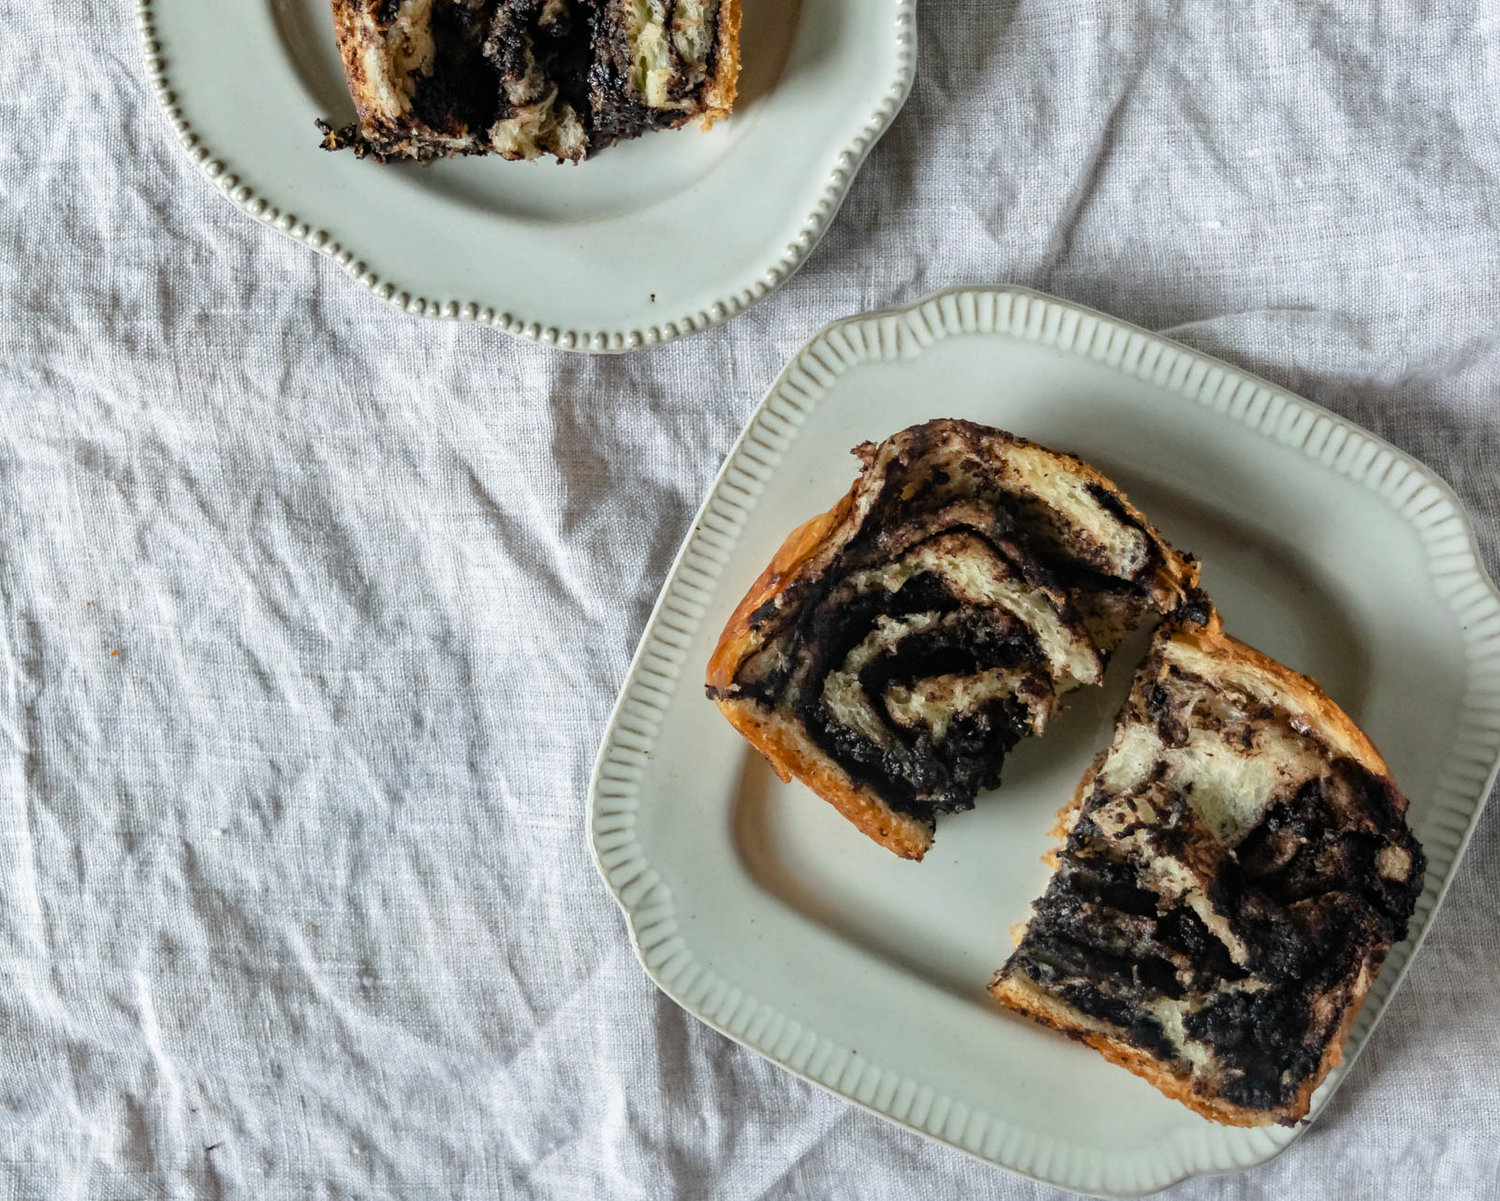
chocolate tahini babka

PumpkinSwirls3.jpg

pumpkin brioche swirls

stickybuns15.jpg

einkorn pecan sticky buns

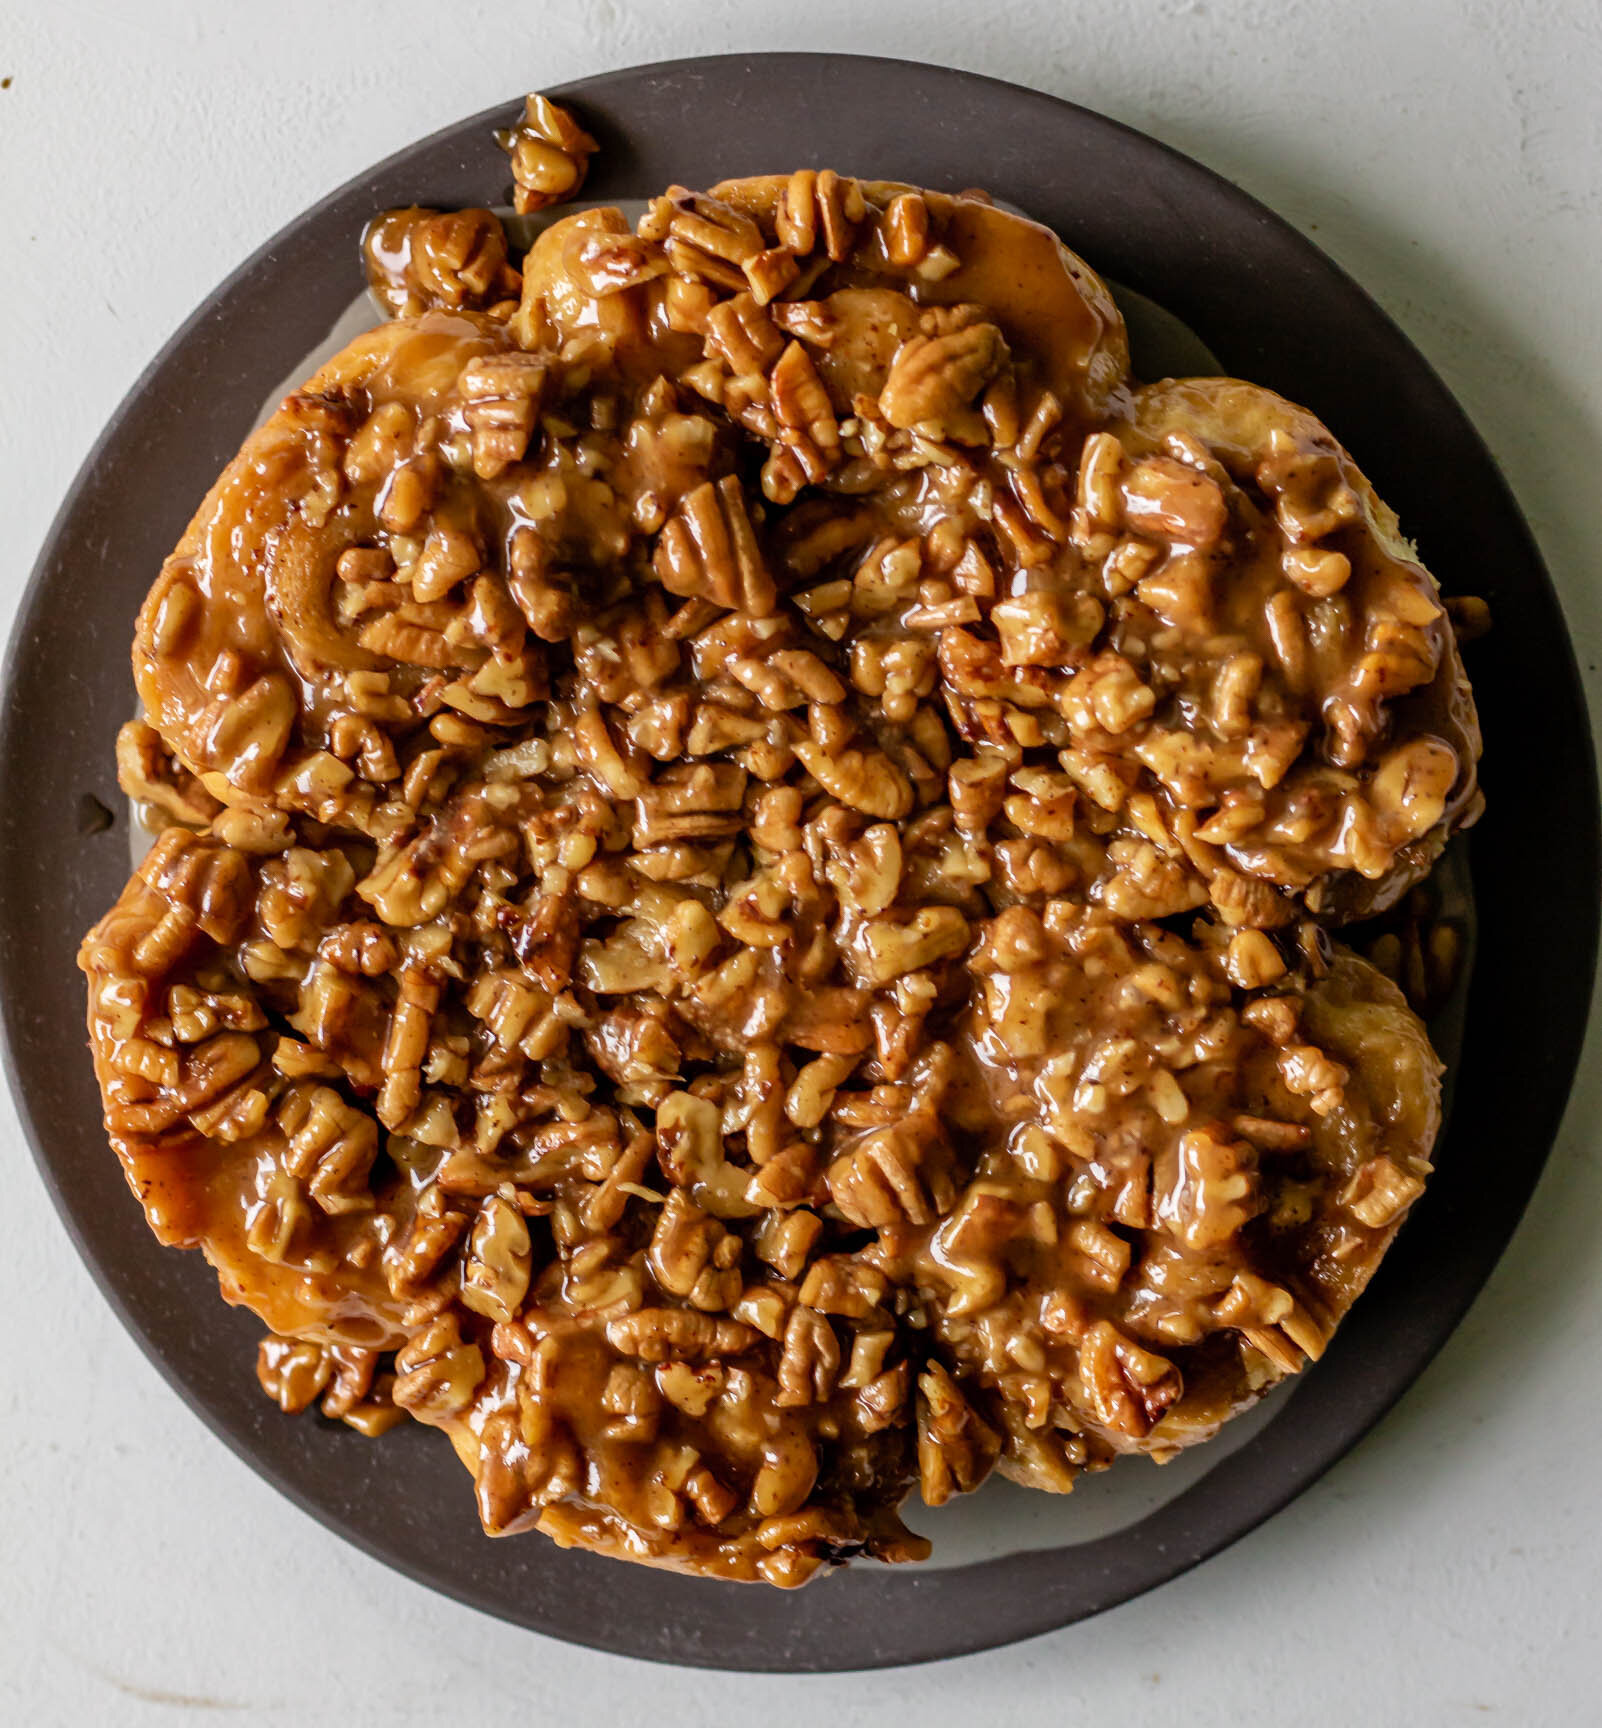
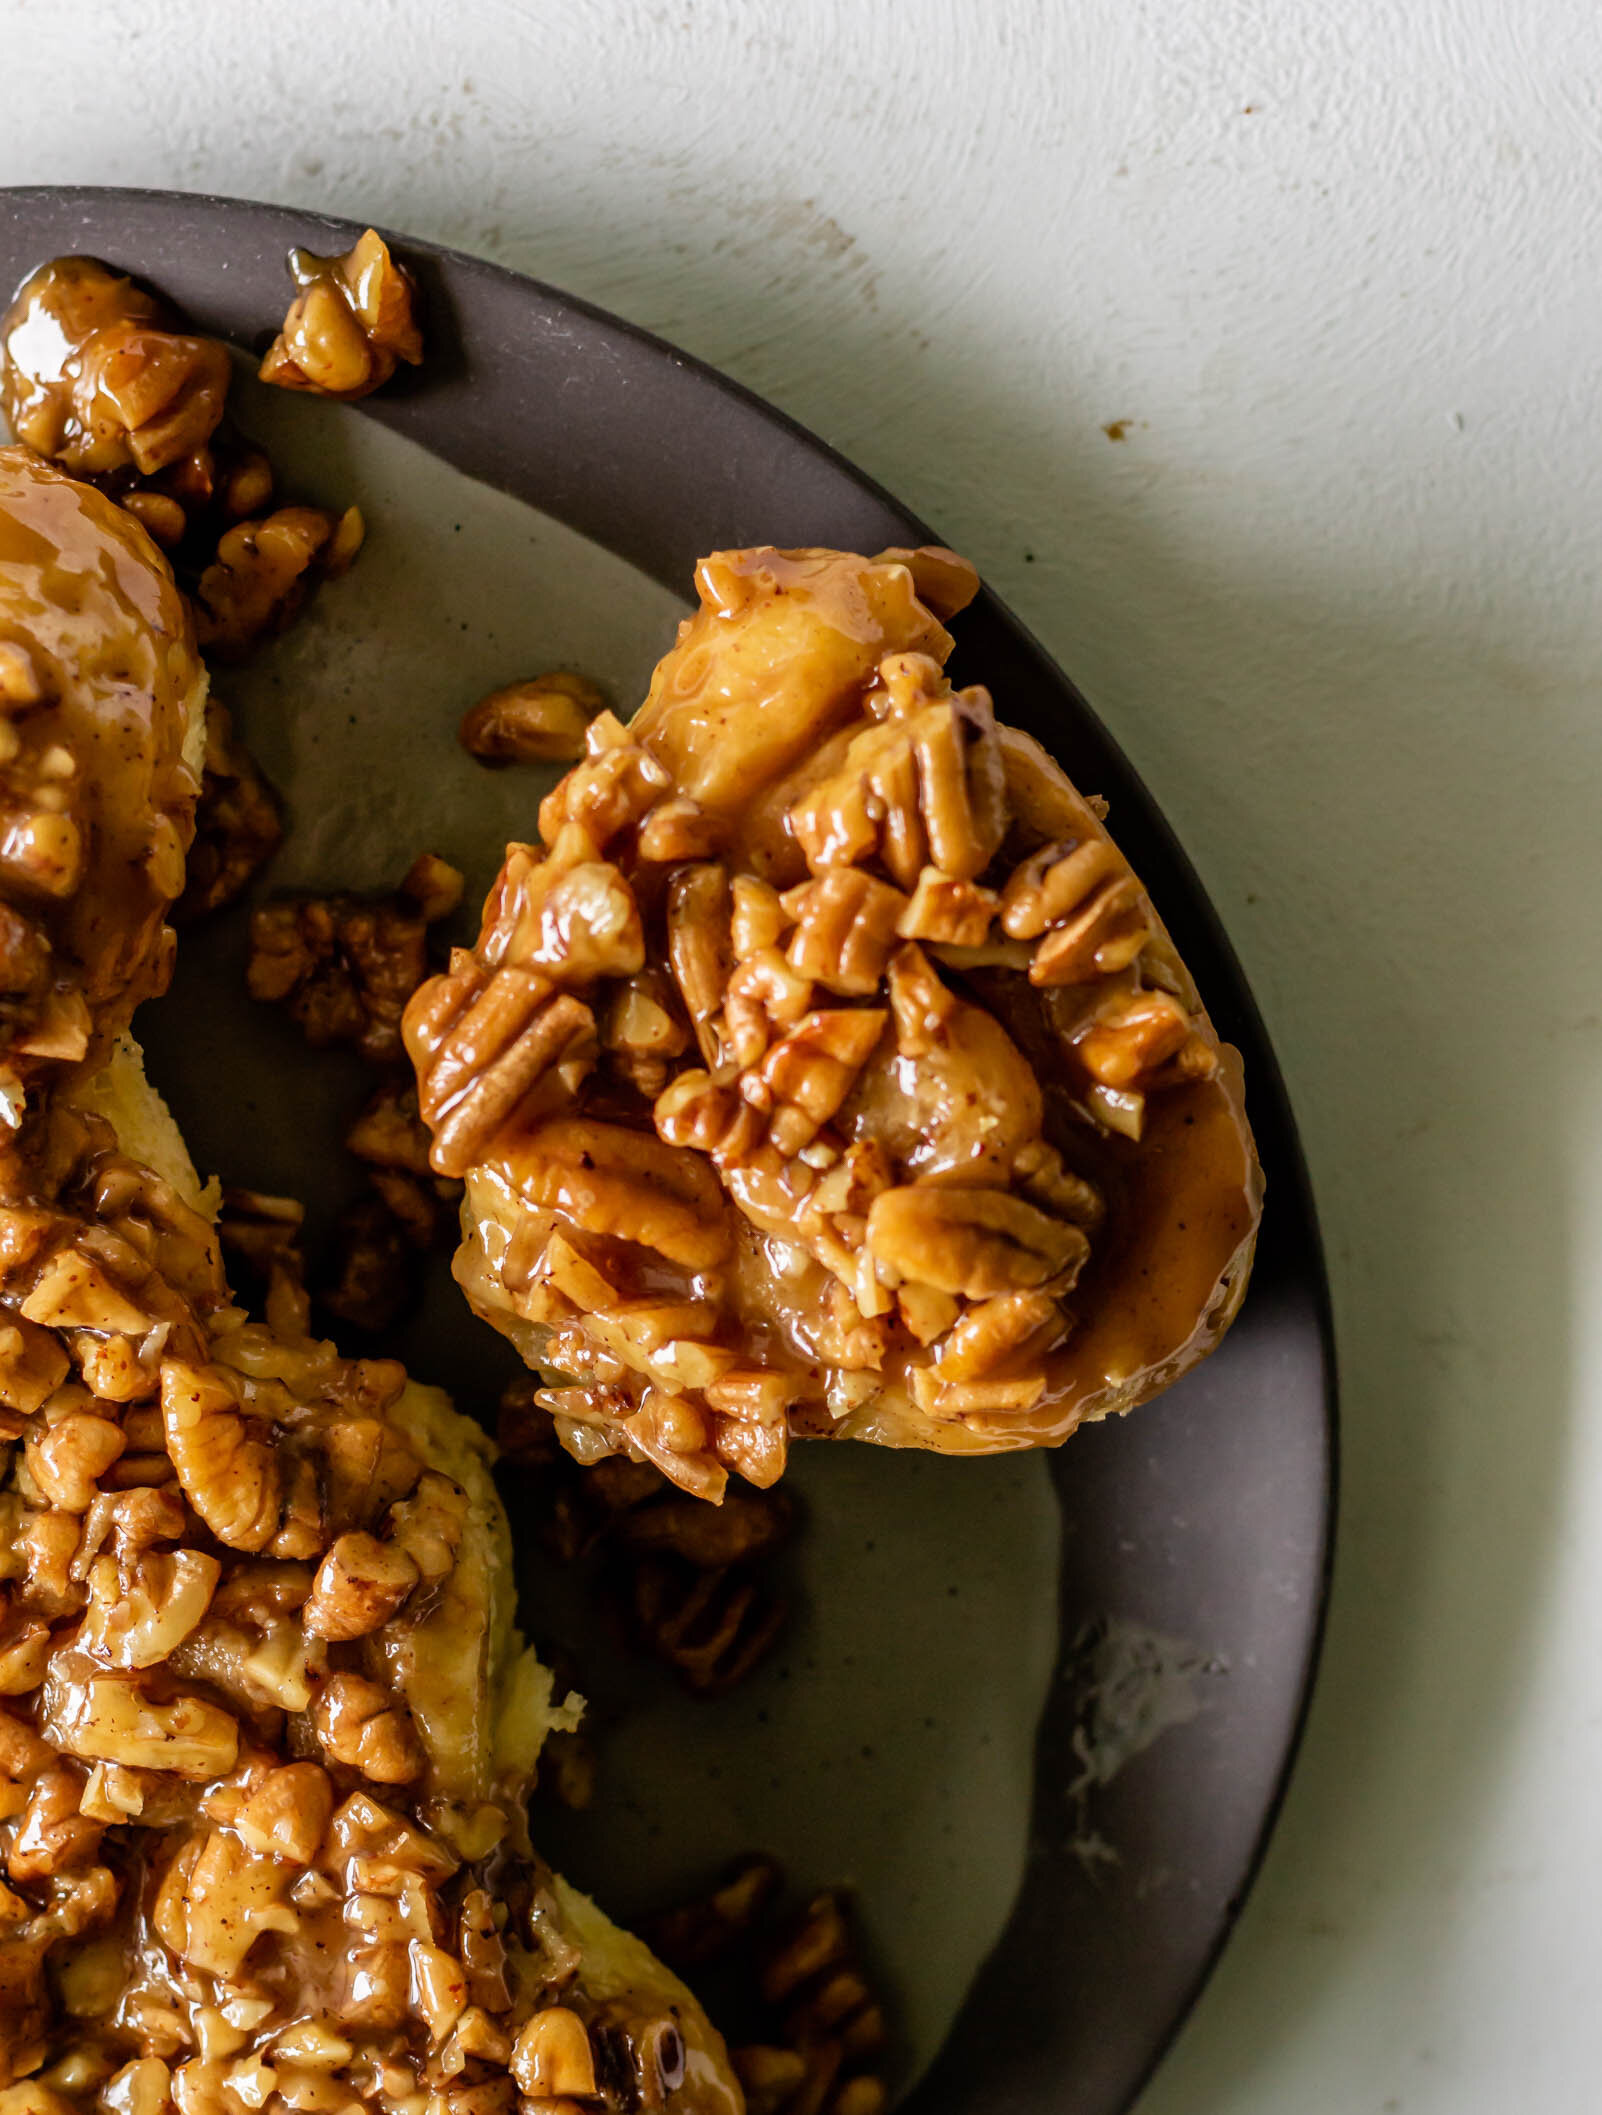
Einkorn Pecan Sticky Buns

Soft, buttery einkorn sweet dough, filled with spices and baked into a caramel pecan glaze. Perfect for lazy Saturday mornings and weekend brunches.

“Your recipes are too fancy.”— I get that A LOT. So I’ve been pondering this idea of fancy recipes over the past few weeks, vacillating between the idea that I should try to make my recipes a bit more mainstream in order to grab the attention of others while also really just wanting to make recipes that I absolutely love. Why not just make pumpkin cupcakes with cream cheese frosting and get all the Instagram likes and Pinterest saves? Not that simple recipes are bad, but they just don’t excite me like tossing hawaij into snickerdoodles or stirring red wine into chocolate cake. I know I’ve written about this before, over and over again actually, but I feel very passionately that when it comes to the kitchen, we should be fancy! I think in our culture that is so easily overwhelmed by the kitchen, we look for rules and familiarity. We look for specific recipes and weekly meal plans that follow certain diets and we’ve lost that creative spark that comes with cooking. We want cookbooks that list out our entire week’s grocery lists and tell us exactly what to make each evening (and how much salt to add) and we’ve lost the ability to cook for pleasure and enjoyment. This is important because what if Thursday comes around and I am really not feeling the ‘one pan, quick and easy, fajitas’ that I painstakingly planned on Sunday afternoon?

So often in our minds, fancy = time = difficult and that is simply not true! How are we living in a time where we are so into self-care, refusing ourselves the opportunities to care for our food in the same way that we do our skin and our homes and our routines? For me, being fancy means exploring flavors, being creative and unique in my approach to baking, and investing in the food that I’m putting in my body. It means swirling salted honey into whipped creams and playing with funky flours. It means trying new things, helping people think a bit outside of the box, and occasionally, it means challenging myself a little bit. I want my recipes to make you feel fancy, because I think being fancy is a good thing.

In that same spirit, here is a fancy version of my momma’s sticky buns. We used to make these with canisters of Pillsbury crescent rolls and we were lucky if a batch lasted an entire day in our house. This rendition uses an enriched sweet dough, spiked with einkorn flour and is swimming in toasted pecans bound together by a very gooey brown sugar caramel and I hope you make them and let yourself be a little bit fancy this weekend.

stickybuns10.jpg
stickybuns16.jpg
Einkorn Pecan Sticky Buns
Yield
8 sticky buns
Author
Prep time
30 Min
Cook time
35 Min
Inactive time
16 Hour
Total time
17 H & 4 M

Einkorn Pecan Sticky Buns

Soft, buttery einkorn sweet dough, filled with spices and baked into a caramel pecan glaze. Perfect for lazy Saturday mornings and weekend brunches.

Ingredients

for the dough
  • 255 g all purpose flour
  • 85 g einkorn flour
  • 70 g (1/3 cup) whole milk
  • 1 tsp active dry yeast
  • 2 eggs, at room temperature
  • 40 g (2 tbsp + 1 1/2 tsp) granulated sugar
  • 113 g (1/2 cup) unsalted butter, softened
  • 1/4 tsp kosher salt
for the filling
  • 56 g (1/4 cup) unsalted butter, softened
  • 2 tbsp granulated sugar
  • 2 tsp hawaij spice blend or 1 1/2 tsp ground cinnamon + 1/2 tsp ground cardamom
for the pecan glaze
  • 113 g (1/2 cup) butter
  • 1/2 cup brown sugar
  • 1/4 cup heavy cream
  • 1/4 tsp kosher salt
  • 1 tsp vanilla extract
  • 1 cup toasted pecans, chopped

Instructions

to make the dough
  1. Heat milk until warm to the touch. Combine warmed milk and yeast in the bowl of a stand mixer fitted with the dough hook. Let proof for about 5 minutes, until foamy, while you prepare the rest of the ingredients.
  2. In a medium bowl, combine all purpose flour, einkorn flour, salt, and sugar. Set aside.
  3. Lightly beat eggs and then add them to the mixer with the milk and yeast. Stir with a rubber spatula to gently combine.
  4. Add the dry ingredients to the liquid and begin mixing, starting on low speed and gradually increasing speed, for 2-3 minutes, until a thick dough begins to form.
  5. With the mixer running on medium-low speed, add the softened butter, one tablespoon at a time, until incorporated. Once all of the butter has been added, increase the mixer speed to medium-high and knead for 6-7 minutes, until a smooth, elastic dough has formed. Turn the dough onto a work surface and knead by hand for another minute and then shape the dough into a ball. Place the dough ball into a greased bowl, cover, and let proof at room temperature for 2 hours, until swollen and almost doubled in size.
  6. After the dough has completed it’s first proof, you have a few different options for filling, shaping, and chilling.
  7. Option 1: Punch down the dough, leave it in the bowl, covered, and let rest in the refrigerator overnight. In the morning, let dough rest at room temperature for about 30 minutes to soften. Roll the dough out, fill it, shape and cut the sticky buns, and place them in the pan for their final proof.
  8. Option 2: When the dough has completed it’s first proof, punch it down and turn it onto a work surface. Roll the dough out, fill it, shape and cut the sticky buns, and place them in a pan. Cover the pan and let the buns rest overnight in the refrigerator. In the morning, remove them from the refrigerator and complete a final proof before baking.
to make the filling
  1. Combine softened butter, sugar, and spices in a small bowl.
to make the caramel pecan glaze
  1. Place butter in a small saucepan set over medium heat. Cook, swirling often, for 6-7 minutes until butter is beginning to brown, smells fragrant and nutty, and small, amber-colored specks appear in the bottom of the pan.
  2. Immediately whisk in brown sugar, followed by the heavy cream. The mixture will look separated for a moment, but continue to whisk until it comes homogenizes. Add the vanilla and the salt and pour the glaze into a 9-inch round baking pan. Sprinkle with toasted pecans.
shaping, filling, and the final proof
  1. After the dough has completed it’s first rise, turn it out onto a very lightly floured work surface. Roll the dough into a rectangle, about 1/8” in thickness and roughly 12x16” in size.
  2. Use a small offset spatula or a knife to smear the filling mixture in a very thin layer over the surface of the rectangle, reaching all the way to the outside.
  3. Starting on a horizontal edge, roll the dough into a tight log and use a serrated knife to slice the log into eight 2” pieces.
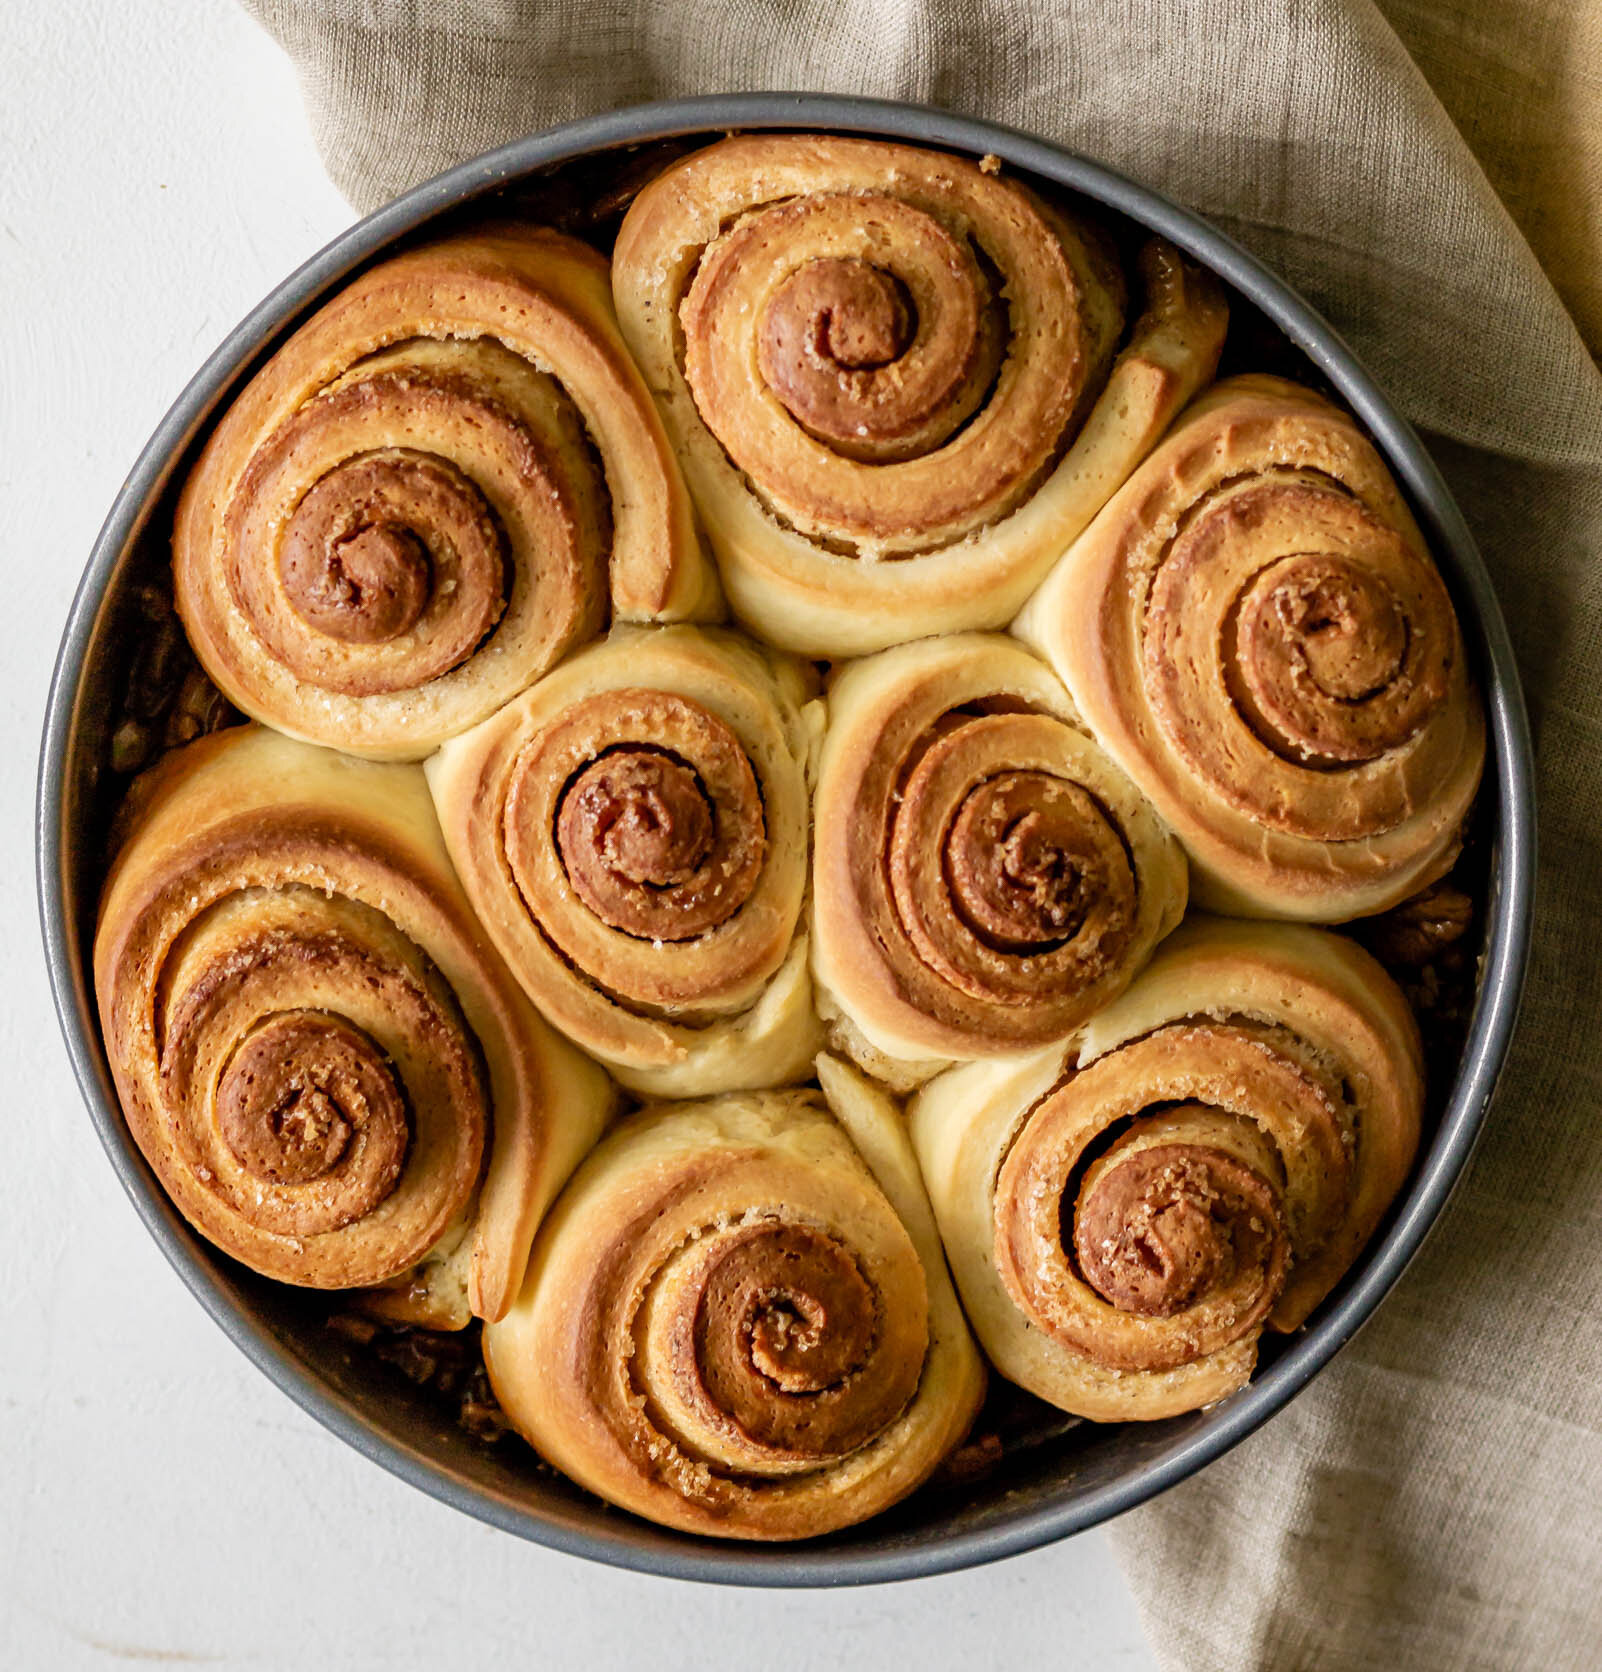
  4. Place the rolls cut side up on top of the pecan glaze in your prepared pan. Cover and let proof for another 2 hours, until they’ve expanded about 3/4 in size. When the rolls have completed their final proof, preheat the oven to 375° F.
  5. Bake sticky buns for 25-28 minutes, until the are deeply golden and the glaze is bubbling around the edges. Remove from the oven and let cool for about 5 minutes before inverting the pan onto a large plate. Enjoy warm!
Did you make this recipe?
Tag @gatheredatmytable on instagram and hashtag it #gatheredatmytable