Parmesan Herb Popovers

Do you have a Christmas morning breakfast tradition? For as long as I can remember, my mom would wake up when the house was still dark and quiet to make sausage balls. To this day, I am not even certain what exactly is in a sausage ball,—I know it includes sausage, cheese, maybe some sort of flour binder?—but it’s always been my mom’s thing. As the smell of baked cheese began to waft through the house and we could hear the gurgle of the coffee pot, my dad, my sister, and I would crawl out of bed. (This was a very eager crawling that probably happened far earlier in the morning when we were young, but as we’ve gotten older, the whole “rushing to the tree on Christmas morning” has gotten slower and a little later in the morning.) The four of us would sit around the tree, sipping coffee and exchanging gifts, passing a towel-lined basket of ping-pong ball sized sausage rounds between us. By the time the gifts were all opened, the floor sufficiently littered with wrapping paper, that sausage ball basket was always empty.

The last few years, I’ve hosted Christmas at my house and I’ve dabbled in a Christmas morning breakfast to add to our sausage ball tradition. I’ve tried overnight cinnamon rolls, but they still need a solid hour of rise time in the mornings and I’m always struggling to find the time to make the dough on Christmas Eve. I really wanted a breakfast that felt fancy enough for Christmas morning, but that was extremely low maintenance. Enter the good ole’ popover. A popover is a cross between a bread-y muffin and an egg custard and they pillow up in the oven when they bake, like a tray of little soufflés. The batter essentially consists of whisking together milk, flour, and eggs (read: no fancy equipment required) and needs to be made a day or two ahead of time, which means it won’t get in the way of your Christmas Eve dinner prep. All you have to do on Christmas morning is start the coffee, heat a muffin tin in the oven, pour the batter in and watch them rise. I flavored these with herbs and parmesan cheese, but you could really use whatever mix-ins you have laying around—onions, chives, garlic, leftover gouda from your fancy cheese board all would be great. I also recommend eating these warm, breaking them open and plopping a hunk of butter in the middle and finishing with some flaky salt. Merry Christmas, friends!

Popovers6.jpg


Parmesan Herb Popovers

Yield: 12 popovers

Popovers11.jpg

Ingredients: 

3 eggs

1 cup milk

1/2 cup half and half

1 tsp salt

1/2 tsp black pepper

1 1/2 cups (177 g) all purpose flour

3 tbsp (55 g) butter

1-2 tbsp chopped herbs such as oregano, rosemary, and thyme

1/4 cup grated parmesan cheese


Procedure: 

  1. In a medium saucepan set over medium heat, combine butter and chopped herbs. Heat, until butter is sizzling and melted and herbs are fragrant. Remove from heat and let cool while you mix the rest of the popover ingredients.

  2. In a large bowl, whisk together milk, half and half, and eggs until completely homogenous and no egg streaks remain. Add flour, salt, and black pepper and whisk to combine. Whisk in cooled butter until emulsified and gently fold in parmesan cheese. Transfer batter to a container with a lid and chill overnight in the refrigerator.

  3. When you’re ready to bake, remove batter from the refrigerator and allow to come to room temperature. Meanwhile, preheat oven to 450° F. Place a muffin tin in the oven and allow it heat as the oven heats.

  4. Carefully remove hot muffin tin from the oven and spray generously with cooking spray. Divide batter evenly among the muffin cups.

  5. Bake at 450° F for 20 minutes without opening the oven door. Lower oven temperature to 350° F and bake another 5-10 minutes, until popovers are golden brown. Carefully remove from the oven, loosen popovers with a knife, and flip onto a plate. Serve immediately, warm with butter and lots of flaky salt.

*Note: If you use other mix-ins, like onions or garlic or different types of cheese, try to keep the measurements close to that listed in the recipe. If you put too much in your batter, the additions will weigh the batter down and they won’t rise properly.

Ingredient Spotlight: Flour

If you’ve ever taken a stroll down the baking aisle of your local grocery store, you’ve probably noticed there are close to a billion different types of flour (I might be exaggerating a smidge, but there are definitely a lot). You have also probably cooked from a recipe that has a measurement listed as “one cup of flour” and you’ve thought to yourself “What kind of flour am I supposed to use?” Or “Aren’t all flours the same?” Well, let’s answer those questions!

I have been wanting to write about this for a long time because understanding flour is empowering. Once you understand what exactly flour does in a recipe, what all the different types are, and you know how to read a bag of flour, the culinary world is your oyster, so to speak. You have the power not only to follow a recipe and understand it, but you have the freedom and know-how to change a recipe to suit your needs. You can begin to stretch your baking muscles and even create your own recipes. So take a peak at the flours in your pantry, pull up a chair, and let’s start from the beginning.

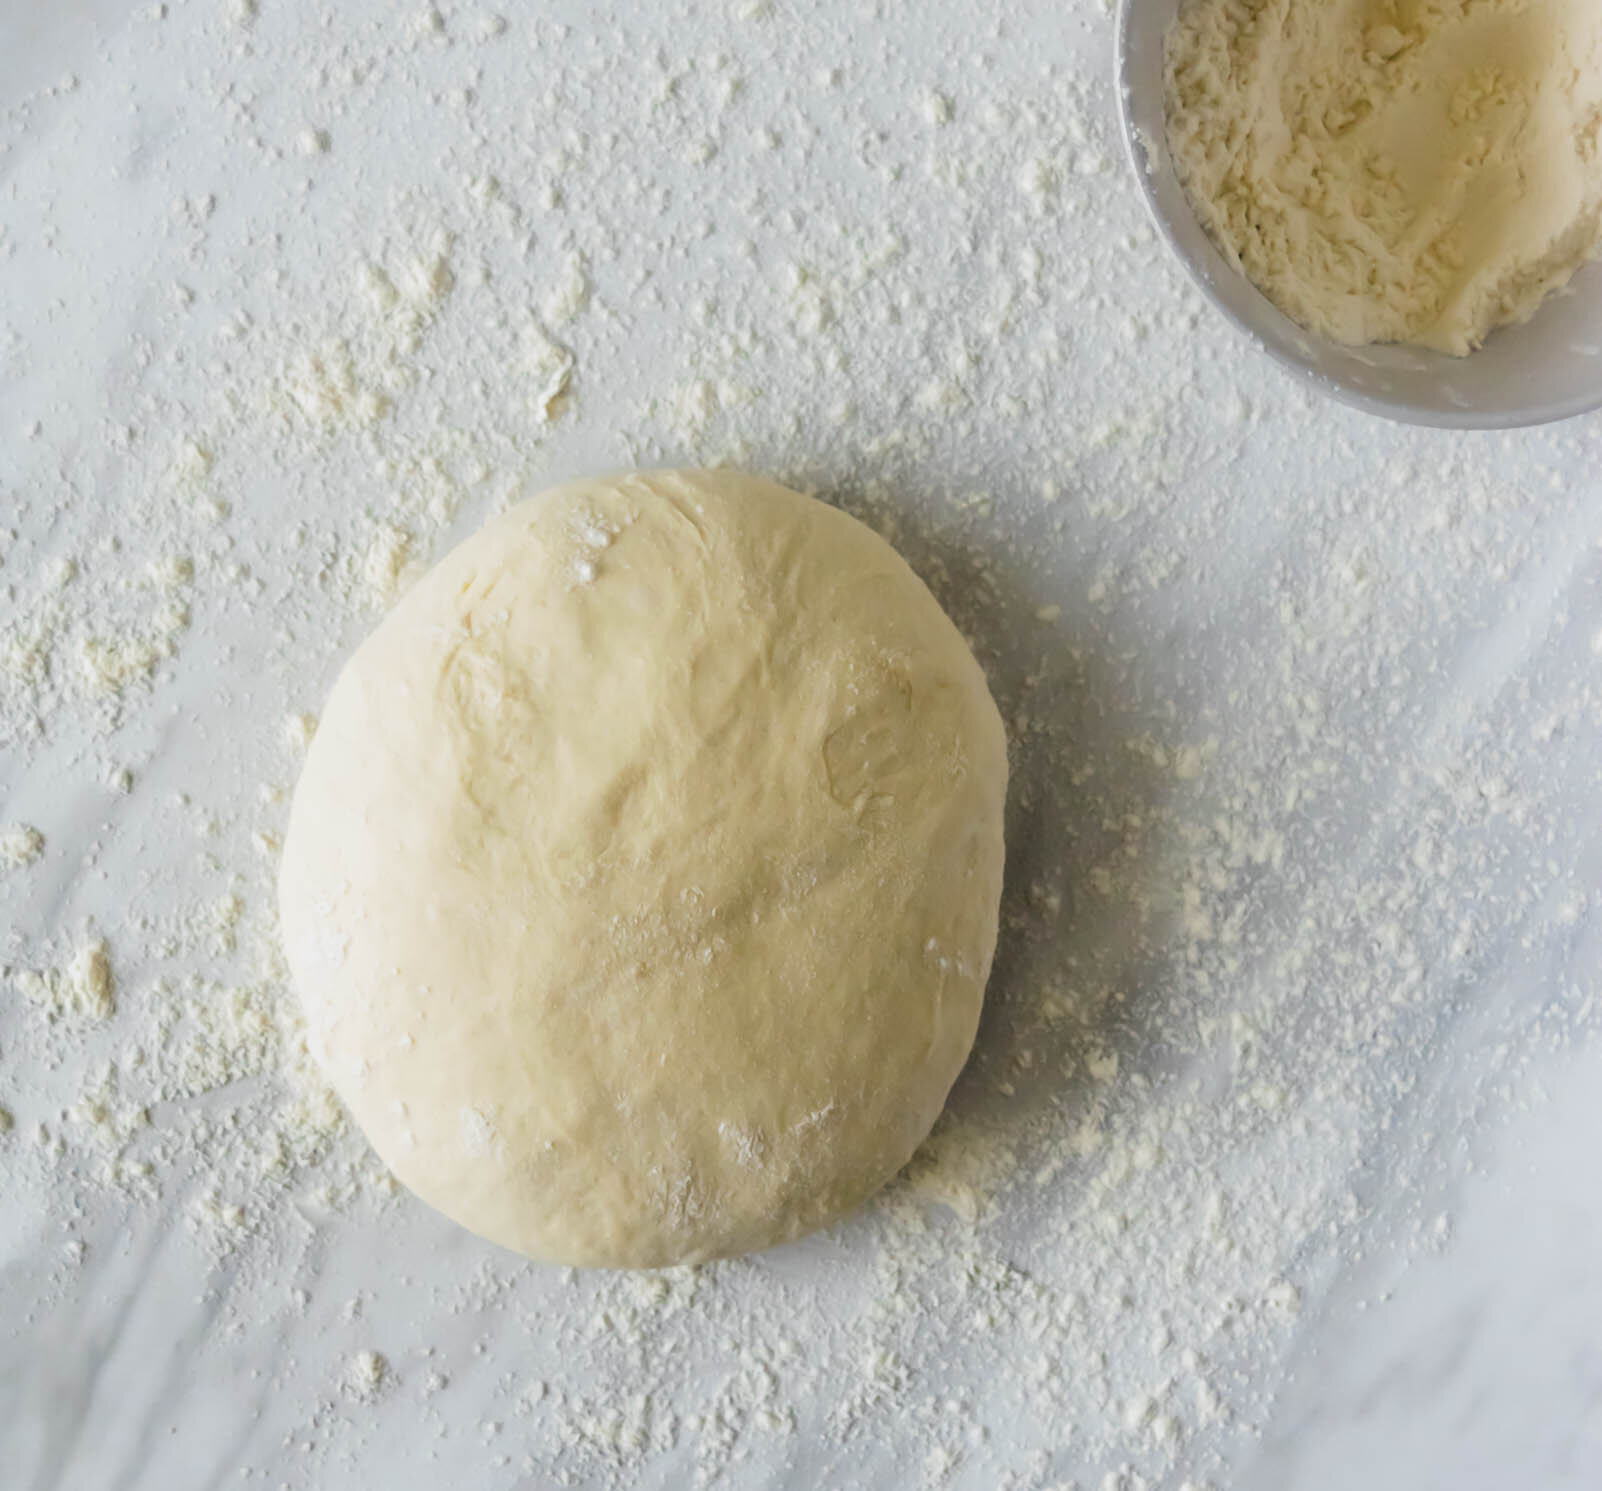
PizzaDough1.jpg

What is flour?

For the purpose of our little lesson here, we will only be talking about wheat flour, meaning flour that comes from the wheat plant (not necessarily whole wheat flour). We will leave those specialty flours like buckwheat, spelt, and kamut for a later discussion. The part of the wheat plant that gets milled into flour is called the wheat kernel, or wheat grain. A wheat kernel looks like a cute little oval seed and it is made up of three different parts: the bran, the germ, and the endosperm

-The bran is a protective layer that covers the outside of the wheat kernel and is usually darker in color than the endosperm. It is high in dietary fiber, which is why you will see “wheat bran” on the shelves of the grocery store that can be added to foods for a little fiber boost. The bran does not form gluten, adds a dark rustic appearance, and imparts a slightly nutty flavor. 

-The germ is the embryo of the wheat kernel and in the right conditions, can sprout into a new plant. It is full of nutrients, but also does not form gluten. 

-The endosperm is the largest part of the wheat kernel. It makes up around 80% of the kernel and is the whitest part of the kernel, mostly because of its high starch content. The starch in the endosperm is embedded in chunks of protein. There are two different proteins located in the endosperm, glutenin and gliadin, and when mixed with water, these proteins form the all-important gluten. 

A note on whole wheat flour:

All flour that comes from the wheat kernel is considered wheat flour. The most common white-colored flour found on the shelves of grocery stores and in white-flour products is made from milling just the endosperm of the wheat kernel.  Remember that the endosperm is mostly white in color due to its starch content, so it’s naturally a whiter flour. Whole Wheat flour is made using the entire wheat kernel (bran, germ, and endosperm), which provides extra nutrients, but doesn’t always work the same way in baking due to its lowered ability to form gluten (because of the addition of non-gluten forming bran and germ). The inclusion of the bran and germ also gives whole wheat flour its signature rusty color.

Whew. That feels like a lot of science, but let’s look practically at what exactly that all means when it comes to the role flour plays in baking. 

What role does flour play in baking?

Flour does a number of different jobs in baking, but its primary function is the development of gluten. If we go back to those proteins in the endosperm, you’ll remember that when glutenin and gliadine come in contact with water, they develop the ability to form gluten. When you apply hydration and friction (or mixing), these proteins form gluten strands that essentially bind your baked goods together and give them structure. (This is why if you are making a bread dough, you can stretch the dough to determine whether enough gluten has been developed). Flour also contains a significant amount of starch, which helps to absorb liquid in a dough or batter and which also provides sugar to aid in fermentation. 

PizzaDough5.jpg

What are the different types of flour and when do I use them?

Flour is made from six different types of wheat- hard red winter wheat, hard red spring wheat, hard white winter wheat, durum wheat, soft white winter wheat, and soft white spring wheat. These names refer to the types of wheat kernels and how they are grown and cultivated.

Hard wheat kernels are able to withstand harsh winters, have a greater amount of protein, and high water absorption. Soft wheat kernels are cultivated in less harsh winters, have lower amounts of protein, and have a higher proportion of starch. Basically, the flour source depends on your final product. If you are making a rustic sourdough bread where gluten structure is of upmost importance, you would use flour milled from a hard wheat. If you are making a cake, where tenderness and moisture are desired, you would use flour milled from a softer wheat. 

The 5 main types of flour

These are what you see in the aisles of grocery stores and the major difference between flour types is the fluctuation of protein levels. 

Higher protein content = higher gluten development ability. 

  1. High Gluten Flour: High gluten flour is often found in commercial bakeries and it is used primarily for bread making. You will have trouble finding this type of flour on the shelves of your local grocery store and would find it in a specialty store or online. Its protein levels typically range from 13%-15%.

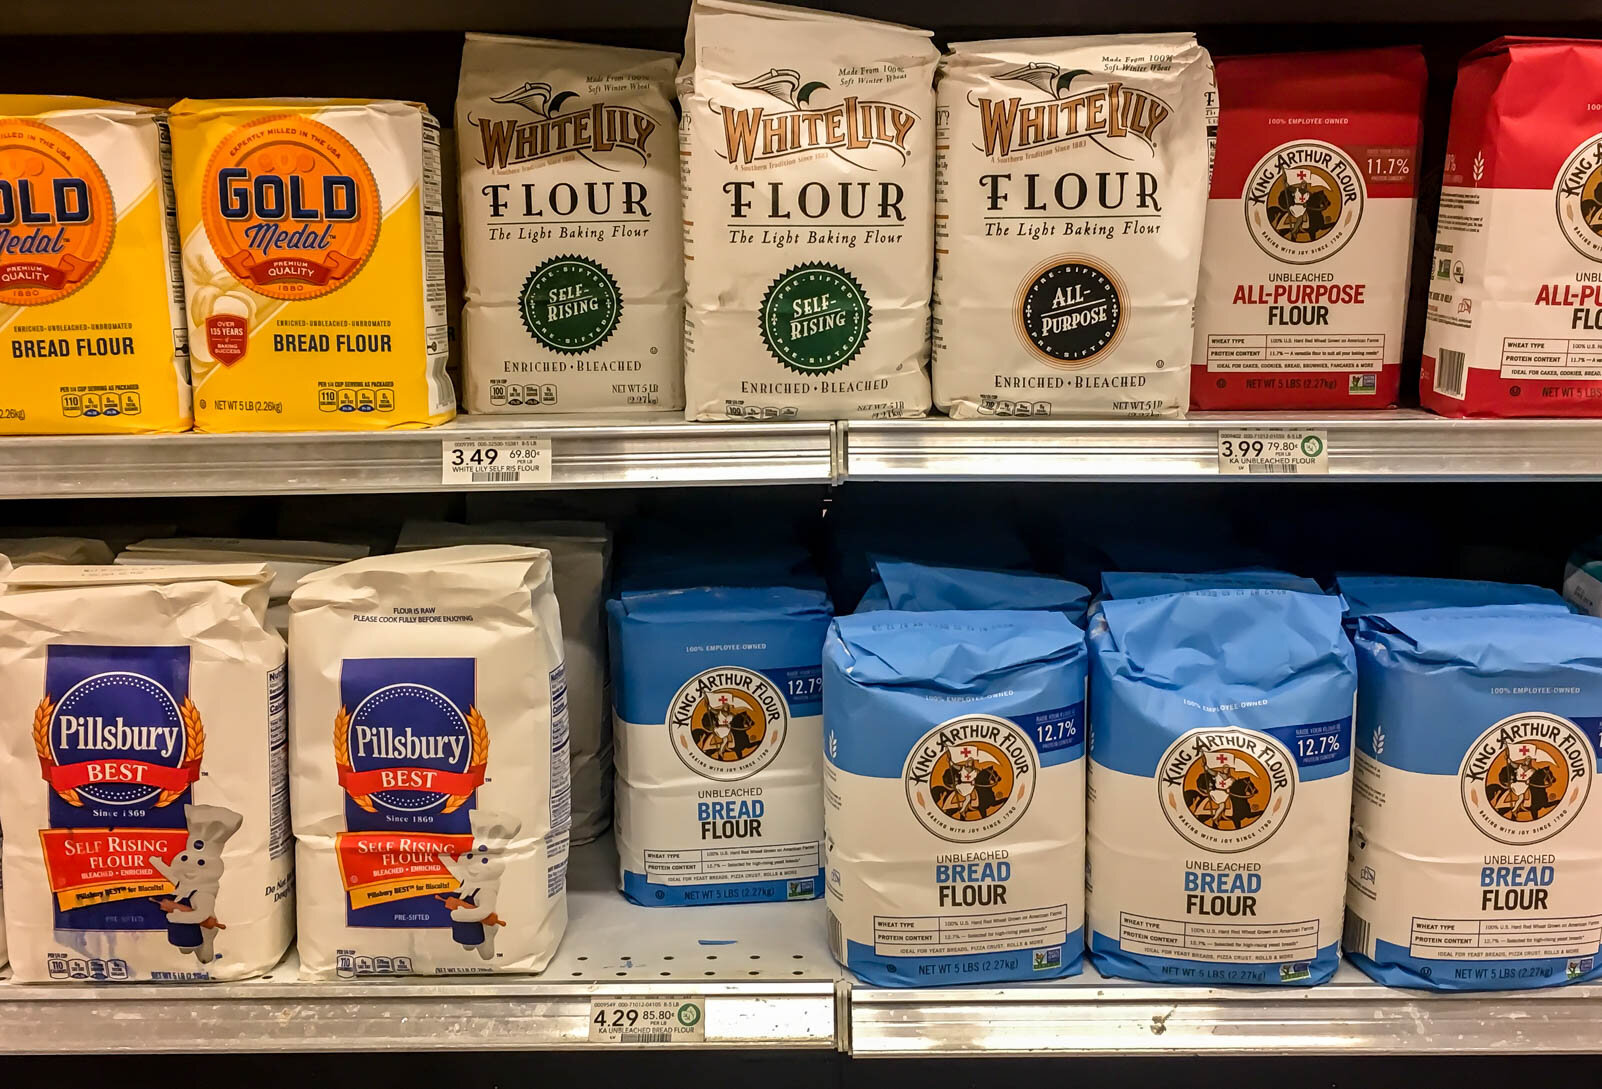
  2. Bread Flour: Bread flour forms good quality gluten due to its higher protein levels and is milled from hard wheat kernels. You can usually find it bleached or unbleached and bread flour contains protein levels that range from 11%-13%.

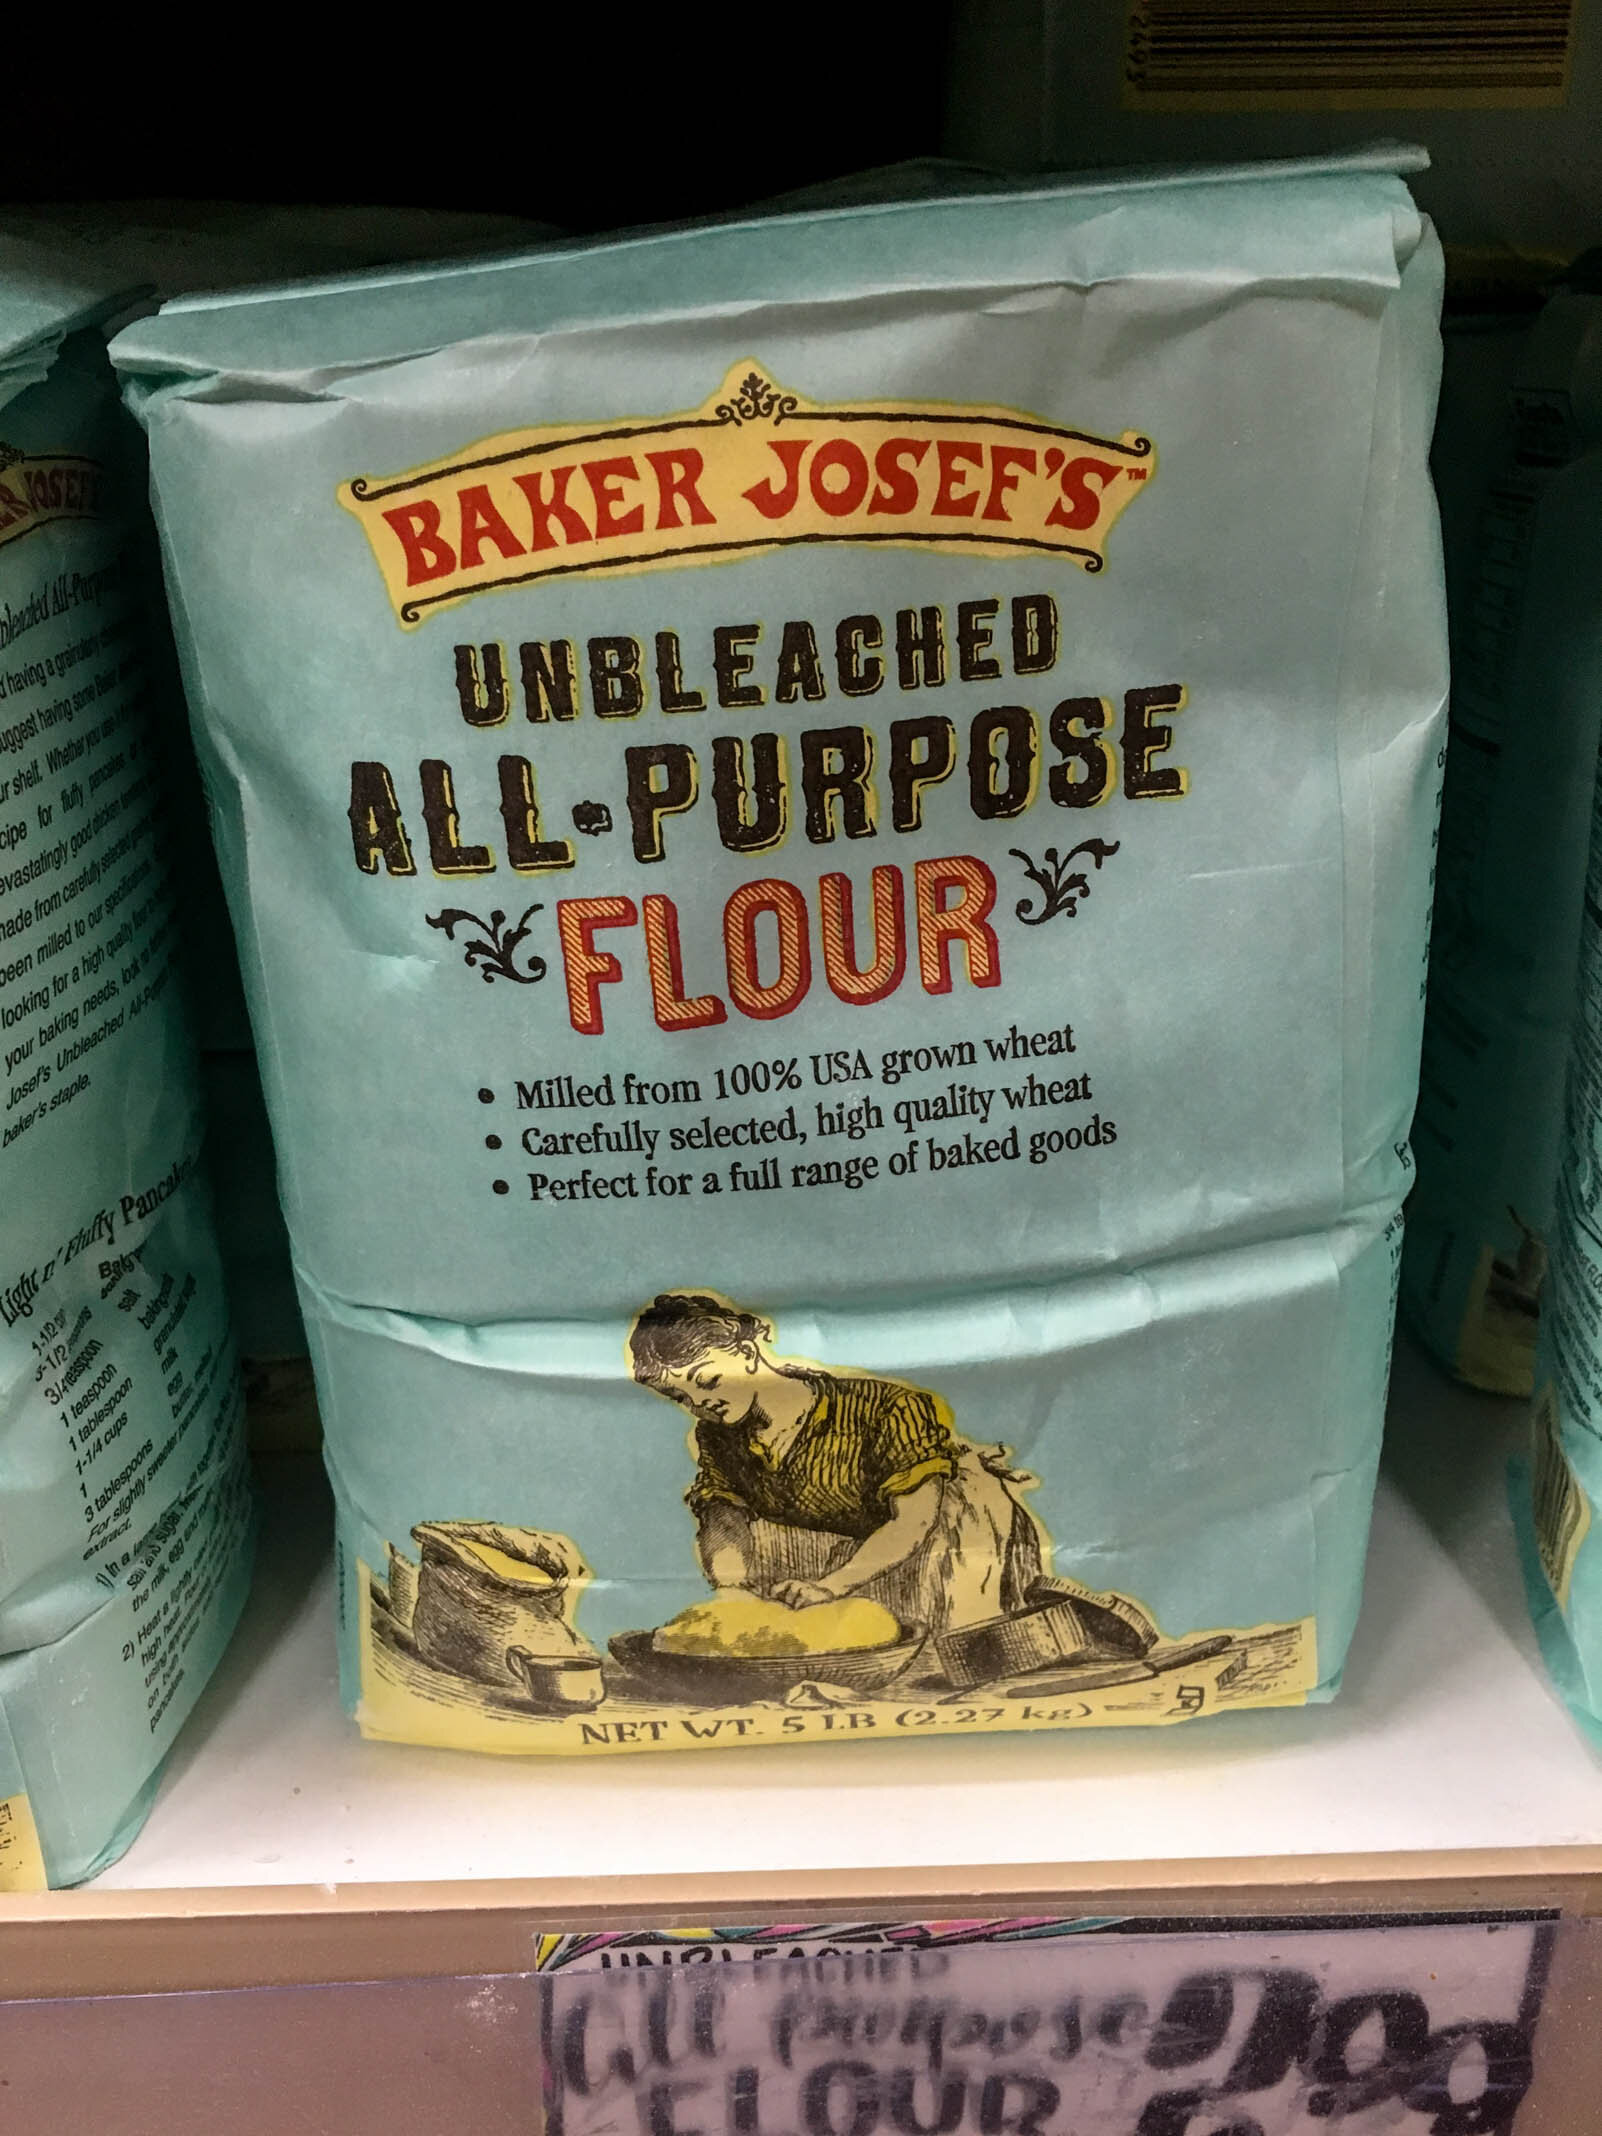
  3. All-Purpose Flour: All-purpose flour is milled from a combination of hard and soft wheat and typically ranges from 9%-11% protein content. Because of it’s versatility and mid-range protein content, it’s the most common type of flour and can be used across a variety of applications.

  4. Pastry Flour: Pastry flour typically has a protein content of 7%-9% and is milled from soft wheat. It is not usually bleached and its low protein levels make it good for use in things like pie crusts, laminated pastries, and cookies.

  5. Cake Flour: Cake flour has the lowest protein levels of any of the various flour types coming in at 6%-8%. It is milled from soft wheat kernels, comes from the very heart of the endosperm, and has a higher starch content than any other flour. It is often bleached and is used in applications where tenderness is desired, like cakes.

What about self-rising flour? Self Rising Flour is a softer all-purpose flour that already has baking powder and salt added. I would only use self-rising flour if a recipe specifically calls for it. If you choose to substitute self-rising flour for all-purpose flour, you will need to adjust your baking powder and salt levels accordingly. 

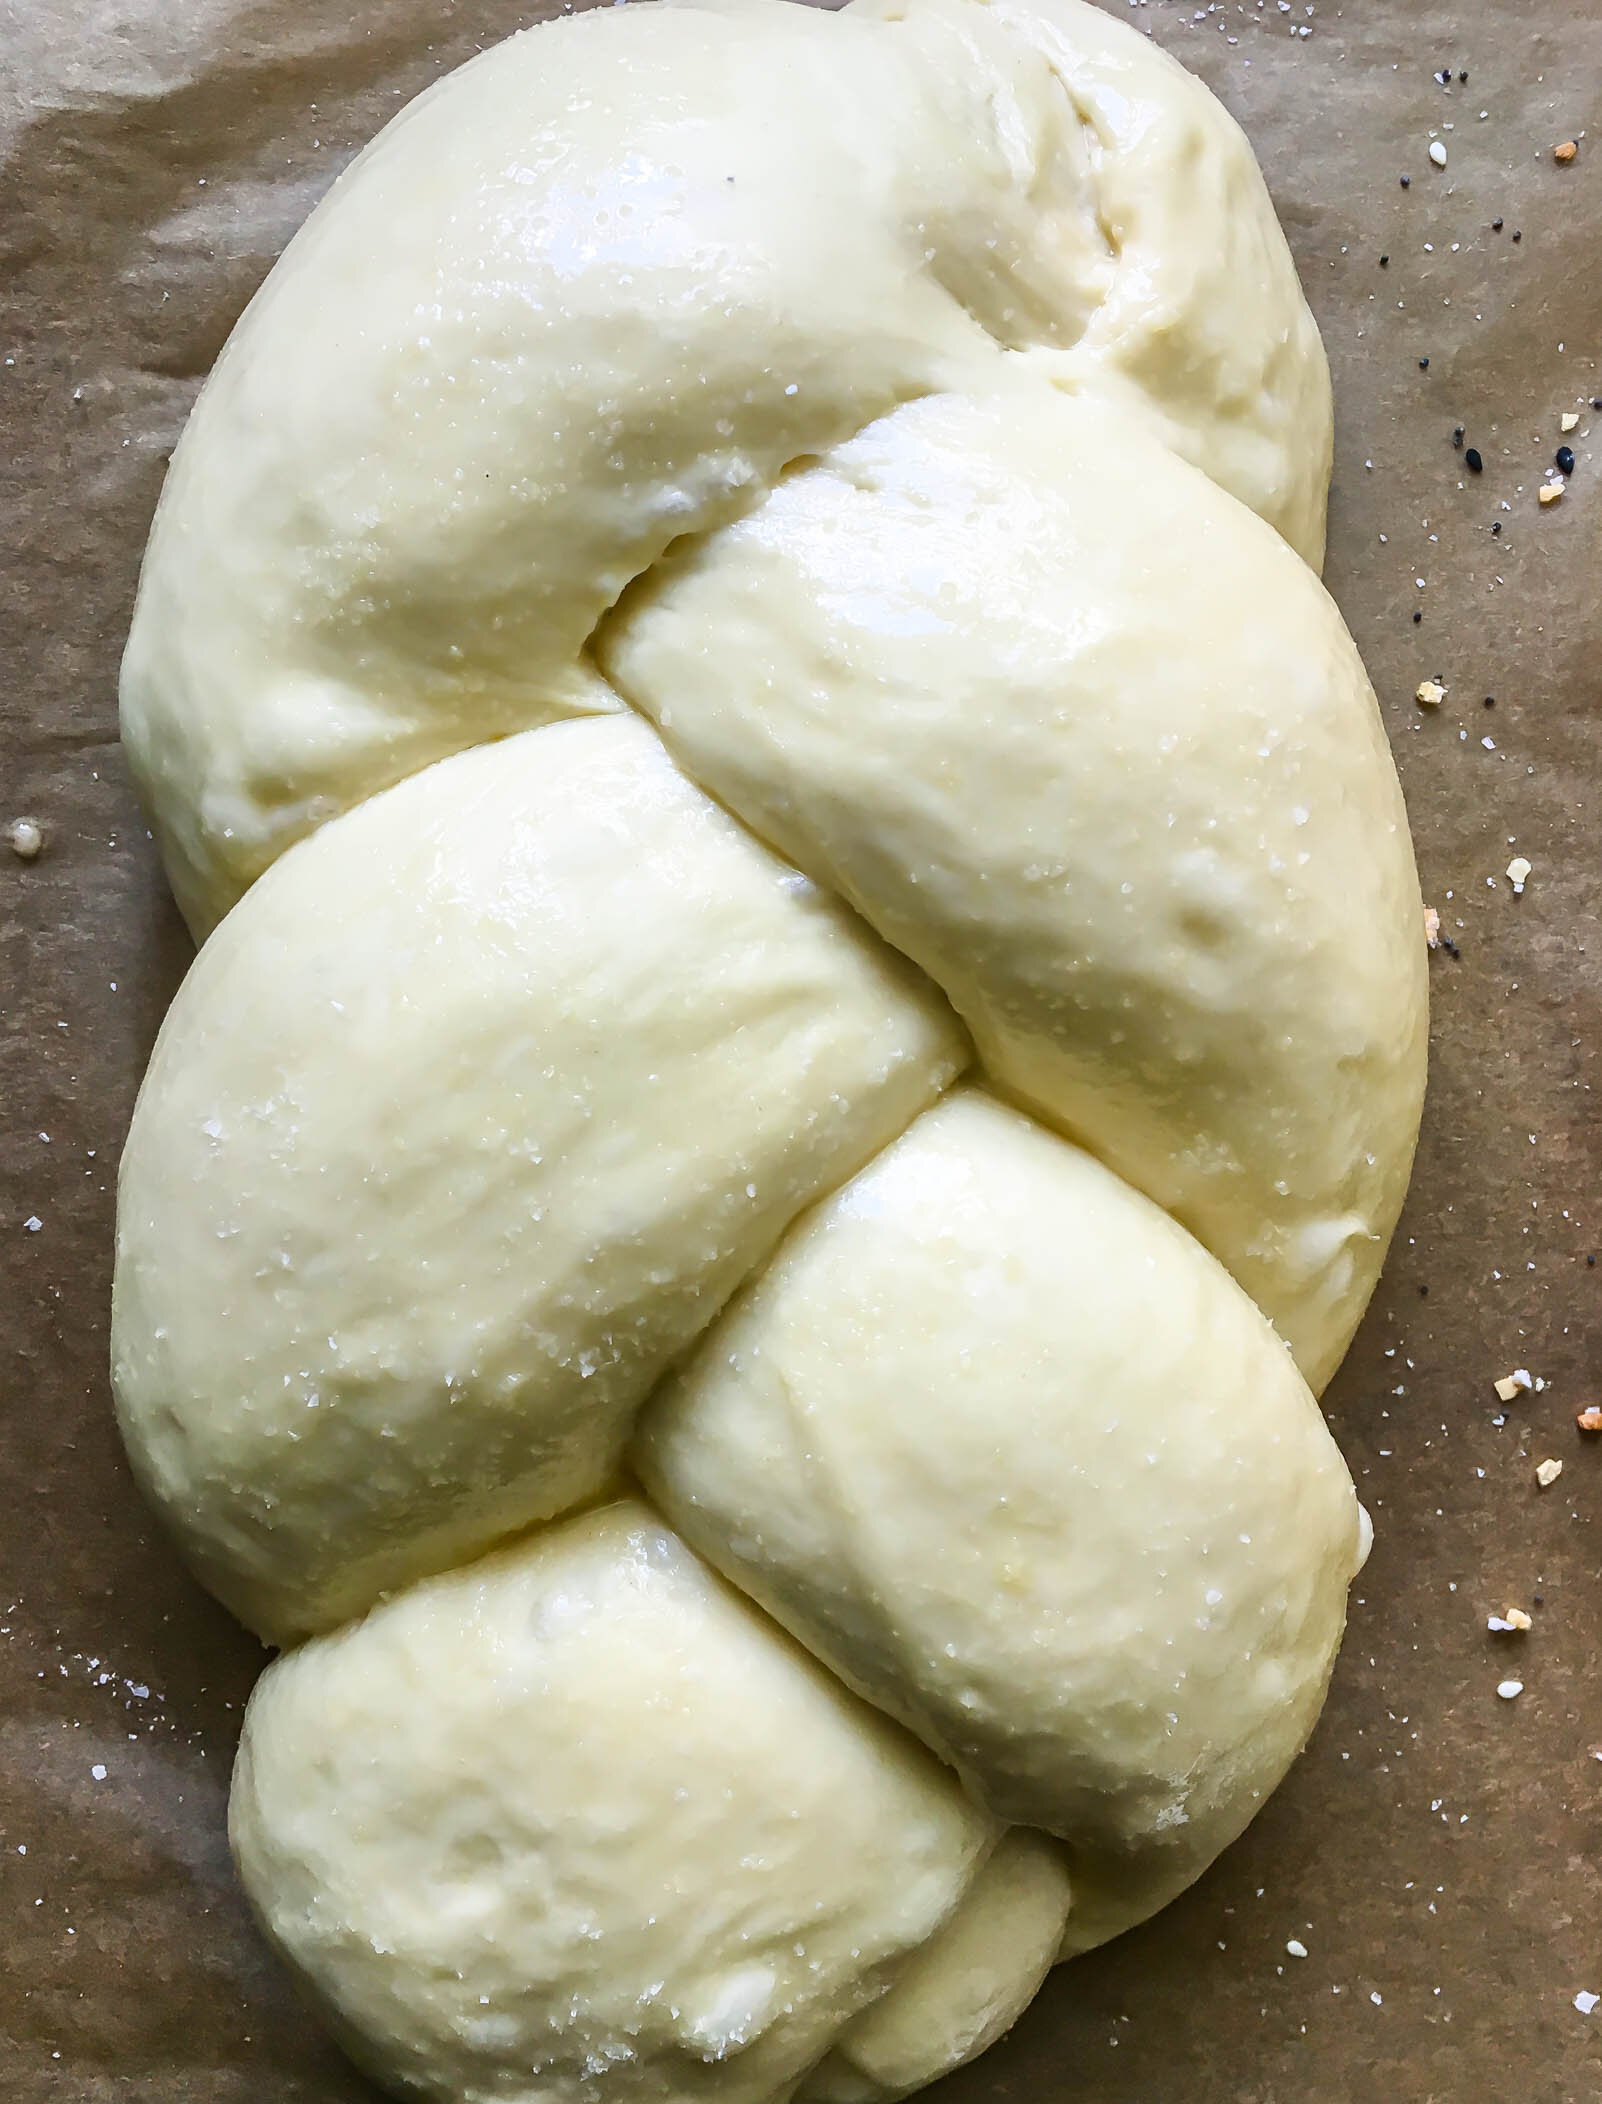
Challah.jpg


Reading the labels

Two words show up a lot on flour labels: bleached and enriched. But what do they mean? And are they good or bad? 

Let’s talk about bleaching first.

Freshly milled flour is exposed to chlorine gas or benzoyl peroxide which makes the yellowish hued flour bright white in color. It also provides a better chance for air or carbon dioxide to become trapped in gluten webs which can result in better volume and texture. It also can diminish nutritional value and can interfere with bacteria development when working with wild yeast and starters. 

Enriched Flour

Enriched flour is flour that has been supplemented with conditioners to increase gluten production and improve overall baked good quality. Millers add potassium bromate, ascorbic acid, and diastase to the newly milled flour. A flour with potassium bromate added can also be called “bromated” and it’s a chemical that has been banned in Canada and Europe because it’s now considered carcinogenic. Ascorbic acid is added to improve and strengthen gluten, and diastase is an enzyme that is naturally occurring in flour, but is damaged during milling so it often gets added back in. 

Whether you decide to use bleached and enriched flour is a choice entirely up to you, as bleached and enriched flours are often cheaper. I personally like to use flours that are not bleached and enriched. Whatever you decide, it’s important to remember that bleaching and enriching may affect the quality of your baked goods and bleached flour should not be used when working with wild yeast applications, like sourdough. 

How do I pick the right flour? and some practical applications

If you are a casual baker, sticking to the occasional cookie and brownie, all-purpose flour will usually be sufficient for you. It’s nice to keep a box of cake flour around for the cake or cookie recipe you will stumble upon that calls for it. If you are dabbling in any sort of bread baking, I would also recommend keeping bread flour on hand. You will definitely need it. 

Find a brand or two that you like and stick with it. I prefer King Arthur Flour. They always produce high-quality flour, don’t bleach or enrich their products, and include the protein content right on the label so I always know what I’m working with. I also like White Lily flour, which has a bit lower protein levels, for things like cakes and biscuits. 

If you purchase whole wheat flour and don’t use it on a regular basis, store it in your freezer. Whole wheat flour contains the wheat germ, which contains fat and can go rancid if left in the pantry for long periods of time. 

To sift or not to sift? I strongly encourage sifting when you are using cake flour or cocoa powder. The high starch content in both of these causes little clumps that are hard to break up without sifting. Otherwise, you probably don’t need to go through all the trouble of sifting. Just take a fork and give your flour a quick fluff if it looks a little clumpy.

Consider your desired results when selecting a flour. Do you want strong gluten structure? Do you want a soft and tender crumb? Decide what role you need the flour to play in your recipe and choose accordingly. 

I know this was an exceptionally long read so congratulations for making it all the way through! I hope that you learned a few things that will help in your future baking endeavors. Please comment any other questions you may have.

PistachioRoseWhole.jpg


Cinnamon Swirl Brioche

A soft, buttery brioche bread filled with cinnamon sugar.

cinnamon swirl brioche-15.jpg

My mom makes great breakfast toasts. Growing up, I remember there being quite a variety of toast options in my house and there was just something about my mom’s toast that tasted better than all other toasts. Even today, just plain toast with butter tastes so much better when my mom makes it. I think that’s just a mom thing. But hands down, the top two toasts of my childhood were cheese toast and cinnamon toast. Cheese toast is fairly self explanatory- its toast that my mom would top with slices of cheese and slip under the broiler for a few minutes. The edges would crisp and then cheese would get all melty and delicious. For cinnamon toast, my mom would smear the toast with butter and sprinkle it with cinnamon sugar before tucking it into the heat of the oven. There were the extra toasty bites where the sugar had begun to caramelize and the soft squishy bites where the butter completely soaked the toast. It was a work of toast art. 

cinnamon swirl brioche-5.jpg

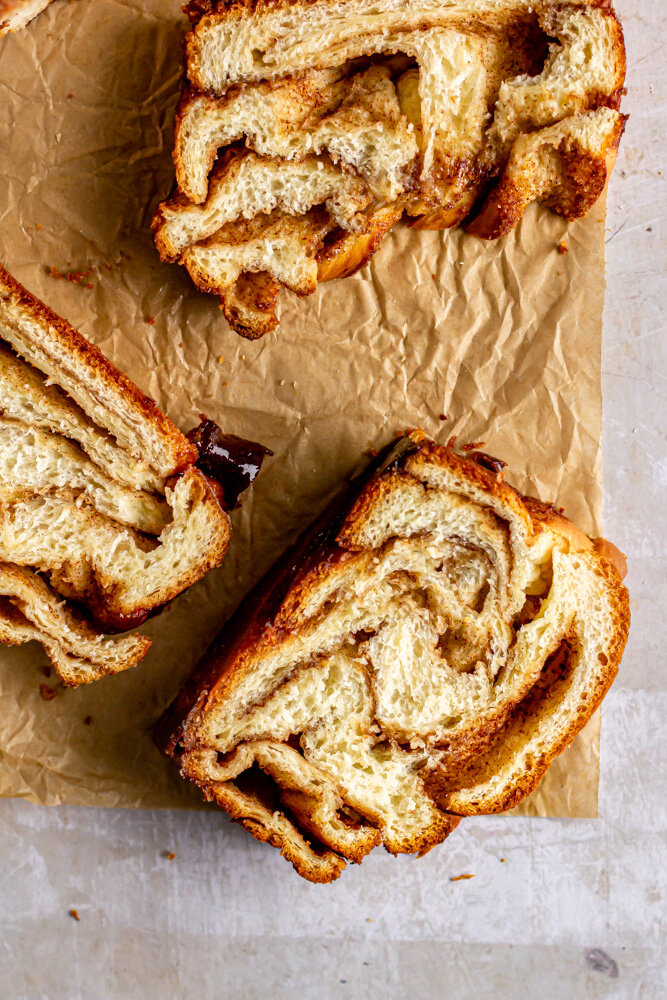
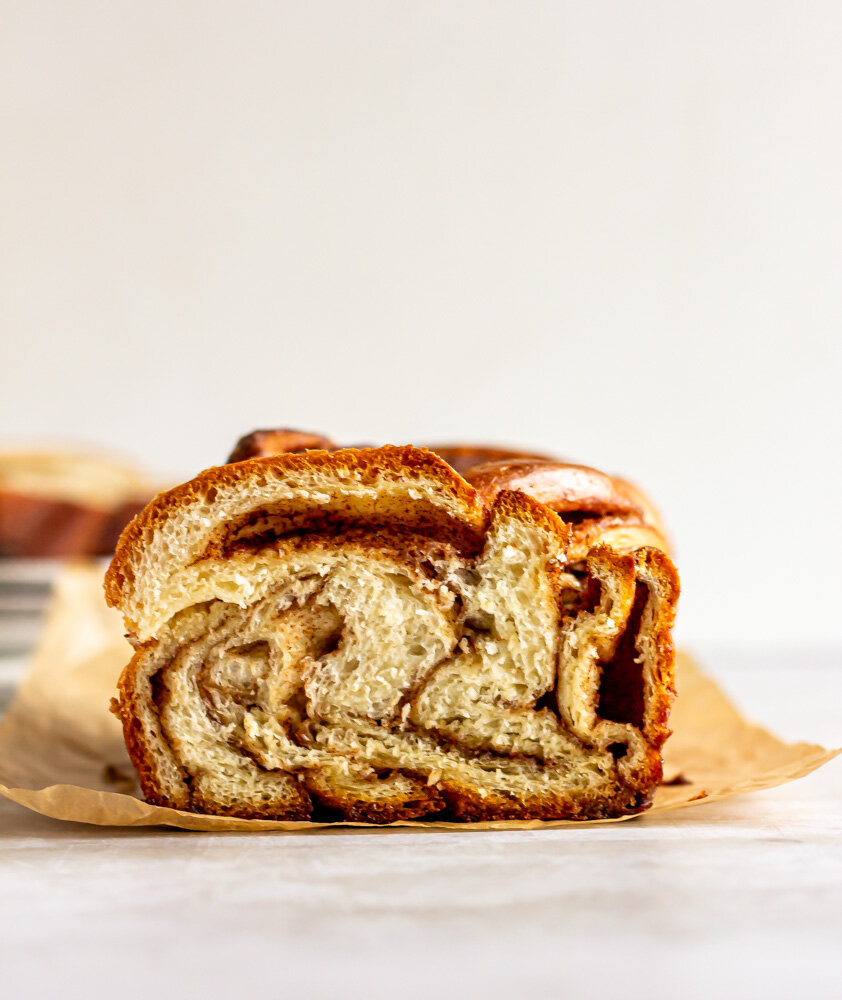
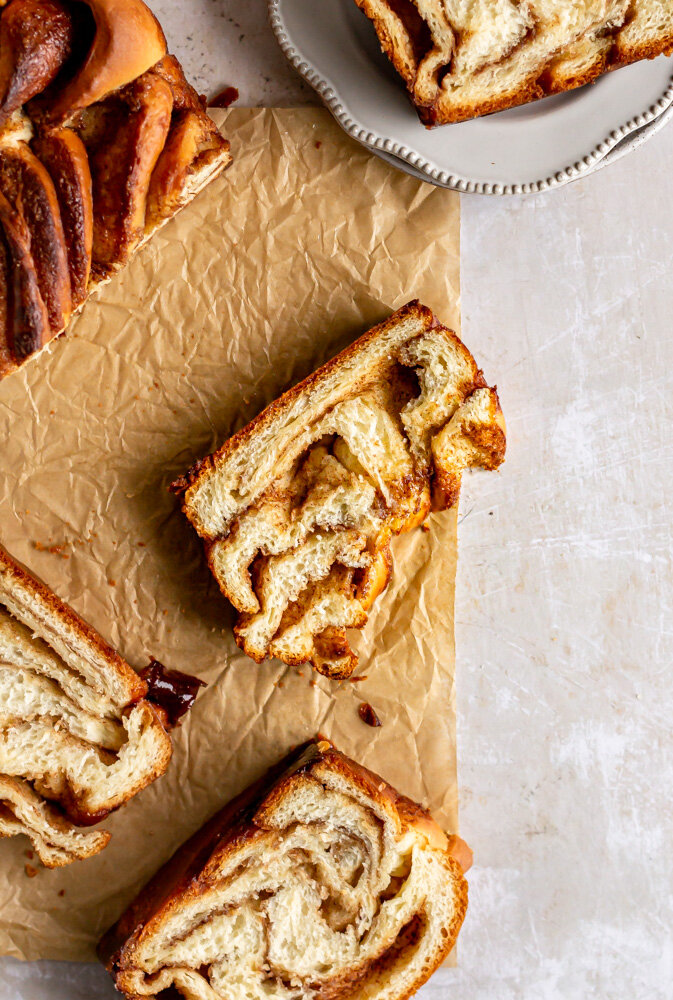
This is a traditional brioche dough swirled with softened butter and cinnamon sugar, reminiscent of those cinnamon toast mornings of my school years. Brioche is an enriched dough, which means that has sugar, eggs, and butter, all of which add flavor and richness to the dough, but slow down gluten development and yeast production. This means that brioche dough needs a longer mixing time and a longer proofing time than other yeasted doughs. For this, we tuck our dough into the fridge to cold proof for 6-12 hours (or overnight). Cold proofing slows fermentation and gives the butter a chance to re-solidify before shaping so that it doesn’t melt out of the dough when you begin working with it. This also means that you can mix your dough the night before and have freshly baked cinnamon brioche in the morning, which is never a bad thing in my opinion. 

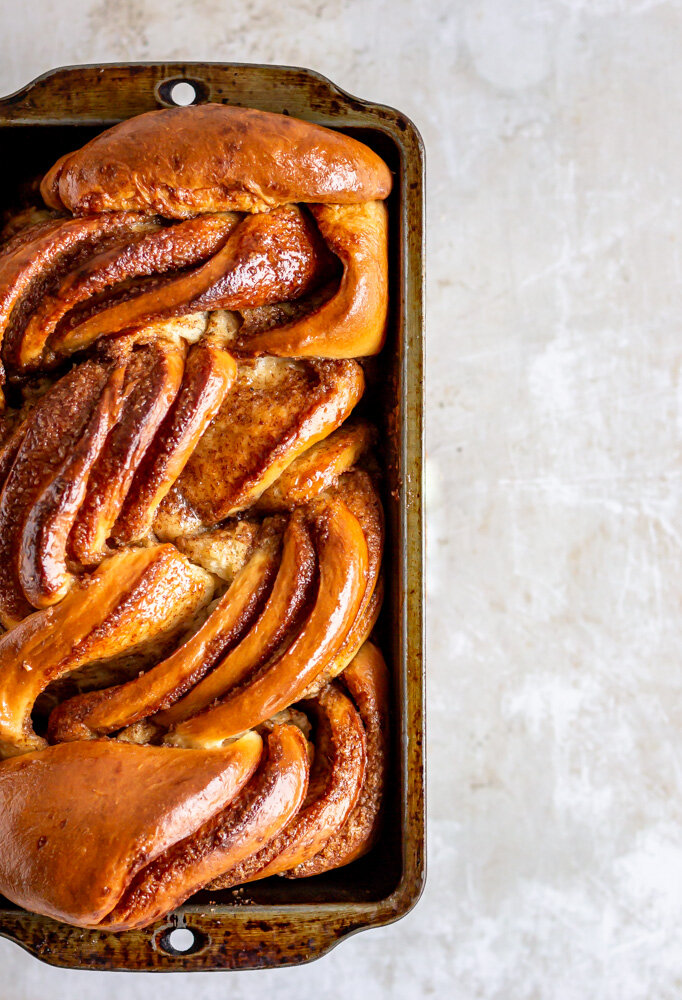
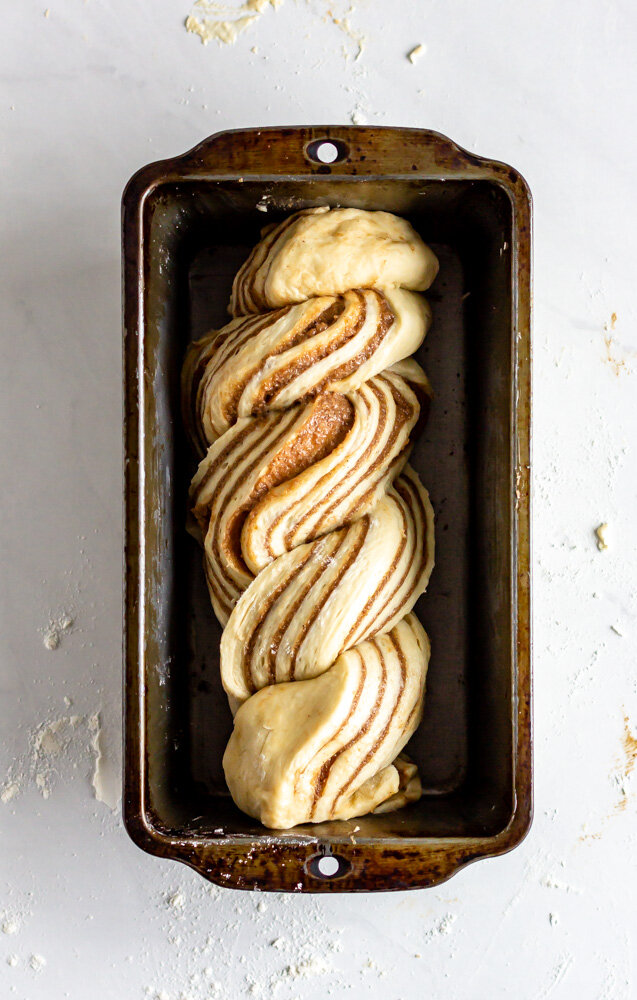
After the dough has been filled, we slice it and braid to, similarly to a babka, mostly because I think it looks pretty and the swirls make sure that there is cinnamon sugar in every bite. After it rises one last time, the dough is baked until golden brown and then brushed with butter. In the words of the great Ina Garten, “How easy is that?”

Cinnamon Swirl Brioche
Yield one 9x5" loaf
Author Anna Ramiz
Prep time
30 Min
Cook time
35 Min
Inactive time
8 Hour
Total time
9 H & 5 M

Cinnamon Swirl Brioche

A soft, buttery brioche bread filled with cinnamon sugar.

Ingredients

for the brioche
  • 125 g whole milk
  • 7 g active dry yeast
  • 260 g flour
  • 30 g sugar
  • 1/2 tsp salt
  • 2 eggs, at room temperature
  • 65 g butter, at room temperature
for the cinnamon filling
  • 113 g (1 stick) butter, soft
  • 110 g (1/2 cup) brown sugar
  • 2 tsp cinnamon
  • 1 tsp cardamom
  • 1/2 tsp salt

Instructions

  1. Warm milk in the microwave to remove the chill. (Liquid should be between 110-115 degrees to proof yeast which means it should feel warm, but not too hot to the touch.) Add the yeast and a pinch of sugar to the milk. Stir to combine and then let sit until foamy, about 5 minutes.
  2. In the bowl of a stand mixer fitted with the dough hook, combine flour, sugar, and salt.
  3. Slowly add the yeast/milk mixture and mix on medium speed until combined. With the mixture running, add the eggs one at a time. When the eggs are combined, add butter piece by piece ensuring that it is mixed in before adding more. At this point, the dough will be very wet and sticky, that’s ok- just keep mixing!
  4. Increase the speed to medium high and continue mixing for about 8 minutes, until the dough is smooth.
  5. Place dough into a greased bowl, cover with a damp towel and let rise for 1 hour, or until doubled in size.
  6. When the dough has proofed, punch it down and then cover the bowl with plastic wrap. Transfer to the refrigerator and allow to cold proof for 6-12 hours.
  7. Take the brioche dough from the refrigerator and allow it to rest at room temperature for 15-20 minutes, just to take the chill off. While the dough is resting, make the cinnamon filling.
  8. In a medium bowl, mix together all of the cinnamon filling ingredients until smooth and combined. Set aside.
  9. Turn brioche dough out onto a clean surface. (The dough should not stick, but I always like to keep a small bowl of flour next to me as insurance in case the dough starts being temperamental). Roll the dough to a large rectangle, about 9x18 inches in size.
  10. Use an small offset spatula (or a spoon) to spread the cinnamon filling over the surface of the rectangle, leaving about a 1/2 inch at the edges.
  11. Beginning with the short side, roll brioche tightly to create a log. Trim 1” off of the ends of the log. Slice the long in half lengthwise, leaving the top 2 inches unsliced. At this point, you should have one piece of dough with two “legs”. The pieces should be facing up so that the layers of filling are visible. Begin to twist the two pieces over and under each other, to create something that resembles a braid. Pinch the ends and then place the braid in a greased loaf pan.
  12. Cover the brioche with a towel and let rise again, about an hour, until it has almost doubled in size.
  13. Bake in a 350 degree oven for 30-35 minutes, until golden brown and a skewer comes out clean. Brush with melted butter and let cool in the pan 15 minutes. Transfer to a wire rack to complete cooling before slicing and serving.

Notes

This recipe is so versatile--feel free to add nuts or spices to the cinnamon filling. You can also wrap the baked bread tightly in plastic wrap and store in the freezer for a later date.

Did you make this recipe?
Tag @gatheredatmytable on instagram and hashtag it # gatheredatmytable