Spiced Caramel Chocolate Lava Cakes

lavacakes20.jpg

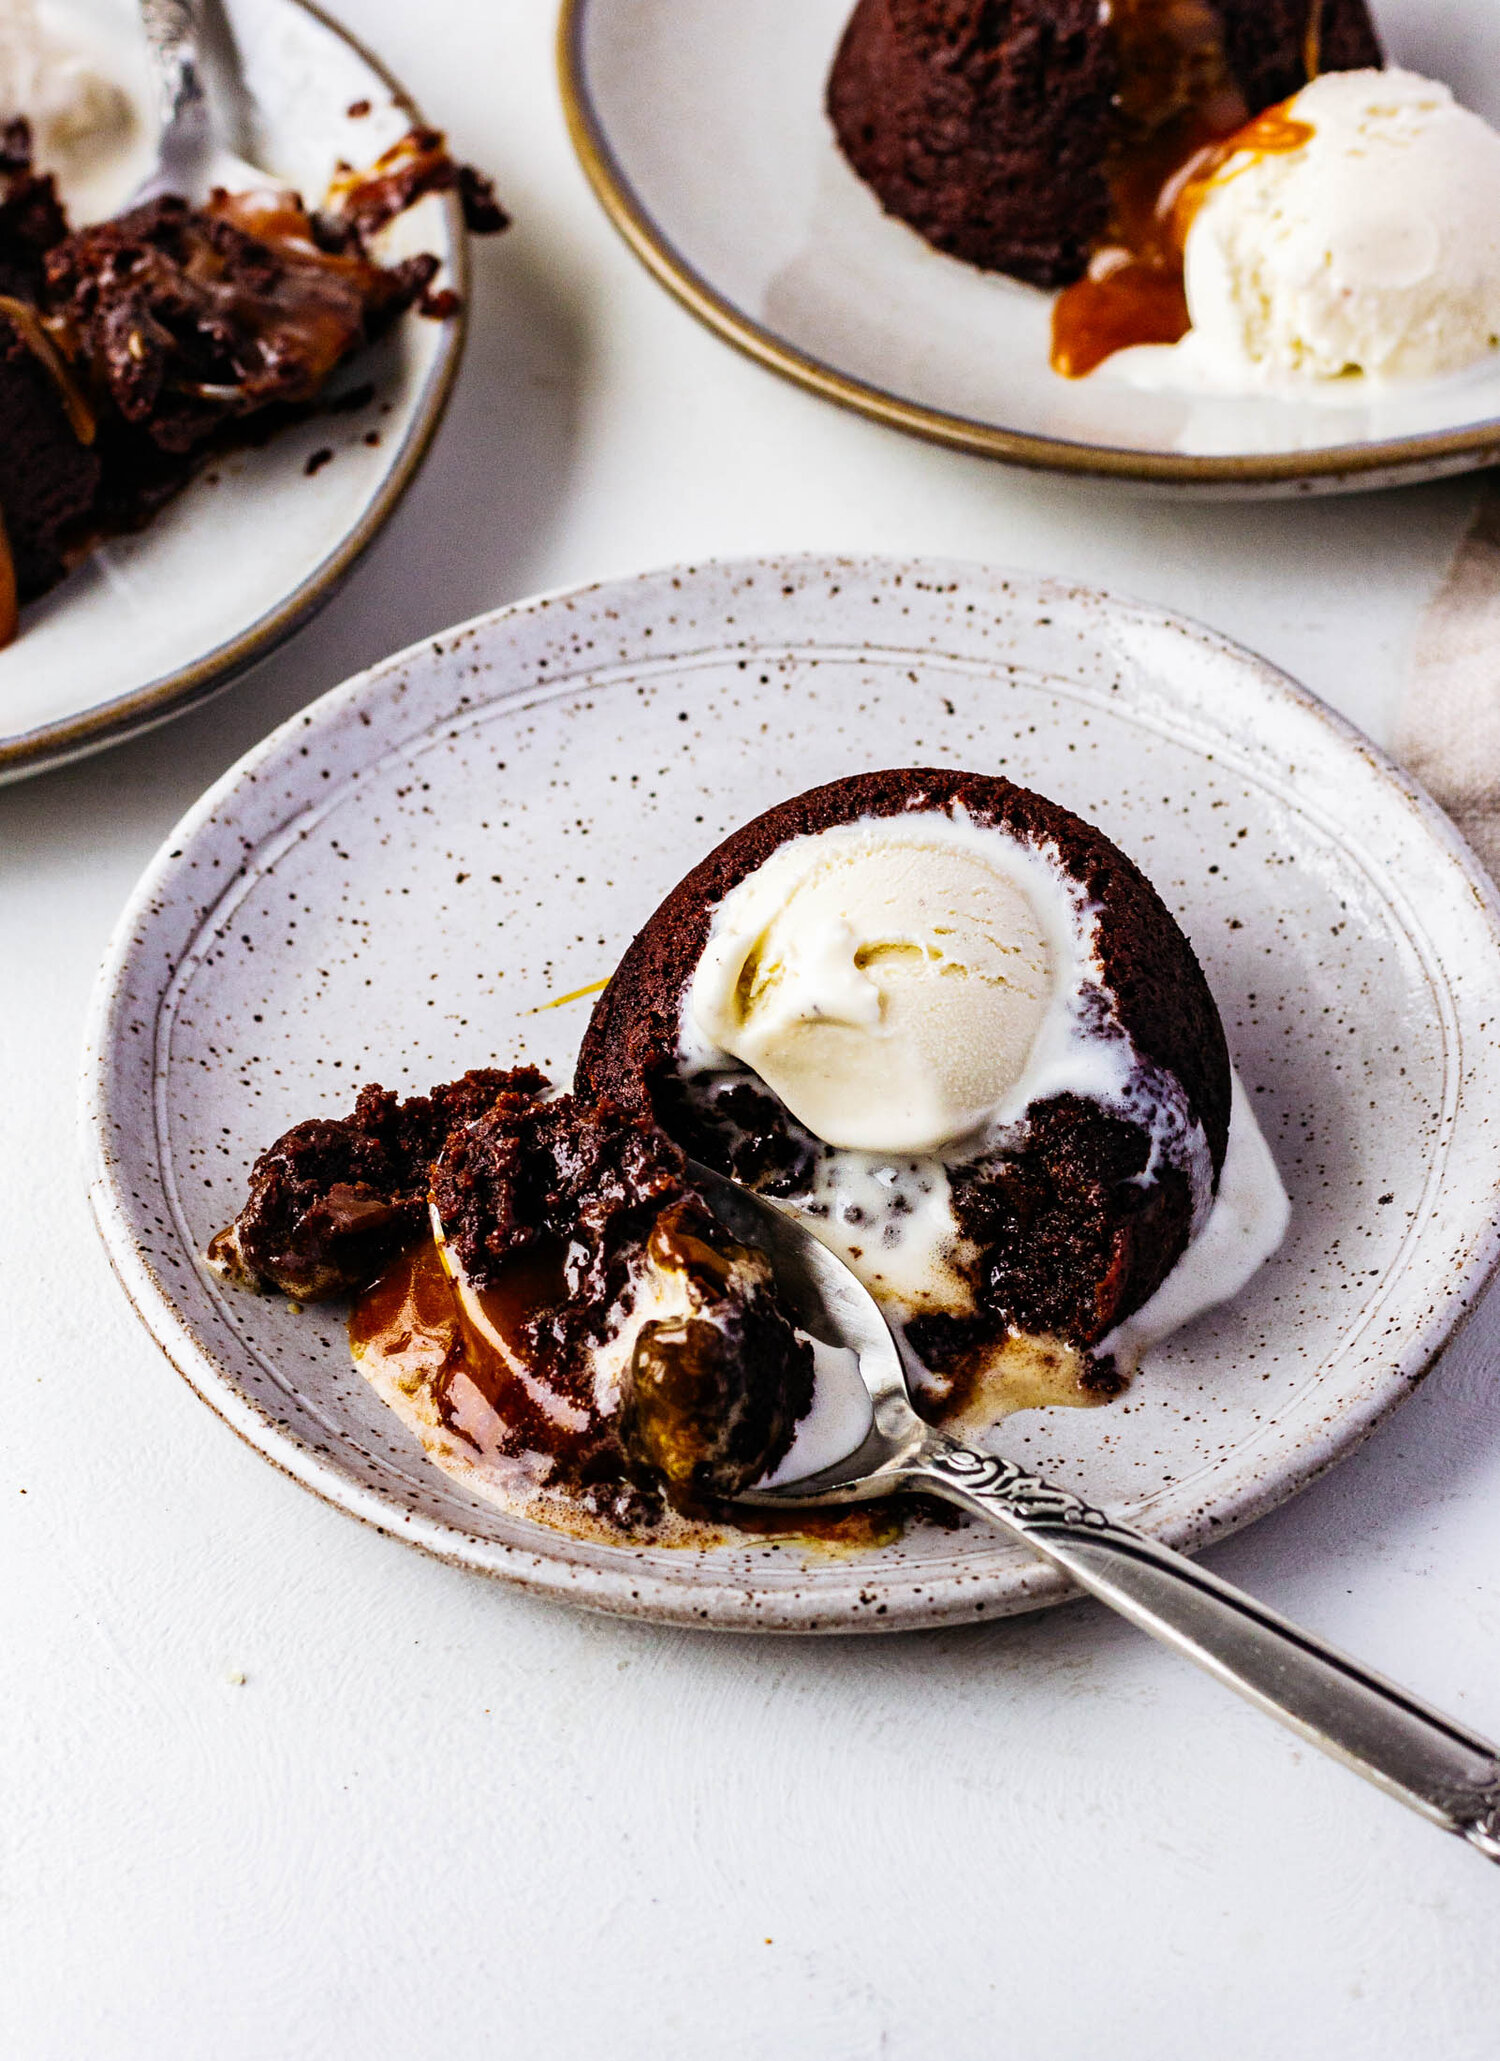
It’s Valentine’s Day Weekend and that means really only one thing in the food world—chocolate. I took a poll on my Instagram stories at the beginning of the week asking if people preferred chocolate desserts or pink desserts and I truly don’t even know why I asked. Chocolate is always the winner. My perfect Valentine’s dessert (or honestly anytime dessert) is very simple, very rich, very gooey, and often salted. So basically, little lava cakes.

Back about 7 years ago or so, I pinned a recipe on Pinterest for molten cakes baked in muffin tins. It was from a very random blog, with a poor, artificially lit photo (one that would never stand on my carefully curated Pinterest boards of today!), and my sister-in-law decided to try out the recipe. They were a hit. We made them for party desserts. We made them for my other sister-in-law’s freezer when she had her first baby. I took them on road trips. We just became best friends. And then, like Jessie and her little girl owner in Toy Story 2, we grew apart. Other flashy recipes caught my attention. I started laminating doughs and layering cakes and going to pastry school. Fast forward to about a year ago, I had a craving for lava cakes and set out to sort through thousands of pins to find the recipe, and it was gone! Of course, I had never written the recipe down, so I set out to make my own perfect little molten lava cake recipe and here we are. These lava cakes are the product of lots of testing, lots of suffering through too dry or not-cooked-enough cakes, but we made it friends.

about the spiced caramel

You guys know I can’t just give you a normal, caramel lava cake recipe. It’s against my nature! So here, we spice our caramel with fennel seeds, cardamom pods, and black peppercorns. The spices give a little added flavor contrast to the chocolate and help to cut through some of the sweetness. It’s made using a traditional wet caramel, meaning sugar is cooked with water (which helps prevent that pesky sugar crystallization) until it turns a deep amber color. Heavy cream that has been steeped with your spices gets added, followed by butter and salt. Make sure to chill the caramel well, so that it’s scoop-able when filling the cakes or it will ooze out the sides during baking!

about the lava cakes

The actual cakes themselves are fairly straightforward here. All of your favorite ingredients make an appearance- flour, sugar, brown sugar, butter, eggs, and chocolate. The cakes get baked in muffin tins and the batter can be actually be chilled and baked off later if you want to make them ahead. You can also freeze and wrap baked cakes individually and heat them in the microwave, although you do lose a little of that molten middle. Still chocolate-y and still delicious. They are really the most perfect Valentine’s day treat.

Yield: makes six
Author: Anna Ramiz
Spiced Caramel Chocolate Lava Cakes

Spiced Caramel Chocolate Lava Cakes

Prep time: 20 MinCook time: 20 MinTotal time: 40 Min
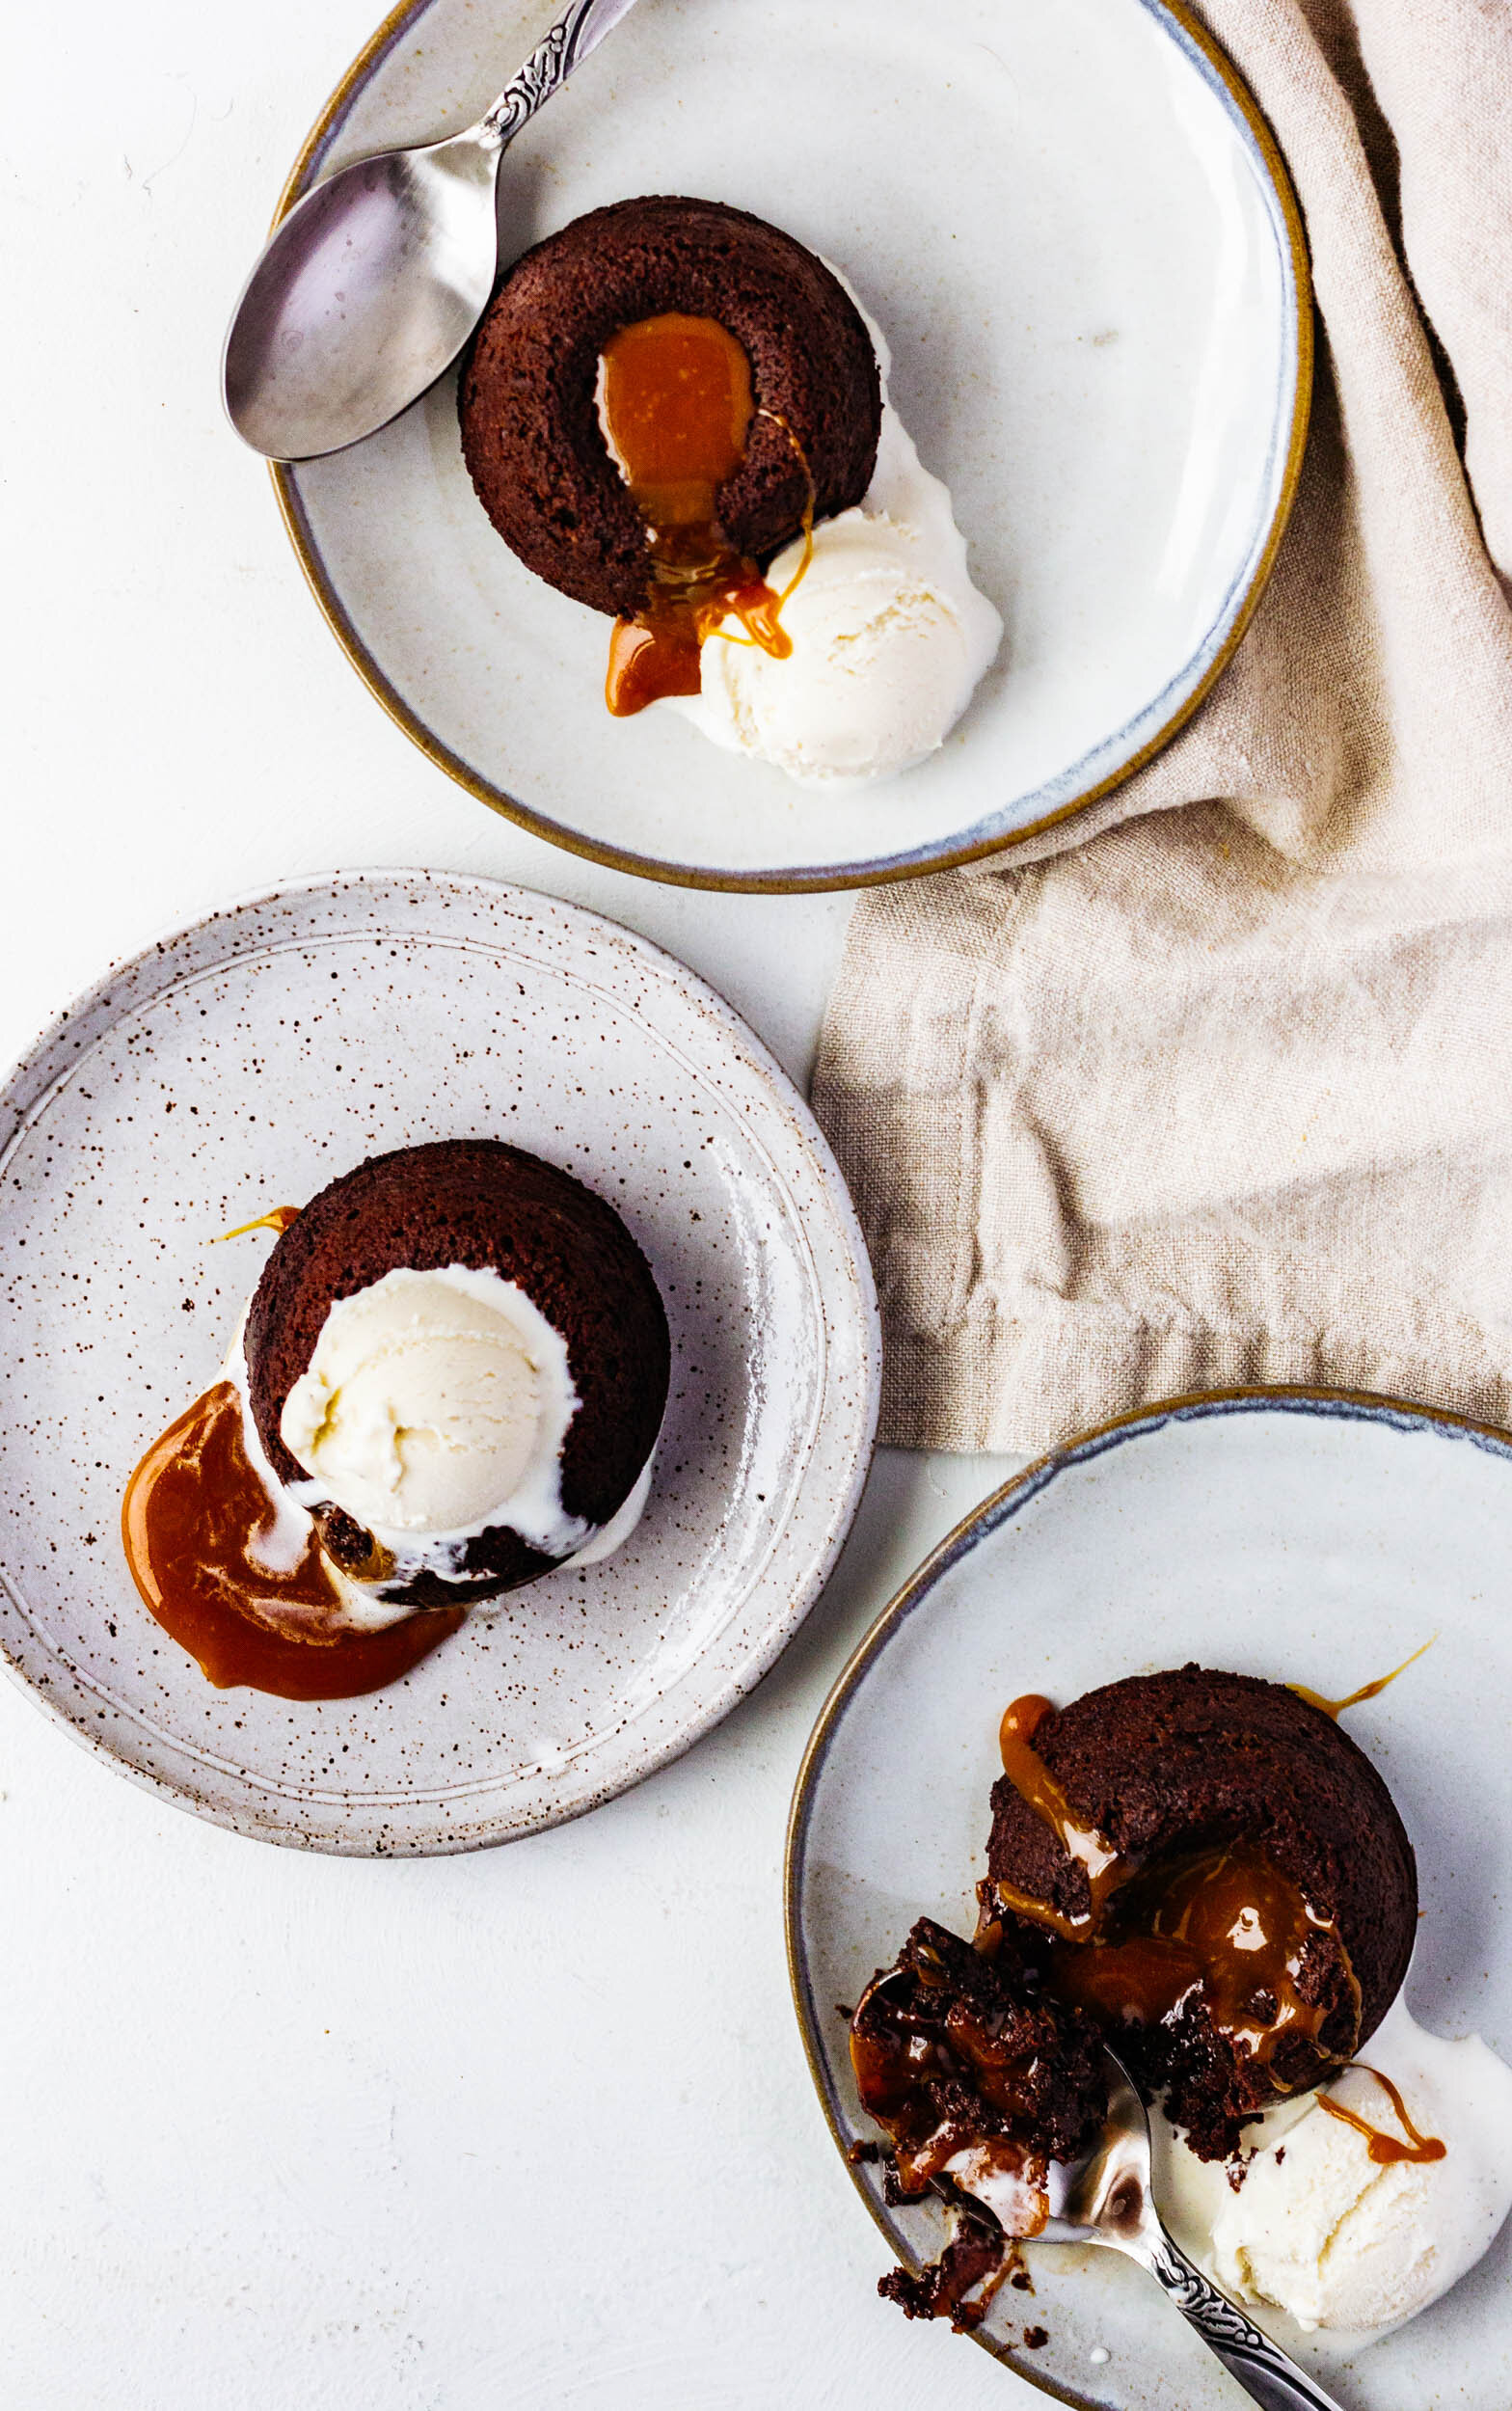
Rich, decadent molten chocolate lava cakes filled with homemade caramel, spiced with cardamom, fennel, and black peppercorns.

Ingredients

for the spiced caramel
  • ½ cup (100 g) granulated sugar
  • 2 tbsp water
  • ½ tsp lemon juice
  • ¼ cup heavy cream
  • ¼ tsp fennel seeds, roughly chopped
  • 8 whole cardamom pods
  • ½ tsp black peppercorns
  • 1 tbsp unsalted butter
  • pinch of salt
for the lava cakes
  • 3 oz + 2 tbsp unsalted butter, divided
  • 6 oz dark chocolate, roughly chopped
  • 1 egg
  • 3 egg yolks
  • ¼ cup (50 g) granulated sugar
  • ¼ cup (60 g) brown sugar
  • 3 tbsp all purpose flour
  • 2 ½ tsp cocoa powder, divided
  • ¼ tsp kosher salt
  • ¼ tsp vanilla extract
  • spiced caramel, recipe included, chilled

Instructions

to make the spiced caramel
  1. Place heavy cream, fennel seeds, cardamom pods, and black peppercorns in a small saucepan set over medium heat. Bring to a simmer and then immediately remove from heat. Cover and let steep for 30 minutes. Strain out the spices and set cream aside.
  2. In a medium pot, stir together sugar, water, and lemon juice. Set over medium heat and cook without stirring until the sugar is dissolved and the mixture begins to take on a light brown color. At this point, you can gently stir the caramel. Continue to cook until the caramel reaches a deep amber color.
  3. Remove the caramel from the heat and whisk in the reserved heavy cream. (The mixture will bubble up, this is okay, just keep stirring). When all the cream has been added, return it to the heat and cook for one more minute.
  4. Remove from the heat again, stir in butter and a pinch of salt and then transfer to a clean bowl to cool.
  5. Store caramel in an air-tight container in the fridge for up to a week.
to make the lava cakes
  1. Preheat the oven to 425° F. Melt 2 tbsp of butter and divide between six muffin tins. Sprinkle 1 ½ tsp of the cocoa among the six muffin tins and use your fingers to mix the butter and cocoa powder and rub the mixture thoroughly up the sides of the tins to prevent sticking.
  2. In a heat-proof bowl set over a pot of simmering water, melt the chocolate. Set aside.
  3. In the bowl of a stand mixer fitted with the paddle attachment, add 3 oz of butter, sugar, and granulated sugar. Cream for 2-3 minutes, until light and fluffy, scraping down the sides as needed.
  4. With the mixer on low speed, add eggs and egg yolks one at a time, mixing well after each addition. Add the vanilla extract.
  5. Add the flour, remaining 1 tsp of cocoa powder, and salt and mix on low speed until just combined. Stream in the melted chocolate and continue to mix for 1-2 minutes until homogenous. Remove the bowl from the mixer, scrape down the sides, and fold with a rubber spatula to ensure that the batter is evenly mixed.
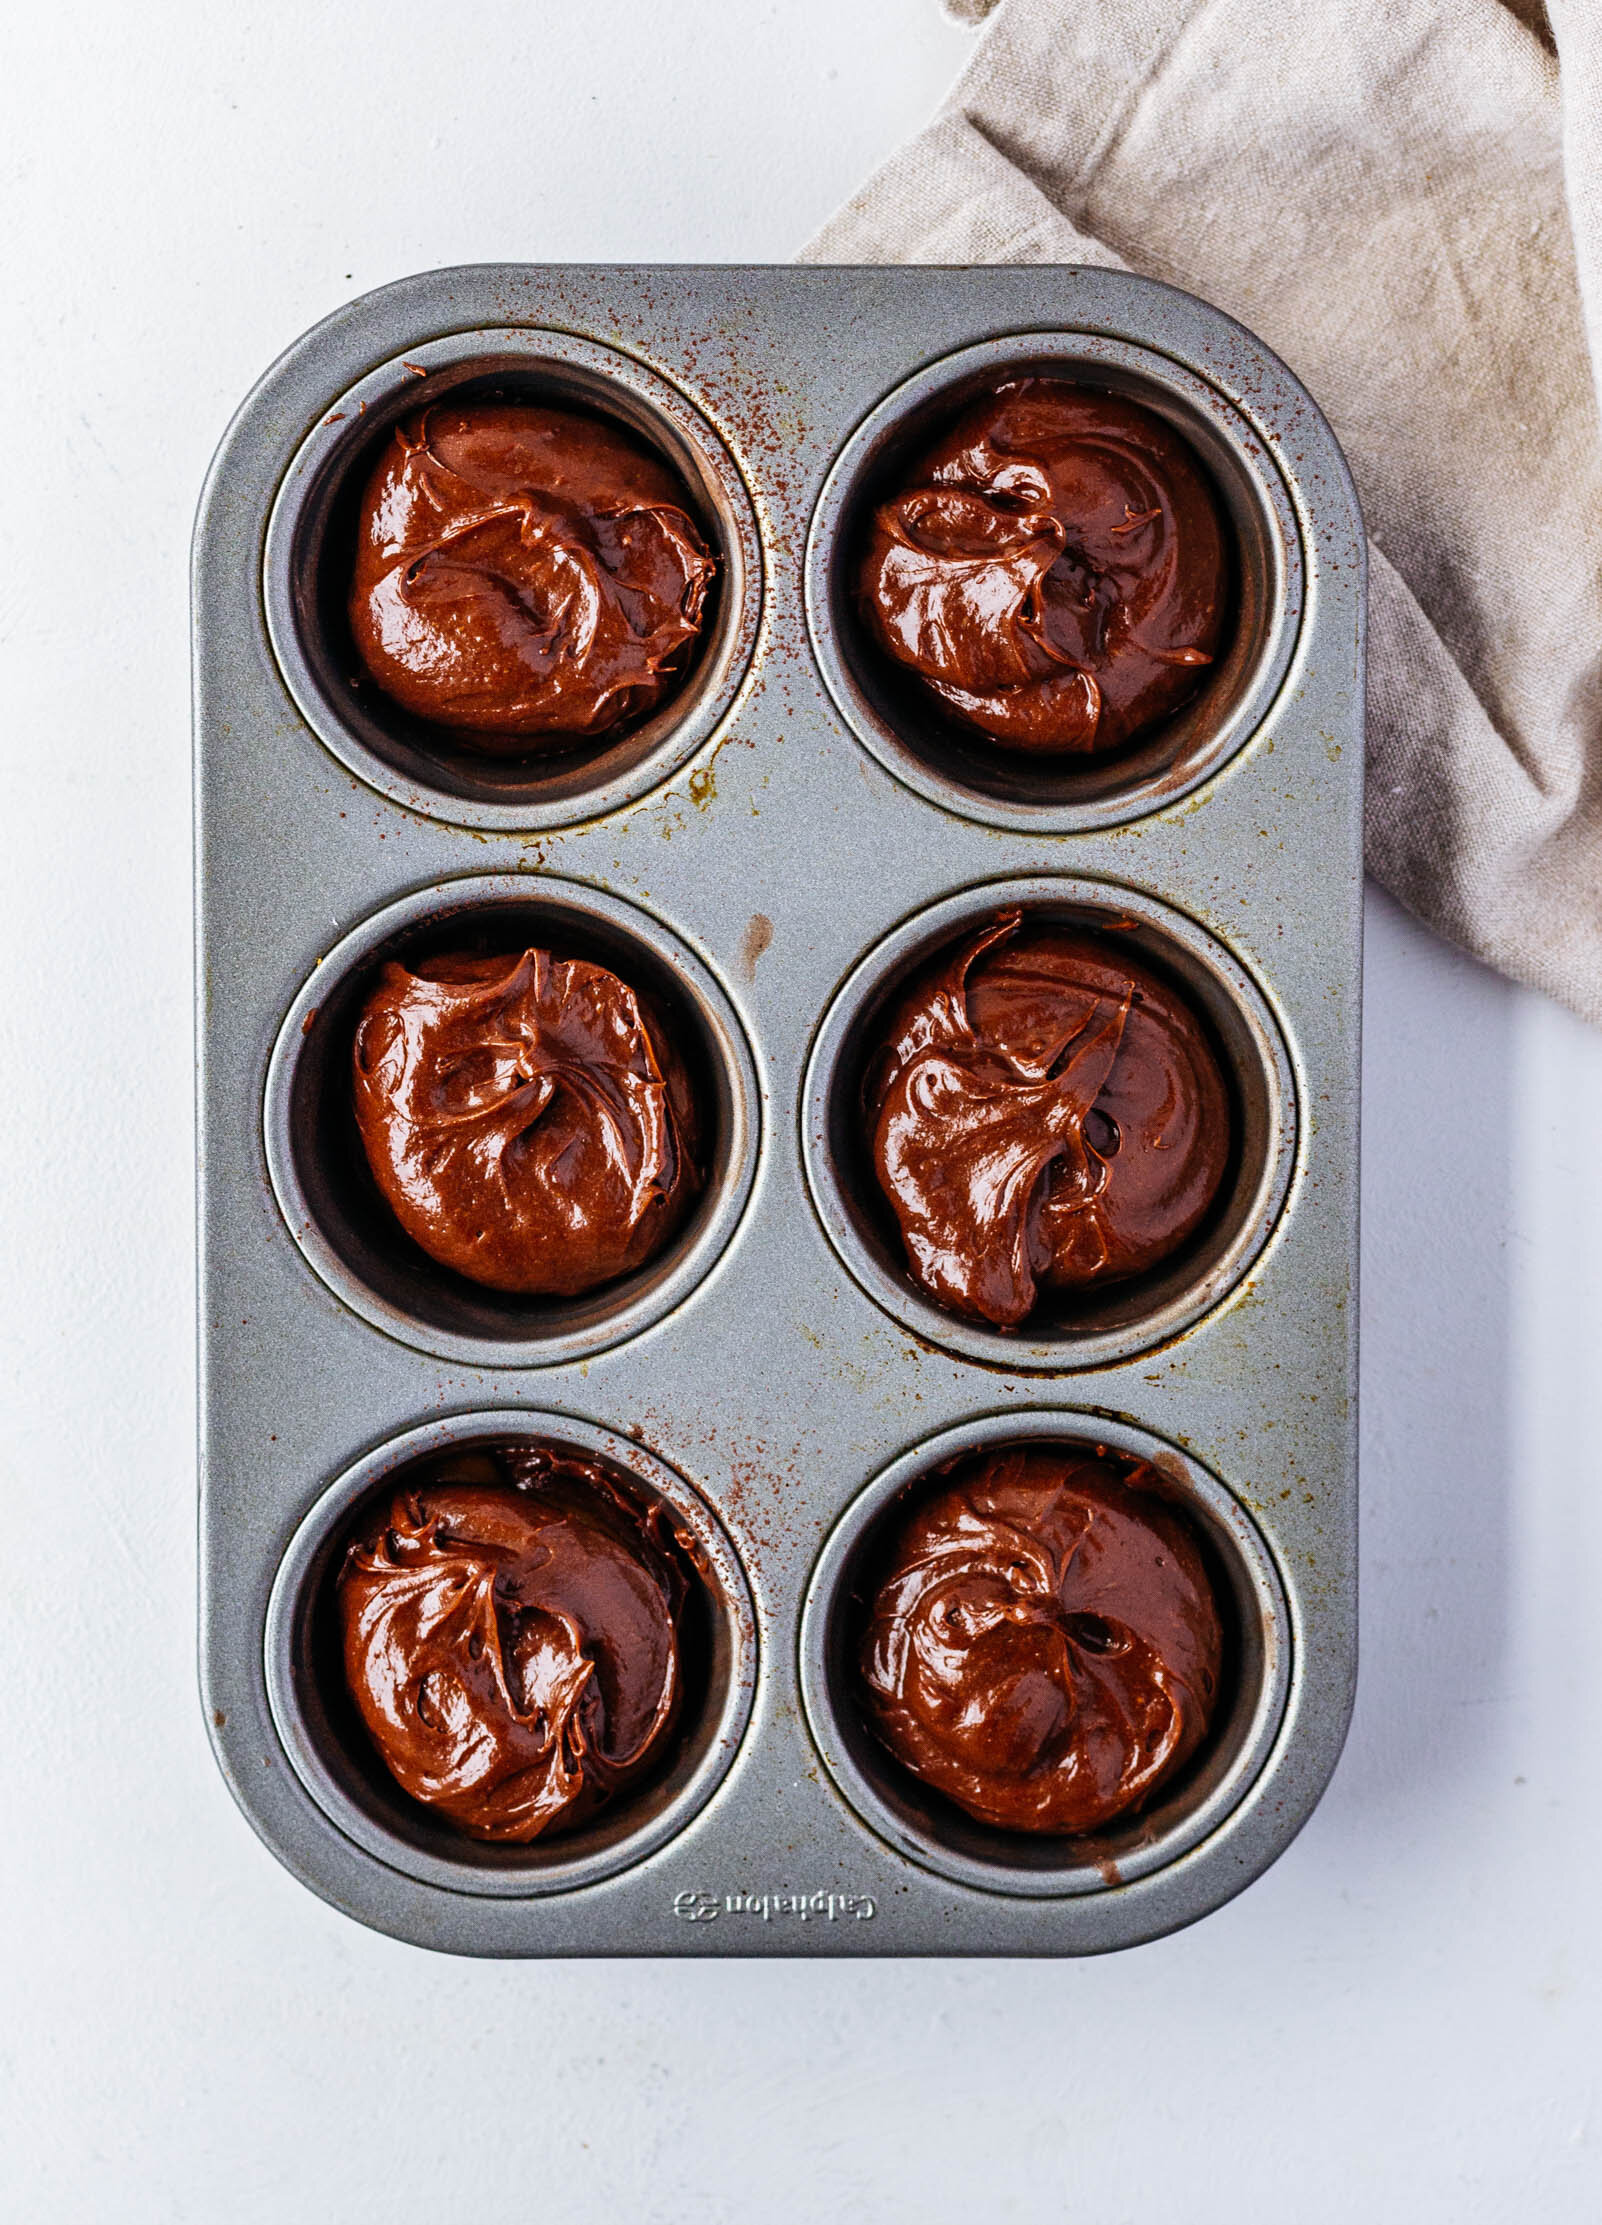
  6. Use a 2 ½ tbsp cookie scoop and place one scoop of batter in each of the prepared muffin tins. Place one teaspoon of cold caramel in the center of the batter, and then top each with another 2 ½ tbsp scoop of batter. Tap the pan gently once or twice to settle the batter.
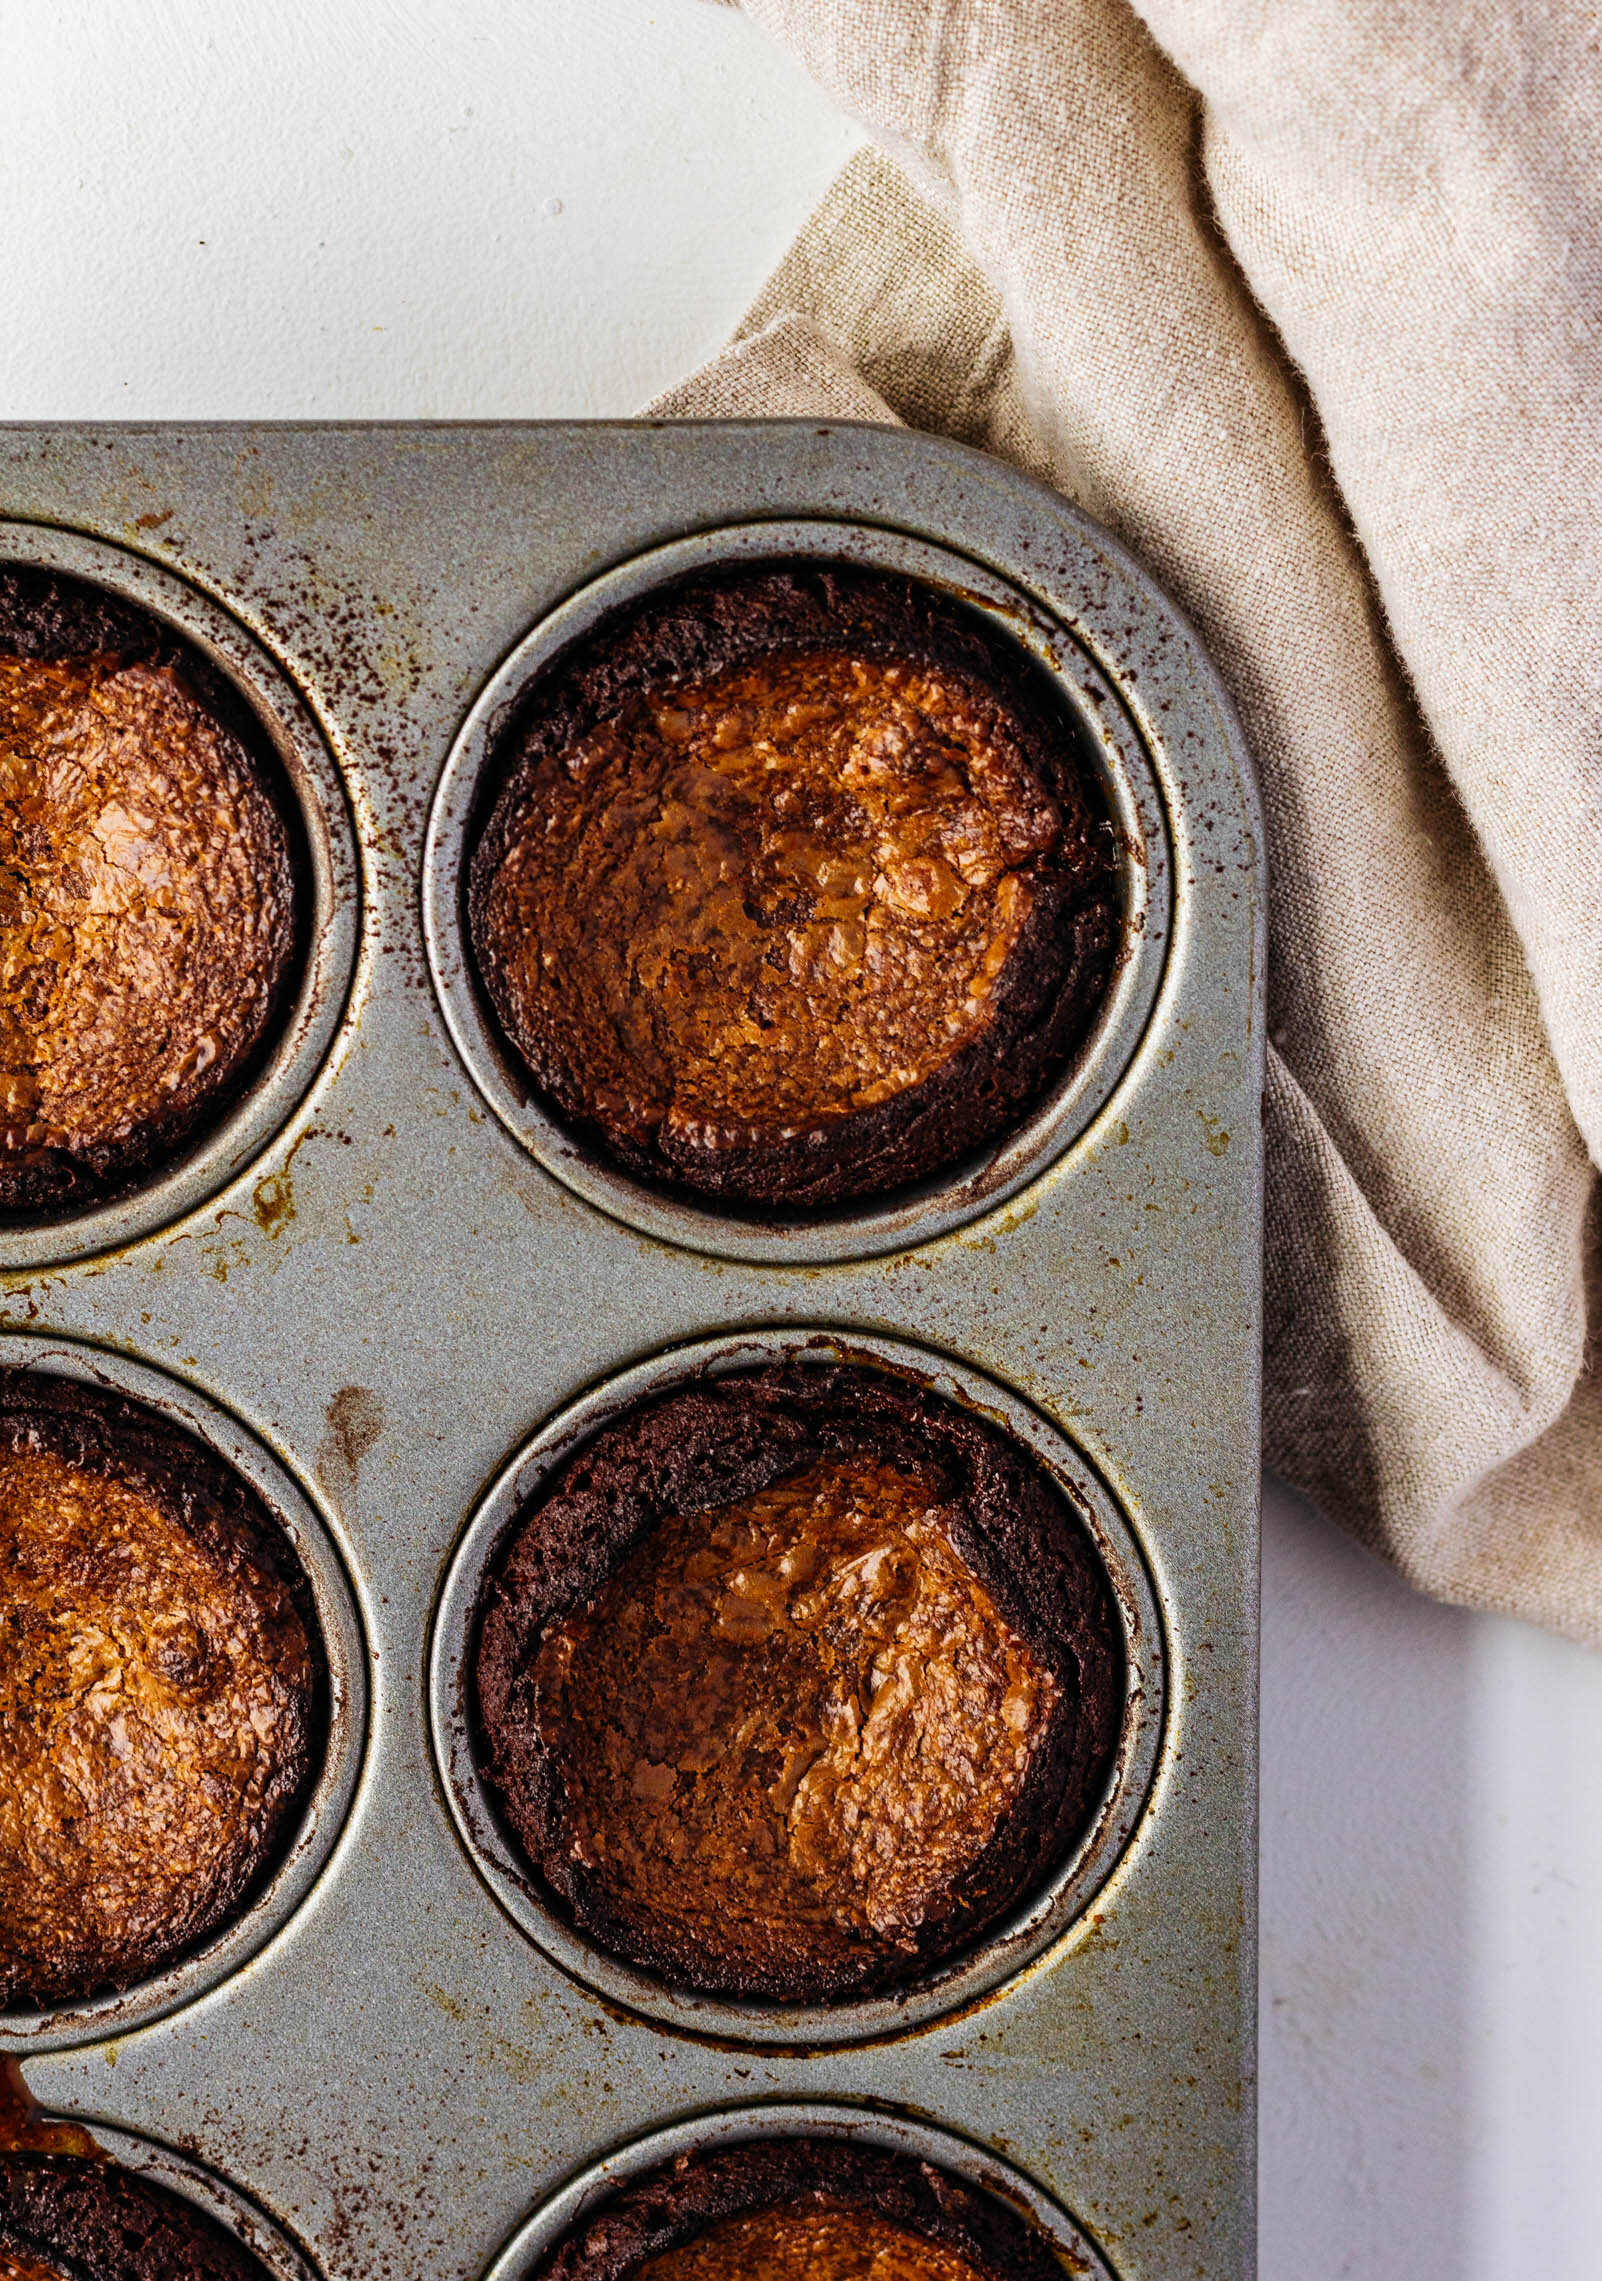
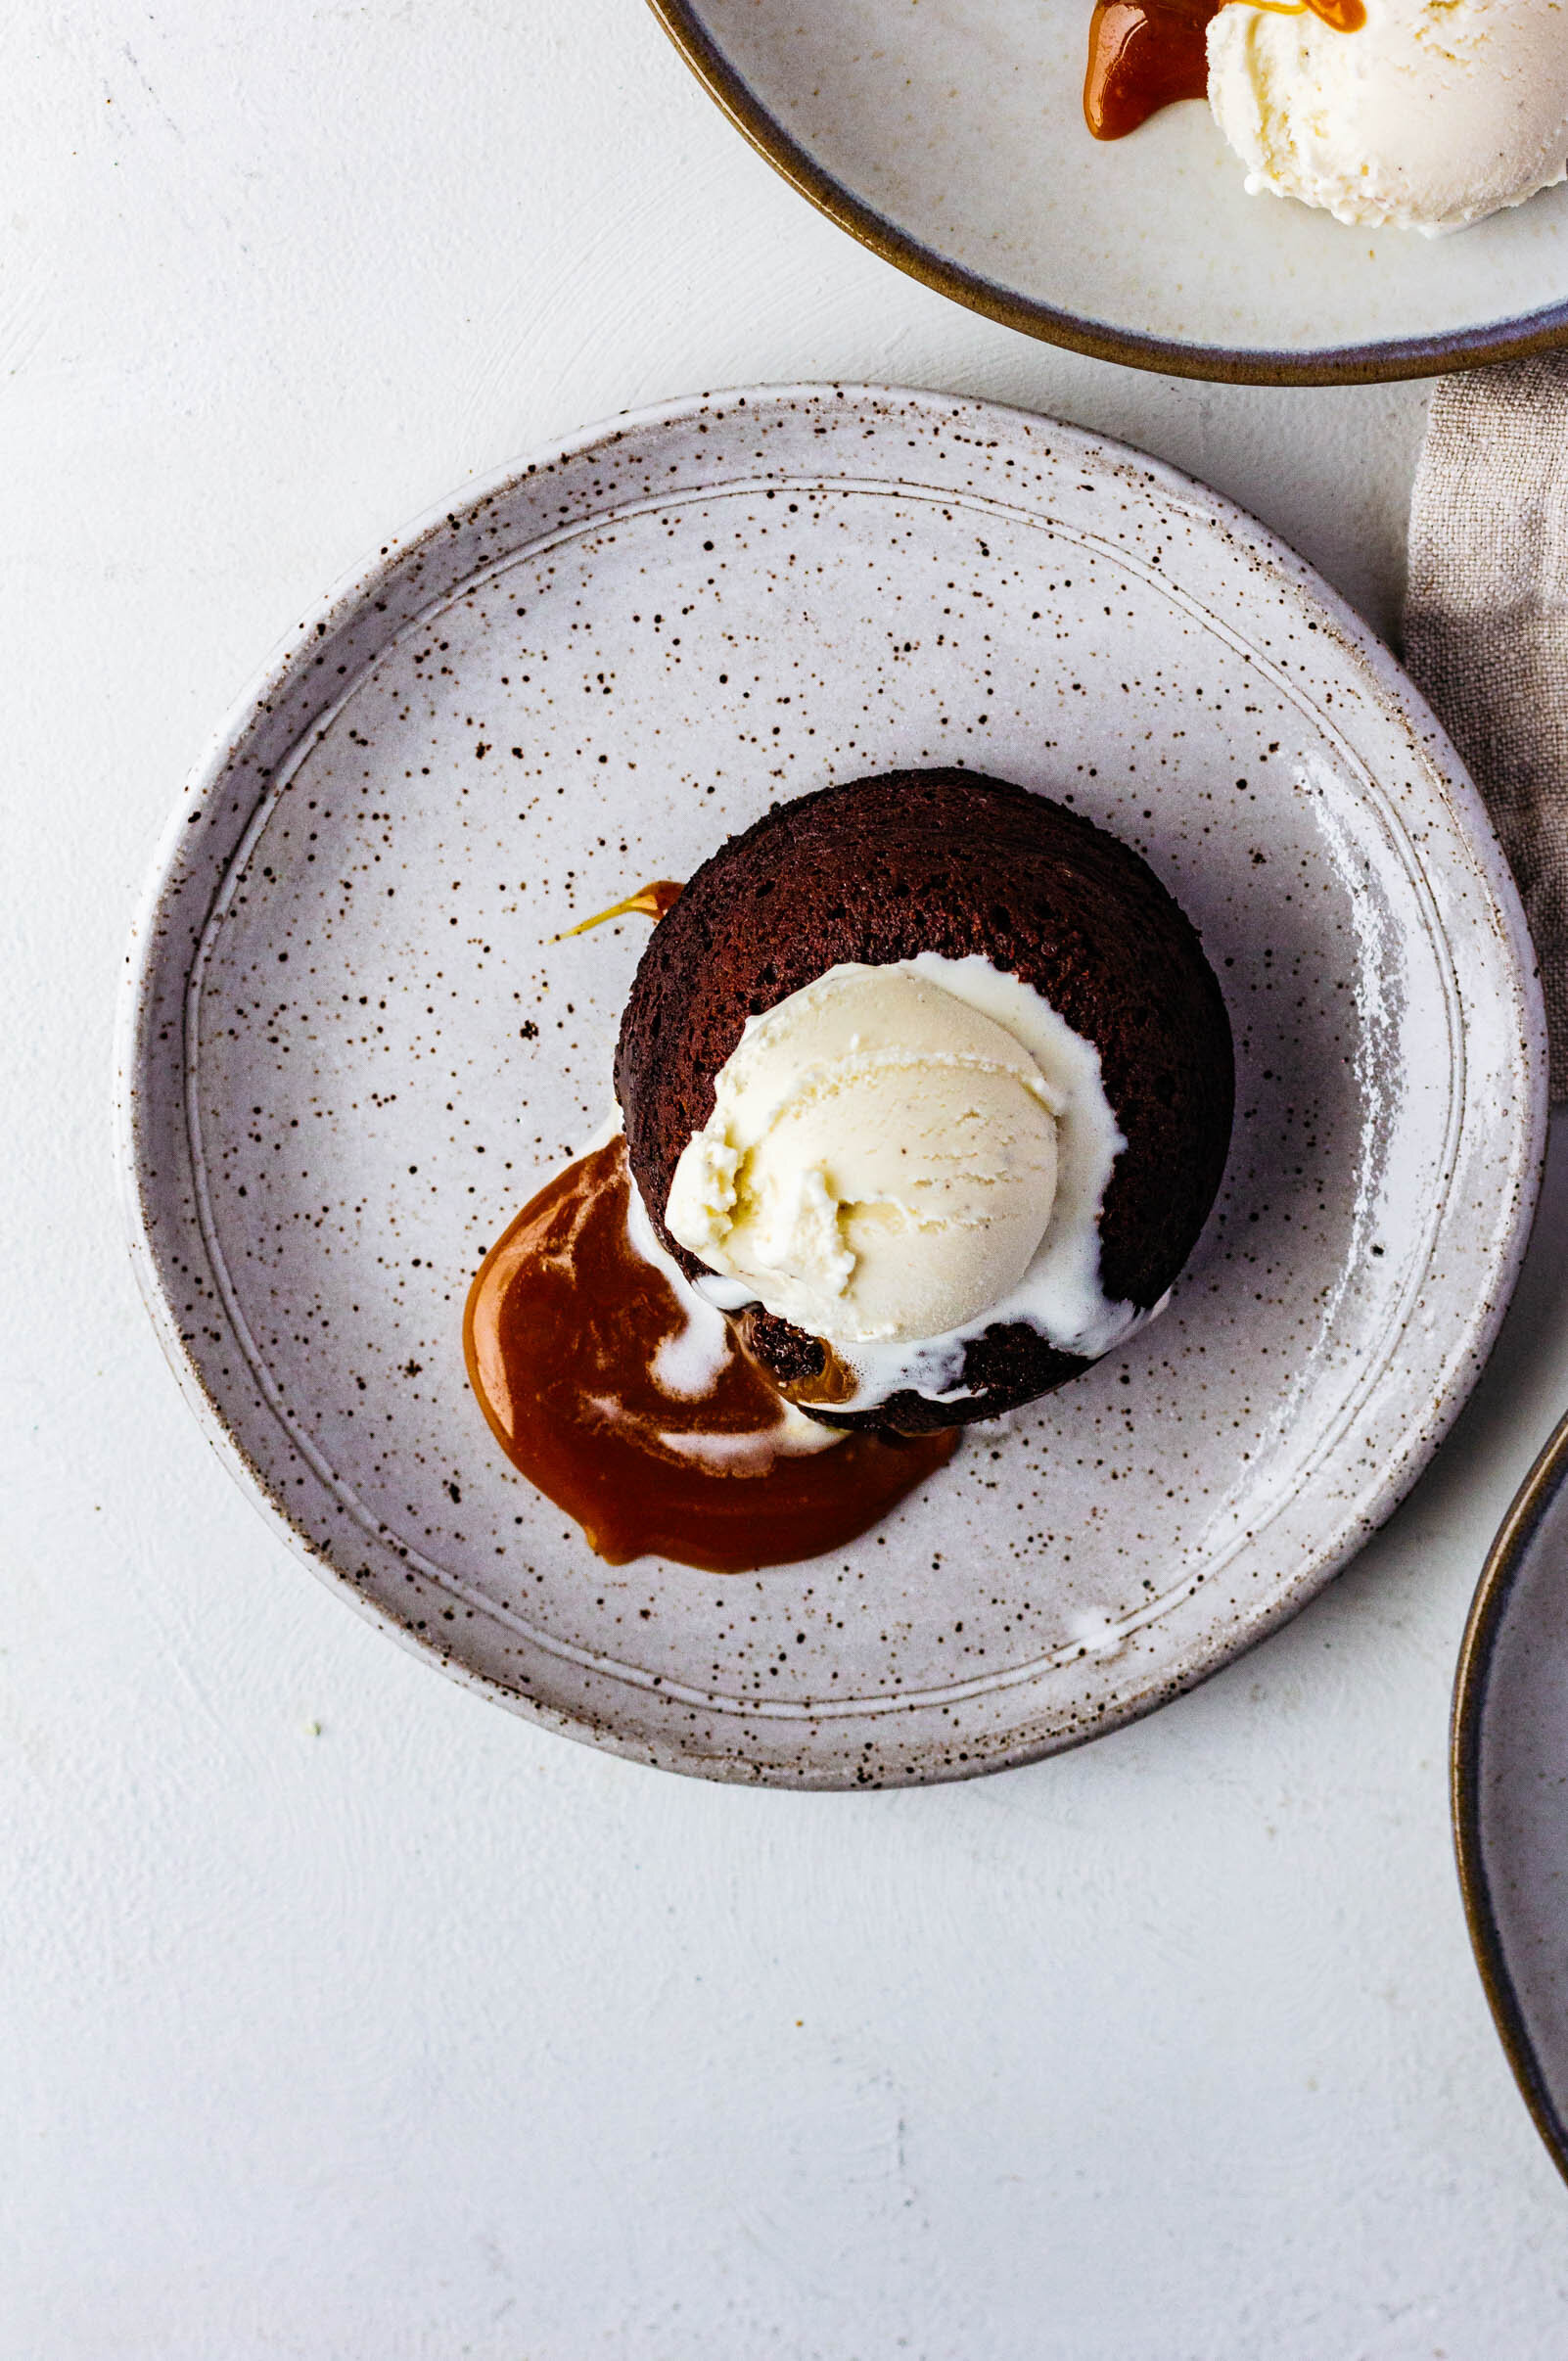
  7. Bake for 8-9 minutes and then let cool for 10 minutes in the pan. Invert and serve immediately with ice cream and more caramel sauce.
  8. Leftover lava cakes can be wrapped tightly in plastic wrap and frozen. To reheat, remove from the plastic and microwave from frozen for 30-45 seconds, until warmed through.
Did you make this recipe?
Tag @gatheredatmytable on instagram and hashtag it #gatheredatmytable

Red Wine Flourless Chocolate Cake with Goat Cheese Whipped Cream and Roasted Strawberries

practiceeditwithpresetbrighter.jpg

As I was planning my February “month of chocolate” recipes, I knew that I wanted whatever recipe I shared this week to feel Valentine’s-y. As I started brainstorming recipes and ideas, I started thinking about just what Valentine’s Day actually feels like—is it fancy dinners at high-end steakhouses or pizza ordered in while watching movies on the couch? Is Valentine’s only meant for couples or for singles with great friends? I couldn’t develop a recipe that felt perfect for the holiday of love until I figured out what exactly this holiday is to me. As I thought through it, I think it’s all of these things and maybe more.

This year, Martin and I are celebrating 7 years of marriage and 10 years of dating (neither of which I feel old enough for, but that’s besides the point). We’ve never been ones to save fancy date nights for special holidays, and honestly, most of our favorite dinners have been shared with friends. Our first Valentine’s Day together, Martin packed a cute little picnic and we sat by a lake for an entire afternoon, talking and munching on Cape Cod chips. We’ve had grand plans of making gnocchi for Valentine’s Day, only for them to turn out mediocre at best, and most years, we end up celebrating Valentine’s Day on a day other than the 14th. This past year has been my favorite year of marriage. Work was the busiest as its ever been for Martin and I moved to Tennessee for four months to work in a restaurant, and even though being apart doesn’t sound super romantic, it was because it meant that we were pushing each other to pursue our dreams. We had the opportunity to walk alongside each other as we explored new challenges and opportunities. As I think about Valentine’s Day, I think that’s what we really celebrate. We celebrate those consistent relationships in our life, the ones that push us into new adventures, and the ones that walk beside us in the day to day. We celebrate the people that we love spending time with, at fancy dinners or in sweats on the couch. And when I think about a dessert fitting of the holiday, I think it should be something that sums all of that up—something as rich and special as those people in our lives, while still feeling comfortable and everyday.

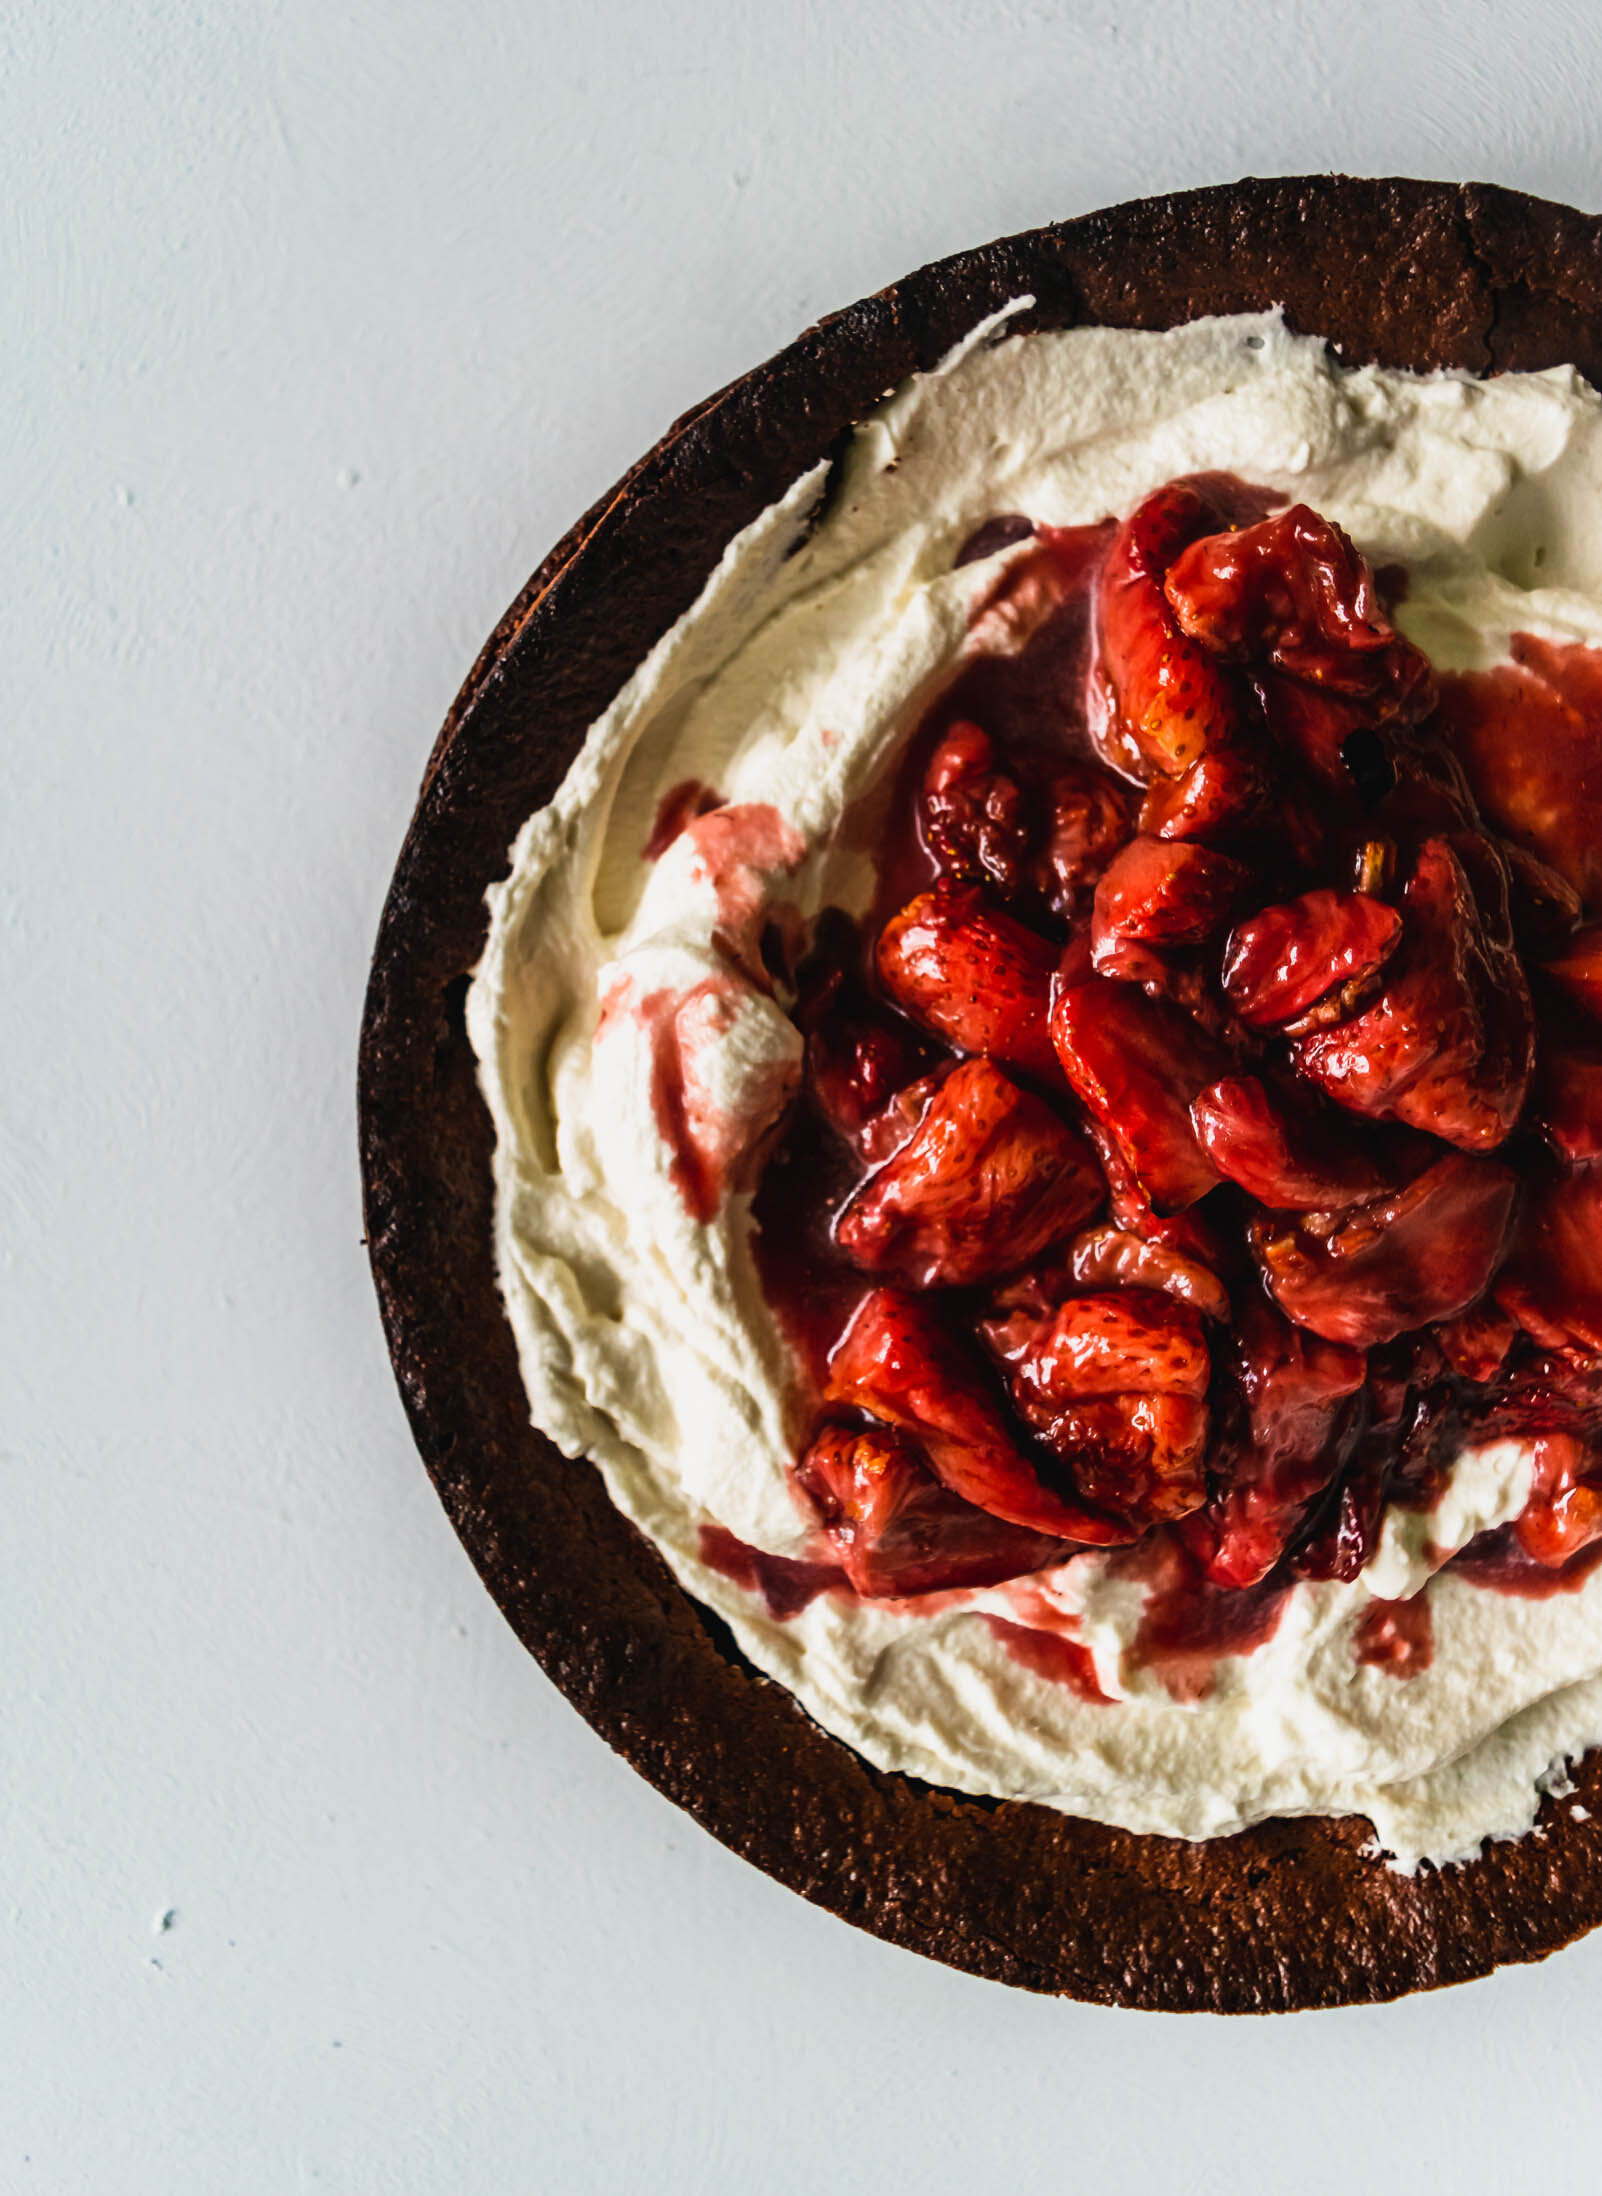
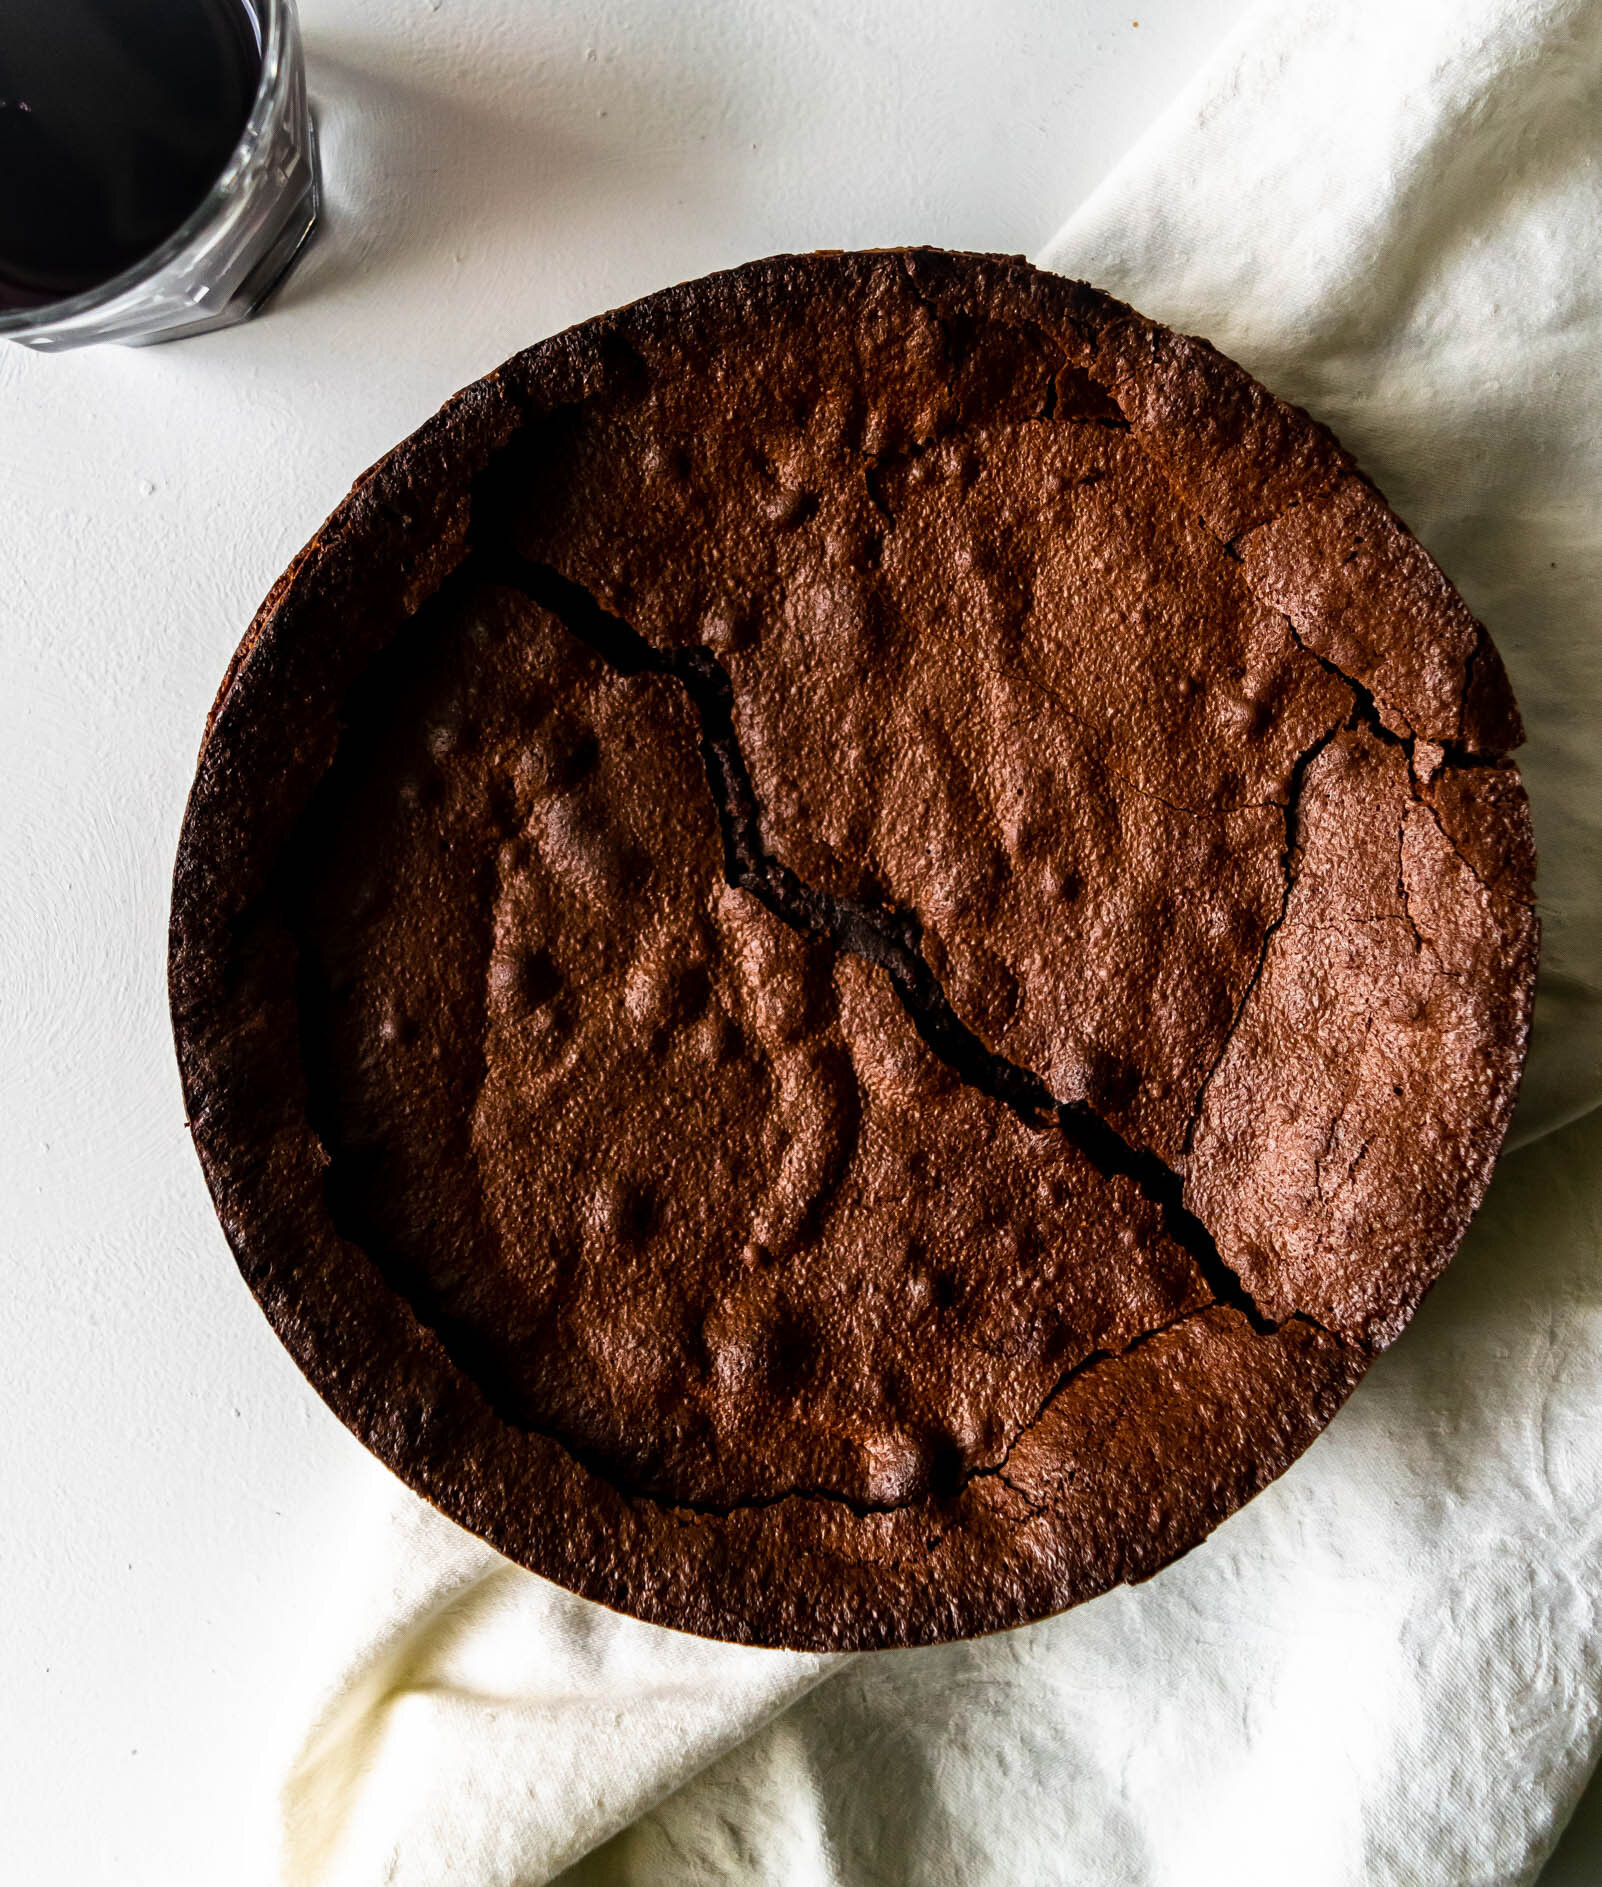
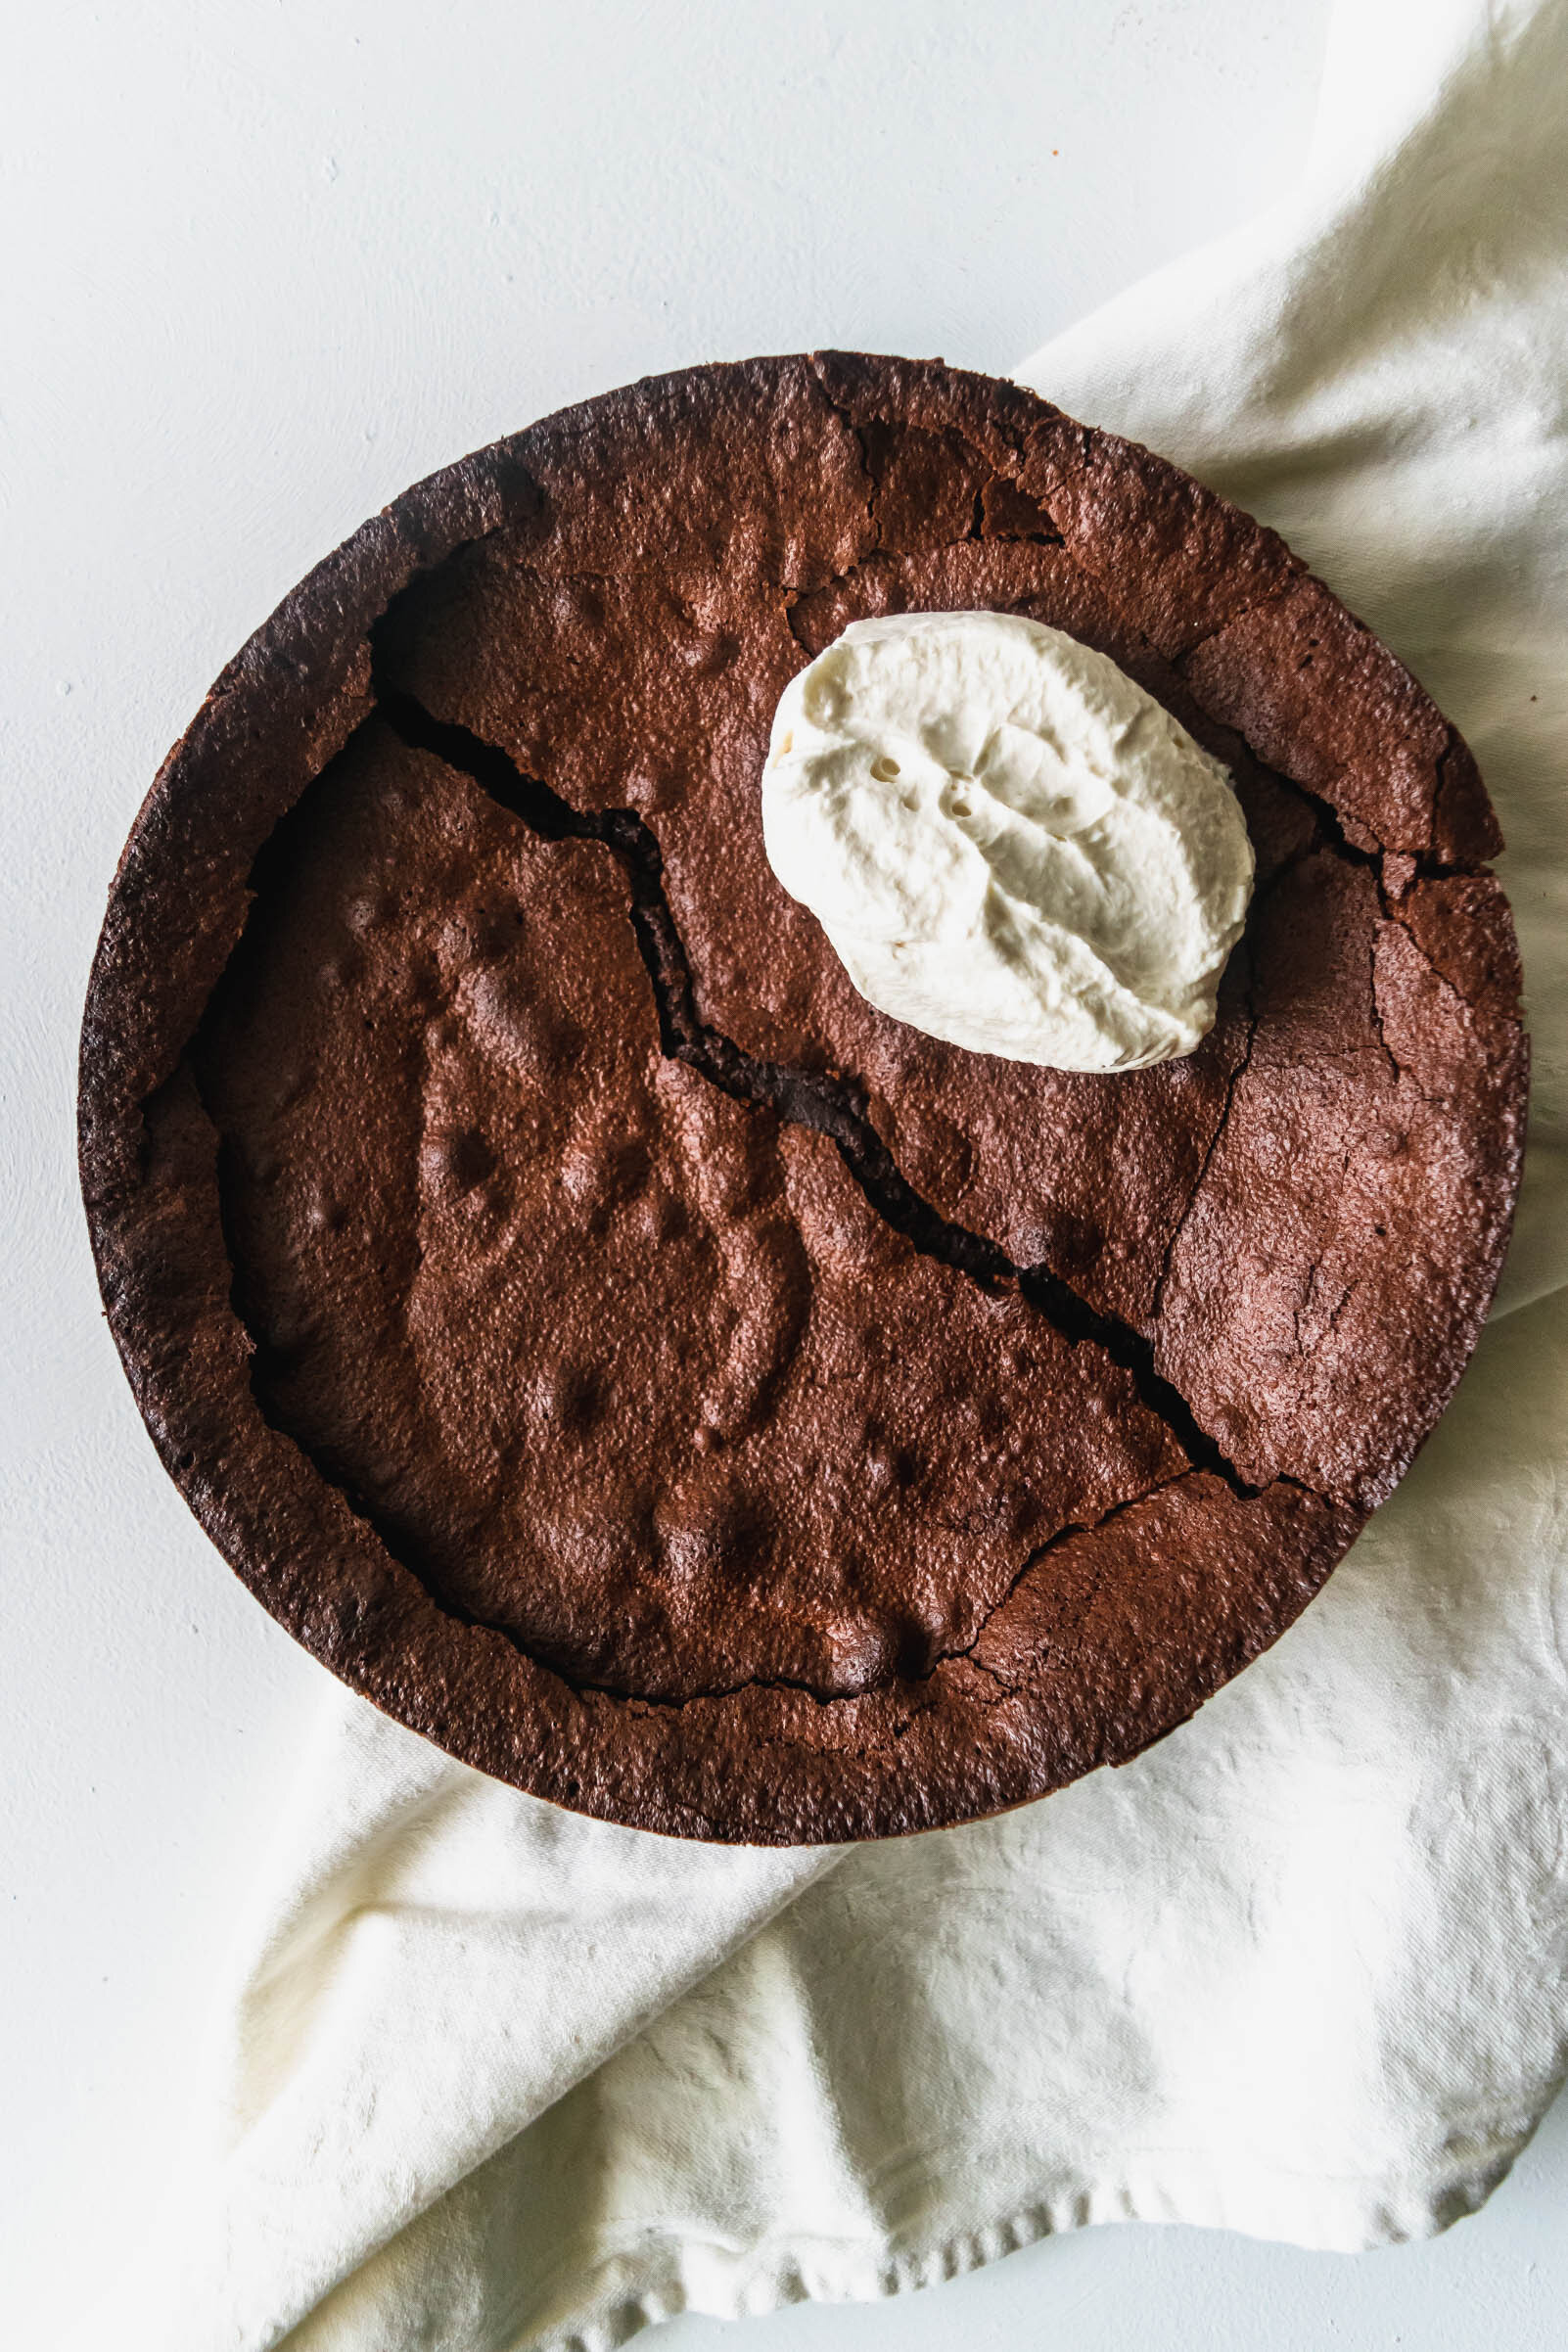
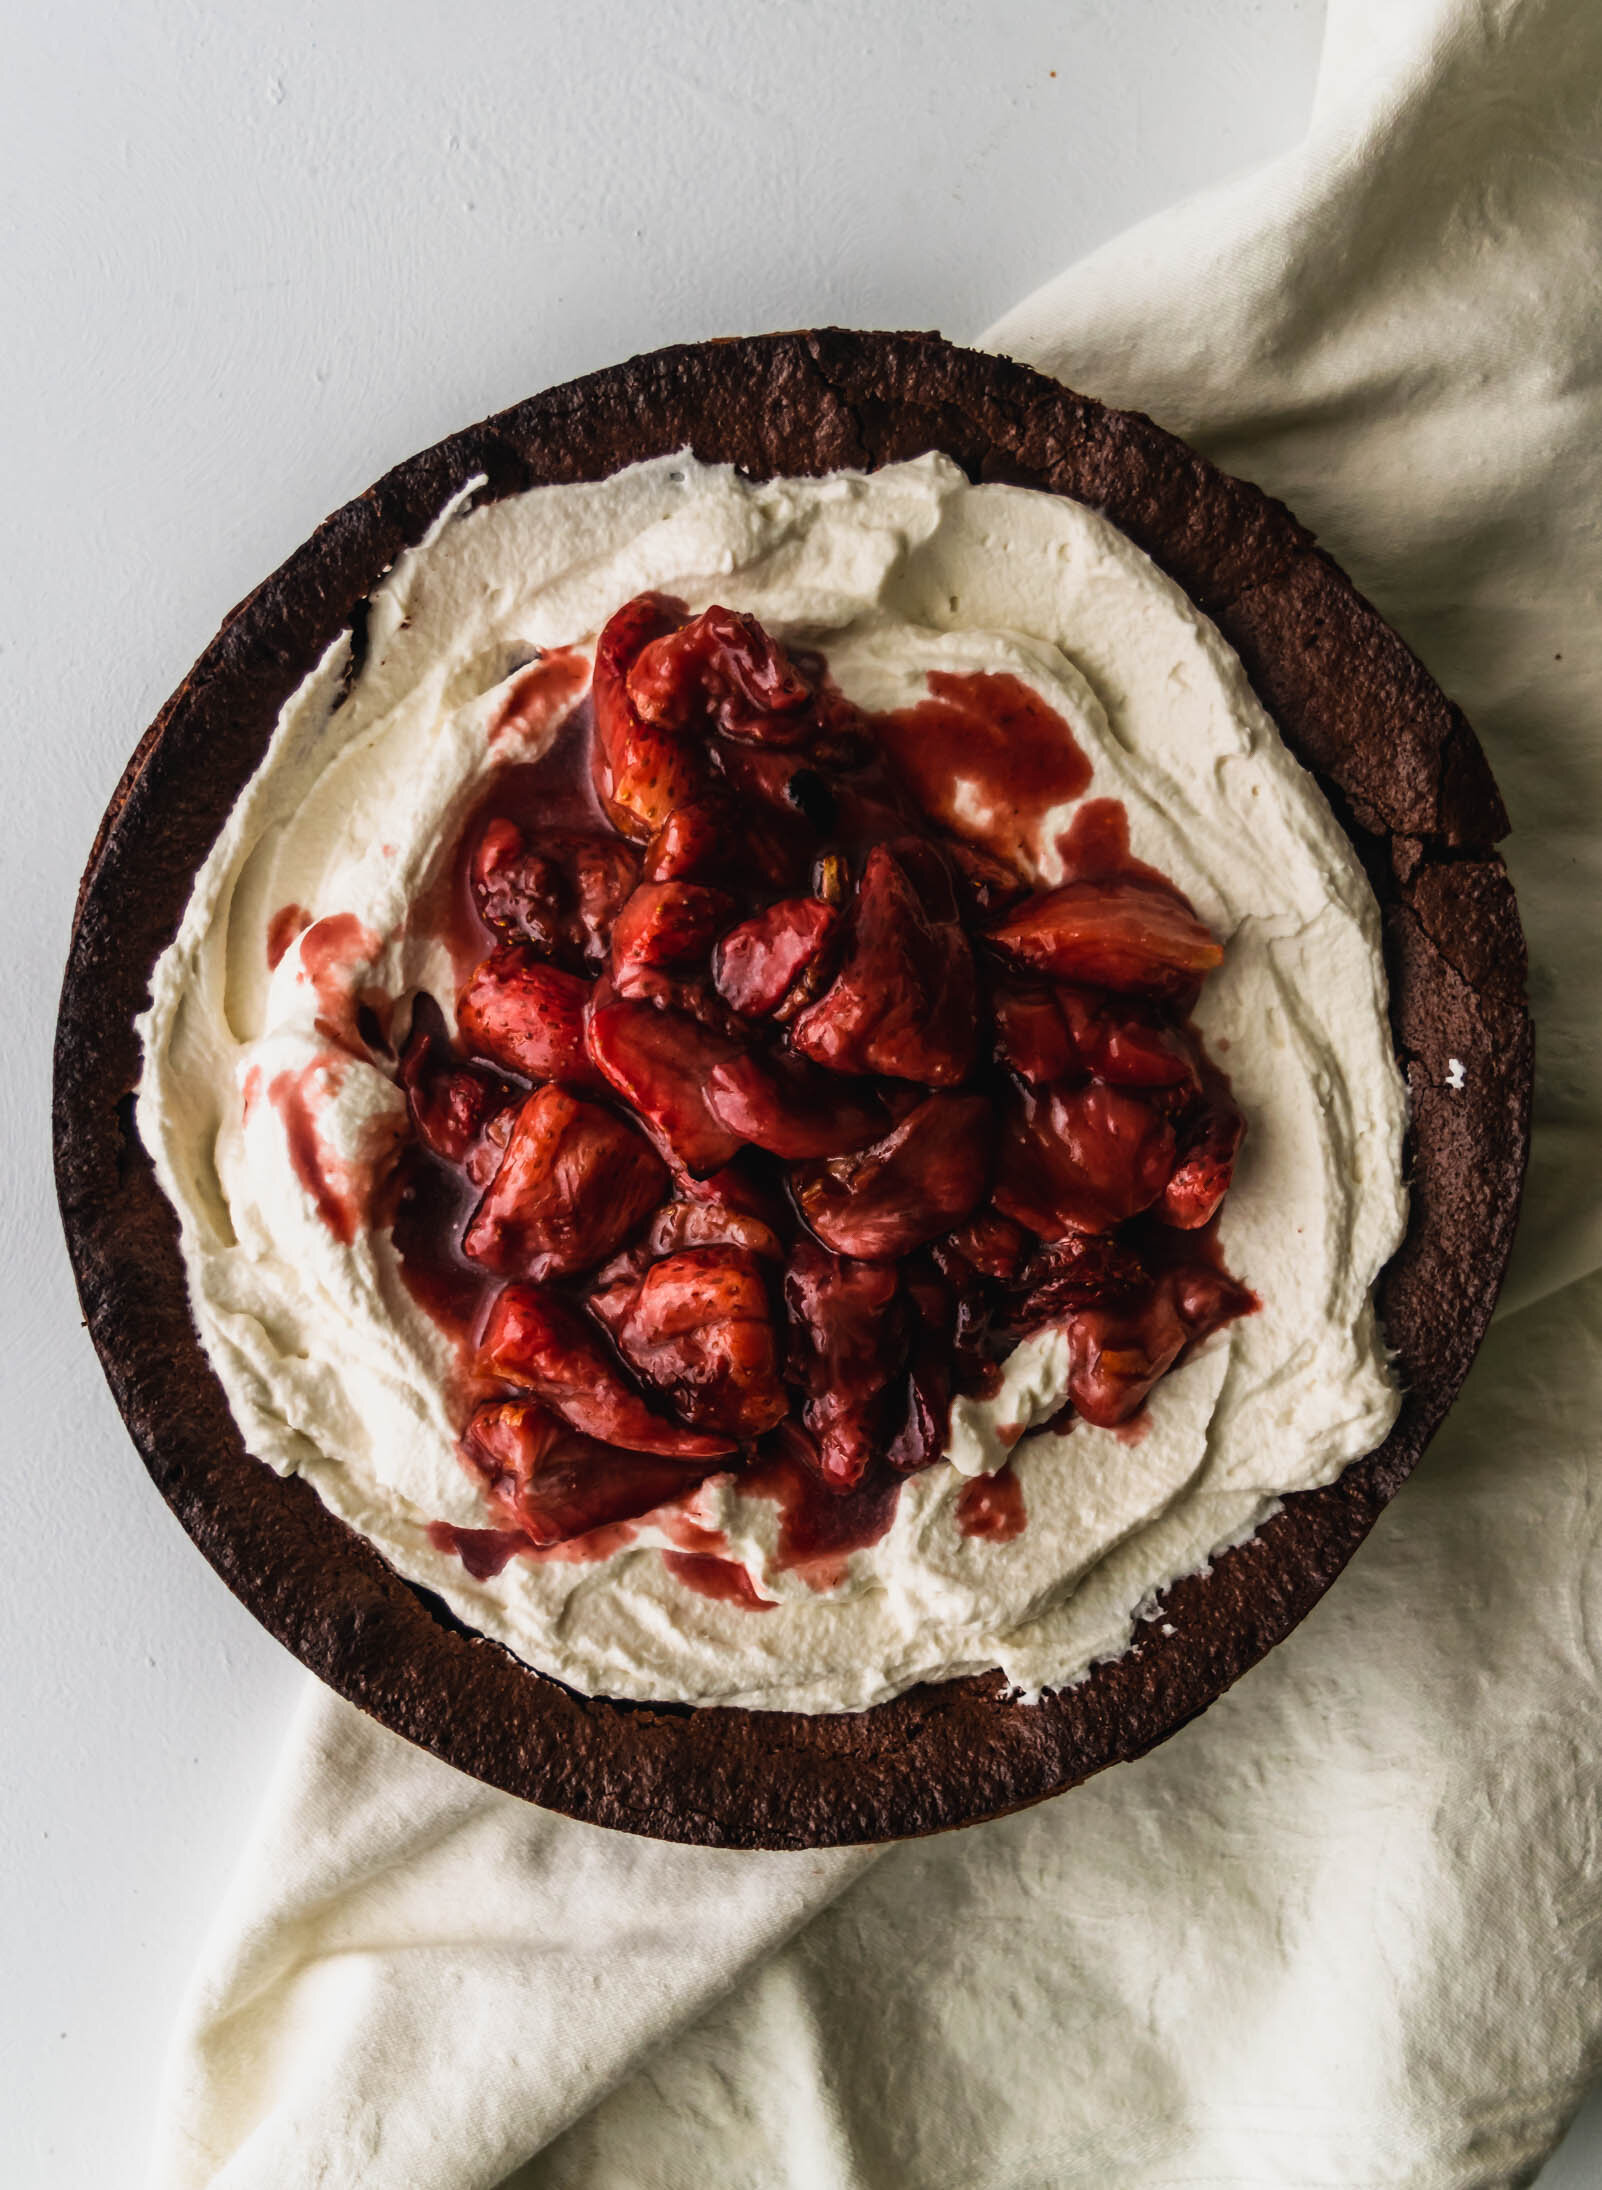
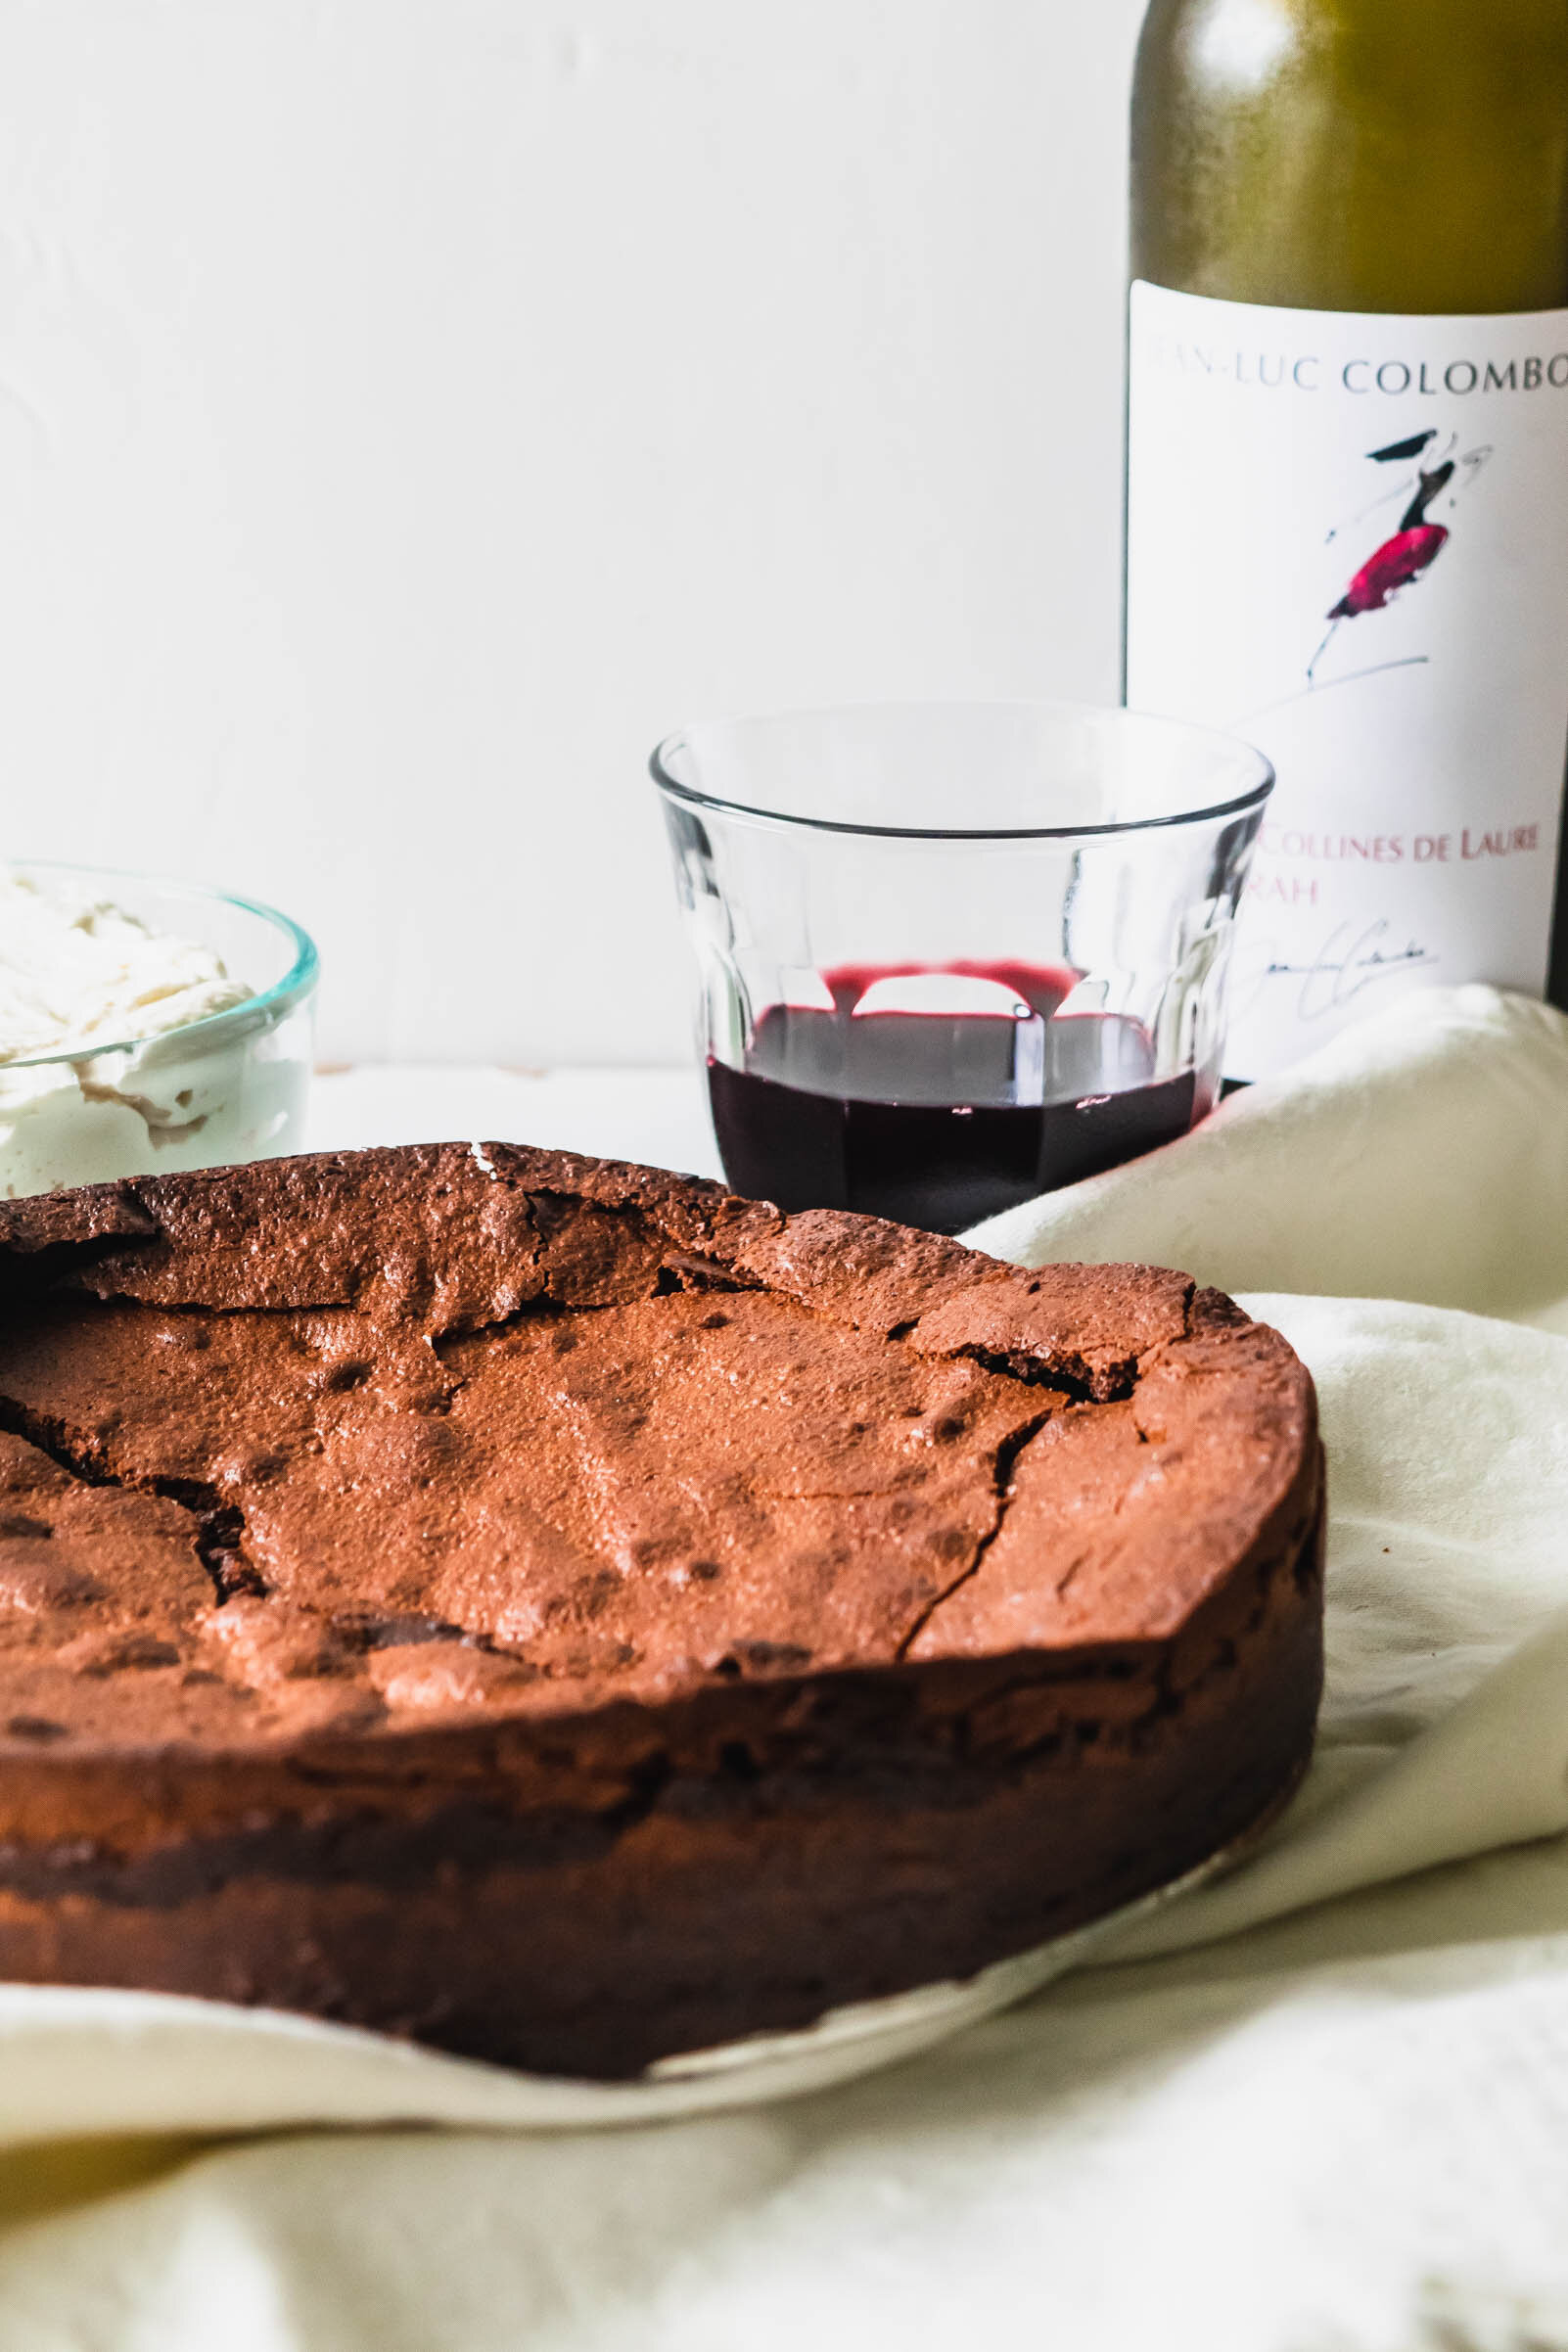
In my opinion, flourless chocolate cake is the best dessert around. It’s thick and fudgy, and feels indulgent and decadent, but it’s fairly easy to put together and bakes up in one little layer—super approachable. I added red wine to the batter for an extra splash of luxury, roasted a bunch of strawberries and heaped mounds of goat cheese whipped cream on top. So however you celebrate (or don’t celebrate) Valentine’s Day this year, leave some room for cake.

Yield: makes one 9" round cake
Author: Anna Ramiz
Red Wine Flourless Chocolate Cake

Red Wine Flourless Chocolate Cake

Prep time: 30 MinCook time: 1 HourTotal time: 1 H & 30 M
A rich, decadent flourless chocolate cake with red wine, topped with goat cheese whipped cream and roasted strawberries.

Ingredients

for the cake
  • 12 oz (340 g) dark chocolate pieces
  • 1 1/2 sticks (165 g) unsalted butter, cubed
  • 1/2 cup (100 g) brown sugar
  • 3 tbsp cocoa powder
  • 3 egg yolks
  • 1 tsp vanilla extract
  • 1/4 cup red wine
  • 1/2 tsp kosher salt
  • 4 egg whites
  • 1/2 cup (120 grams) granulated sugar
for the roasted berries
  • 1 lb fresh strawberries, green tops removed
  • 2 tbsp maple syrup
  • 1 tbsp olive oil
  • pinch of salt
  • 2 tbsp red wine
for the goat cheese whipped cream
  • 2.25 oz (65 g) goat cheese, softened
  • 1 cup (8 oz) heavy cream
  • 1/3 cup confectioner’s sugar
  • splash of vanilla extract

Instructions

to make the cake
  1. Preheat the oven to 325° F. Grease a 9” springform pan and line the bottom with a parchment paper round.
  2. Fill a medium-large saucepan with about 2” of water. Place chocolate and butter in a large, heatproof bowl that fits snugly on top of the saucepan. Turn to medium-hight heat and melt chocolate and butter until smooth and homogenous. When completely melted, remove from heat.
  3. While the chocolate and butter mixture is still hot, whisk in brown sugar. Let cool until temperature reaches a warm, room temp.
  4. When mixture is slightly cooled, add egg yolks, vanilla, salt, and red wine. Whisk to combine. Sift in cocoa powder and whisk once more until mixture is homogenous. Set aside.
  5. Place egg whites in the bowl of a stand mixer fitted with the whisk attachment, and begin mixing on medium-low speed until whites become frothy. Increase mixer speed to medium and stream in granulated sugar. When all of the sugar is added, increase mixer speed to high and whip until a medium-soft, silky meringue forms. The meringue is ready when you can pull the whip attachment from the bowl and the peak holds it’s general shape, but the top falls over on itself.
  6. Place half of the meringue into the bowl with the chocolate and gently fold to combine. When mostly combined, add the rest of the meringue and continue folding until the mixture is all one color and no meringue streaks remain.
  7. Transfer batter to prepared pan and bake for 50-55 minutes, until top is set and a toothpick inserted in the middle comes out mostly clean. Remove from the oven and all to cool in the pan for at least an hour.
  8. To yield the cleanest slices, remove ring after 1 hour and transfer cake to the fridge for a bit, preferably overnight, until cake is completely set up.
to make the roasted strawberries
  1. Preheat oven to 350° F and line a sheet pan with parchment paper.
  2. Cut strawberries into halves or quarters, depending on the size of your berries. You want the pieces to be fairly large because they will get smaller as they roast. I did a mixture of halved and quartered berries. Place berries in a medium-sized mixing bowl.
  3. In a small bowl, whisk together syrup, olive oil, and salt. Pour mixture over the berries and toss to coat.
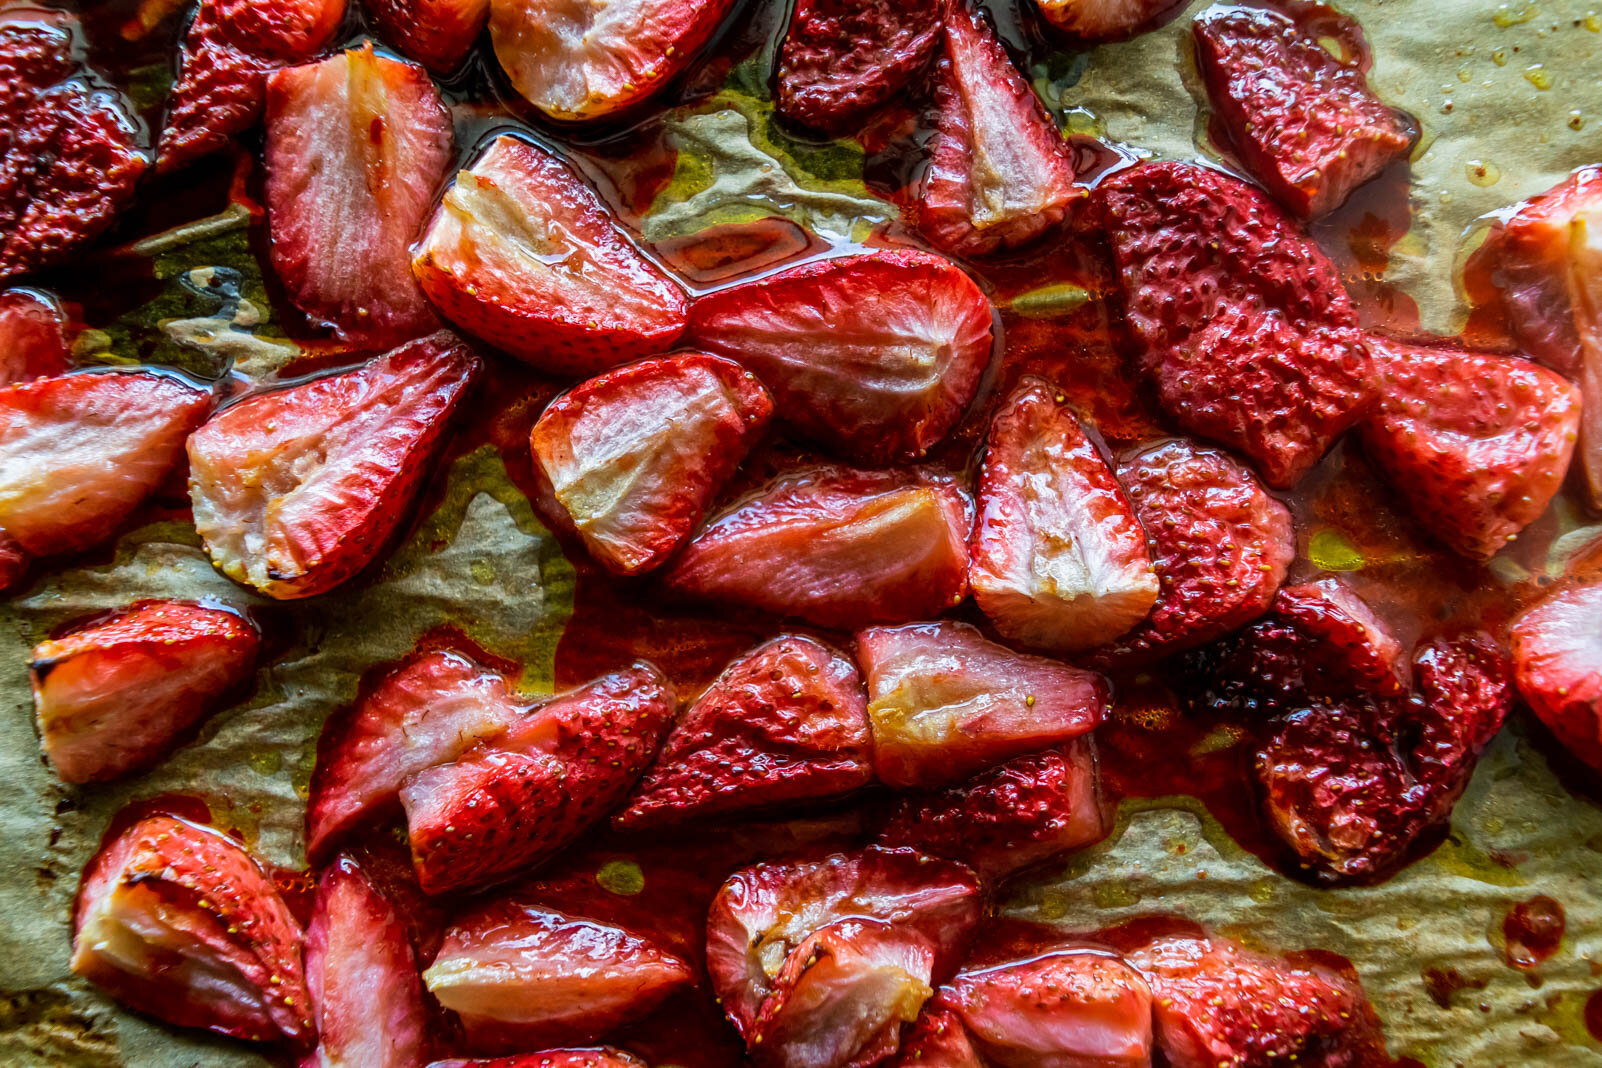
  4. Spread berries into an even layer on the baking sheet and roast for about 40 minutes, stirring every 15 minutes or so, until soft and fragrant.
  5. Remove from oven and return to mixing bowl. Pour red wine over the warm berries and fold gently with a rubber spatula to coat. Set aside until you are ready to use.
to make the goat cheese whipped cream
  1. Place the goat cheese in the bowl of a mixer fitted with the whisk attachment. Mix on medium-speed for 30 seconds or so, until goat cheese is soft and broken up.
  2. Add heavy cream to the goat cheese and continue to mix on medium-low speed until the mixture begins to thicken slightly. (Make sure to scrape the bottom and sides of the bowl regularly to ensure that all the goat cheese gets combined and isn’t clumpy).
  3. When the cream begins to thicken slightly, add powdered sugar and vanilla and increase mixer speed to medium-high. Whip until soft peaks form.

Notes:

to assemble: Spread fresh whipped cream over the top of the cooled cake. Spoon roasted berries and wine sauce on top. This is definitely best enjoyed with a big glass of a bold and jammy glass of red wine.

Did you make this recipe?
Tag @gatheredatmytable on instagram and hashtag it #gatheredatmytable

Brown Sugar Pavlovas with Mascarpone Cream

My husband and I have never been out to dinner for Valentine’s Day. On our first Valentine’s Day together, only a couple months after we started dating back in college, my husband took me on a picnic. He had spent the morning tucking homemade sandwiches and cookies into a cute little picnic basket and afterwards we went to Barnes and Noble. Since I don’t love eating in the grass, we don’t picnic as much anymore but we always make something a little messy and labor intensive together for a special dinner at home. We love being in the kitchen together and so we celebrate each other by doing something that we enjoy! In the past we’ve made gnocchi, homemade pasta, beef bourginon…anything that takes a little extra effort. This year we are making chicken bhuna (which is my favorite Indian curry) and homemade naan. Love is in the air!

Also since it’s Valentine’s week, your Instagram feed is probably starting to look a little like fifty shades of chocolate, so I thought I would switch it up and give you these brown sugar pavlovas. Sometimes, meringues and pavlovas can be overly sweet and not my favorite dessert, but the addition of brown sugar gives these a more rounded, caramelized flavor. The mildness of the mascarpone and sharpness of the fruit also helps to off set that sweetness. These are great to help you use up leftover egg whites and fruit that is starting to go bad. I used a little of the leftover beet creme anglaise to give the mascarpone cream that pink tint, but you could definitely leave it out or play with adding another flavor (strawberry or raspberry jam would be great). They are also fun to decorate so I encourage you to play around with them!

Brown Sugar Pavlovas with Mascarpone Cream

Yield: 4- 4” pavlovas

Ingredients: 

for the pavlovas: 

3 egg whites (125 g)

1/2 cup sugar

1/2 cup brown sugar

for the mascarpone cream:

1/2 cup mascarpone cheese

1/2 heavy cream

2 tbsp sugar

2 tbsp beet creme anglaise *optional*

Procedure: 

For the pavlovas: 

  1. Preheat oven to 250 degrees. Use a ramekin or round bowl to trace 4 4” circles on a piece of parchment paper. Flip the parchment over so that the lines are on the bottom side and place it on a sheet pan. 

  2. Whisk egg whites, sugar, and brown sugar together in a heat proof bowl and place over a medium saucepan with simmering water. Cook, whisking often until warm and frothy and the sugar is dissolved. Transfer to the bowl of a stand mixer. 

  3. Beat with the whisk attachment on medium high speed until stiff peaks form and meringue is cool and glossy (about 5 minutes). 

  4. Divide the meringue into 4 and spread inside the drawn circles. Create a small nest by pushing the sides a little higher than the center. 

  5. Bake for 40 minutes, until meringues are dry and can be gently lifted off of the pan. Turn oven off and let meringues cool in the oven for at least 1 hour. 

For the mascarpone cream: 

  1. Place all ingredients in the bowl of a standing mixer and whip until smooth and soft peaks form. Don’t over mix or the mixture will become gritty. 

To assemble: 

1. Filled cool meringue nests with mascarpone cream and top with fresh fruit and herbs.