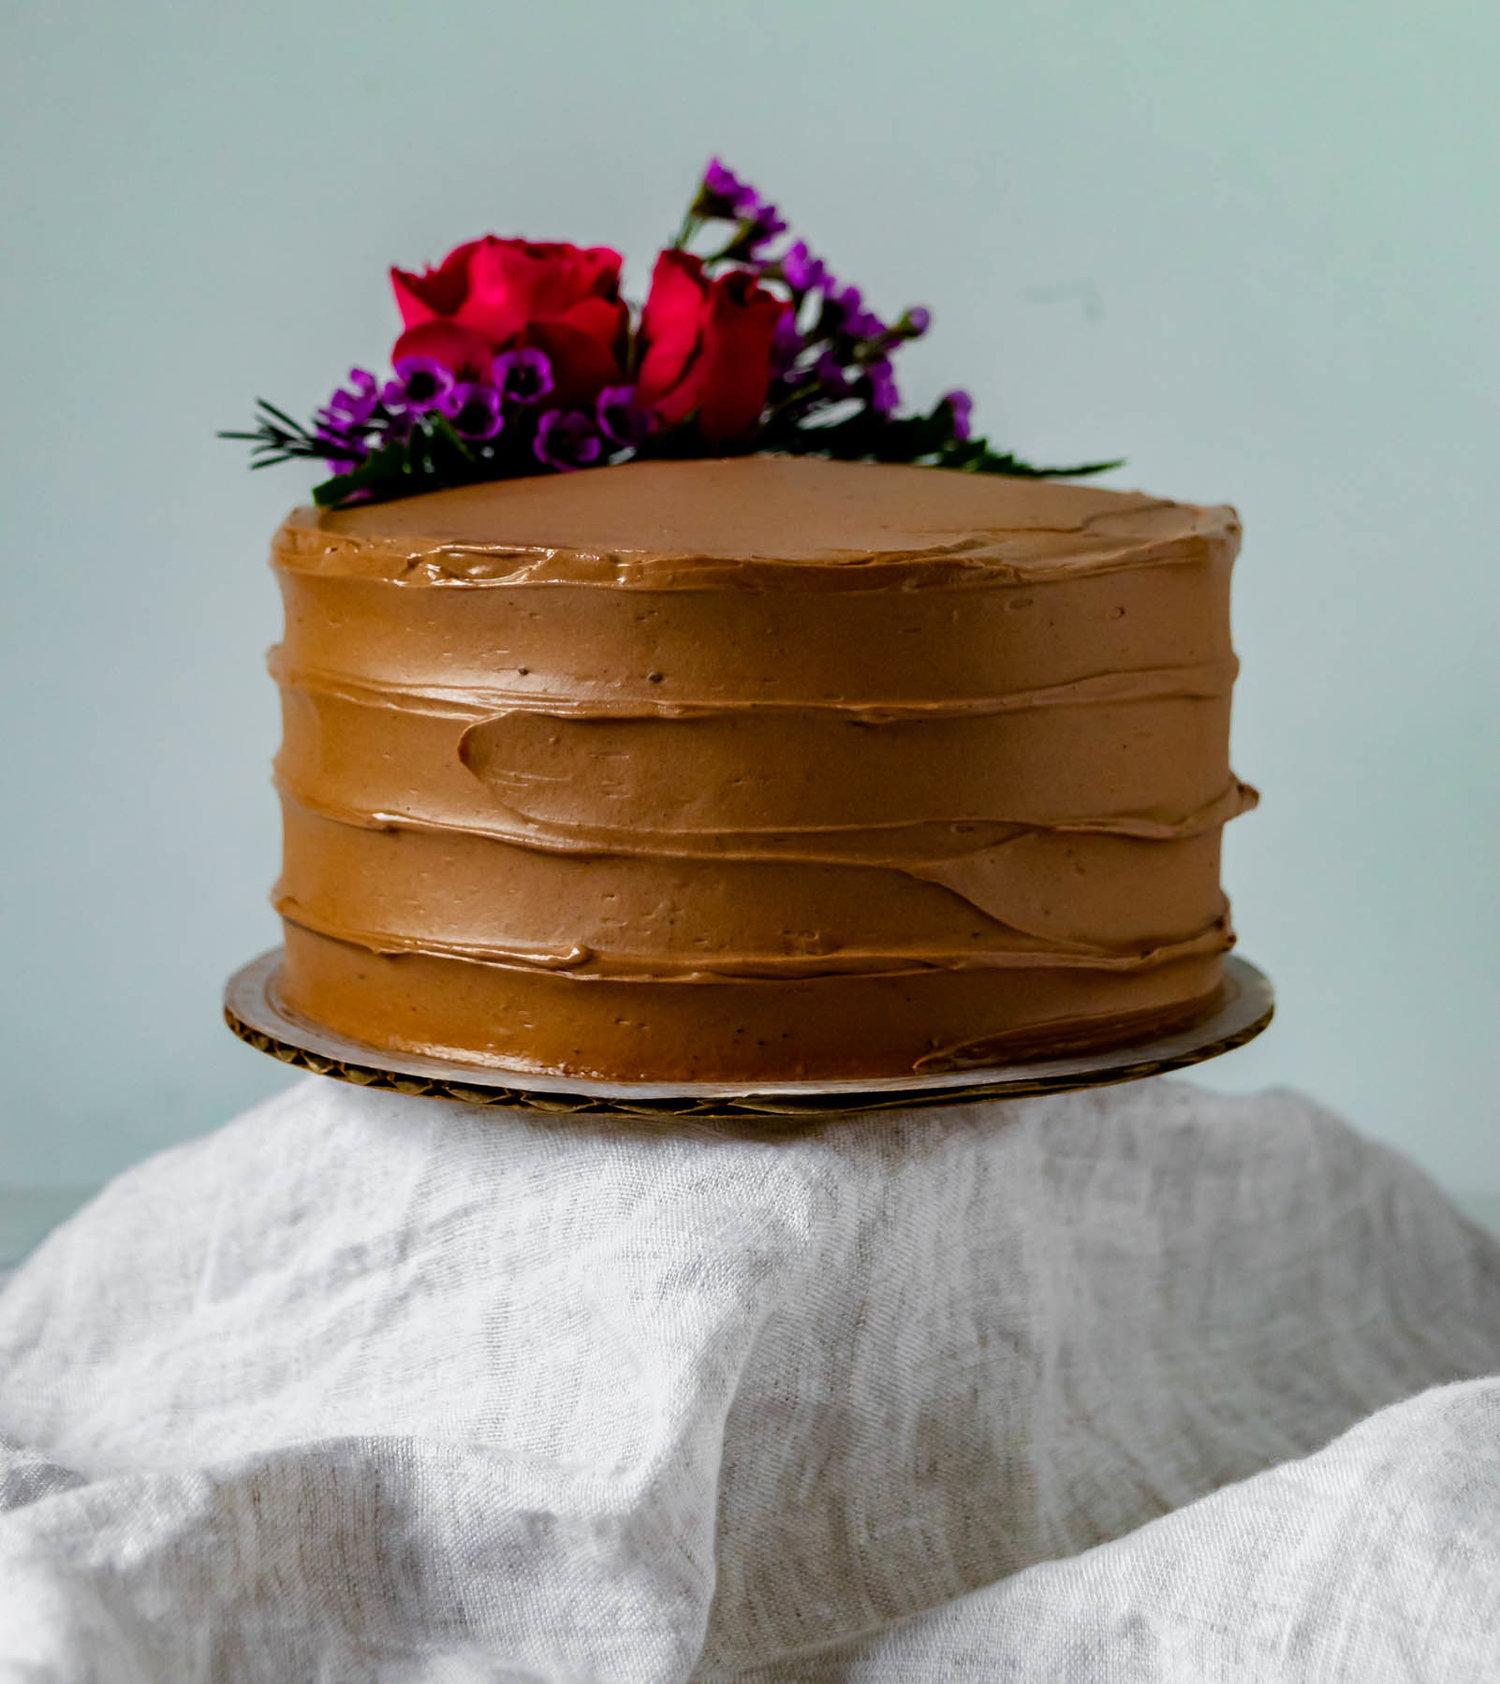
Chocolate Buttermilk Snack Cake with Sage Caramel Buttercream
/Meet your new favorite snack cake. This ultra-simple, rich chocolate and buttermilk snack cake gets topped with a sage caramel Swiss meringue buttercream and swirled with homemade sage caramel.

I’ve been on a bit of a chocolate dessert kick lately and I’m not mad about it at all. As much as I love me a good fall squash dessert, it’s easy to get a little spiced-out during the holiday baking season and I tend to forget that chocolate desserts still exist. So I set out to cozy-up my very favorite chocolate cake recipe and it was quite the success.
a very simple chocolate snack cake
I am not lying when I tell you that this might be the simplest chocolate cake recipe you will find. It only dirties up one bowl, one measuring glass, a whisk, and a rubber spatula and utilizes pantry ingredients you probably already have on hand.
P.S. If you aren’t someone who keeps buttermilk on hand at all times, I highly recommend it. Buttermilk is one of my top 5 baking ingredients and it will transform the textures of your cakes and breads.
To make the cake, simply whisk together dry ingredients + sugar and set it aside. Then whisk together olive oil and buttermilk, add it to the dry, and whisk until the batter is smooth and lump-free. Transfer the batter to an 8” cake pan and bake it until the center is set and the sides begin to pull away from the edge of the pan. Let cool almost completely and then invert it onto a cooling rack. Voilà. You could totally stop there and just eat the cake frosting-free, maybe with a spoonful of crème fraîche or whipped cream.
But I suggest continuing on with a simple sage caramel buttercream.

homemade sage caramel and a caramel swiss buttercream
I won’t spend too long dissecting the steps of making homemade caramel because you can read about that whole process in-depth here, here, and here! But we are essentially making our classic dry caramel with a bit of added pizzazz. Before making the caramel, we’ll bring our heavy cream to a simmer and steep a handful of fresh sage leaves in the hot cream. Before using it, we’ll strain out the leaves and then that herbal, fragrant cream will get added to our caramel in place of regular cream. This is a really easy way to add flavor to your caramel and you could definitely experiment will all sorts of herbs and flowers (rose! lavender! cardamom!)
Now, for the buttercream.
Swiss meringue buttercream is the swoopiest and fluffiest of all of the buttercreams in my opinion, and it is fairy simple to make once you know the steps and what to look for. Let’s break it down.
Combine egg whites and sugar in a double boiler. You’ll cook this mixture over very even heat, stirring very frequently, until the sugar has completely dissolved and the temperature reaches 160° F. You can use a candy thermometer if you’d like, but I like to dip my finger into the bowl to test for readiness. The mixture should be warm and free of sugar granules.
Whip egg white/sugar to form a meringue. Once you’ve reached your ideal temperature, transfer the mixture to a stand mixer and begin whipping, starting on low speed and then increasing speed gradually, until you have a thick, glossy, room temperature meringue.
Add the buttah. With the mixer on, add your softened butter, one tablespoon at a time. When all of the butter has been added, switch to the paddle attachment and beat it until the light and fluffy and the consistency resembles that of a buttercream.
Stream in the caramel. With the mixer on low-speed, add half of the caramel (this should be room temperature too) and beat until it’s mixed in. Swoop it on your cake, drizzle with more caramel, and enjoy!


Chocolate Buttermilk Snack Cake with Sage Caramel Buttercream
Ingredients
- 1 1/2 cups (195 g) all purpose flour
- 3/4 cup (60 g) cocoa powder
- 1 1/2 tsp baking soda
- 1/2 tsp kosher salt
- 3/4 cup (165 g) granulated sugar
- 1/2 cup (100 g) brown sugar
- 1/2 cup (100 g) olive oil
- 1 1/2 cups (350 g) buttermilk
- 1/4 cup heavy cream
- 8-10 sage leaves
- 1/2 cup (100 g) granulated sugar
- 1 1/2 tbsp unsalted butter
- 1/2 tsp kosher salt
- 2 egg whites (60 g)
- 115 g granulated sugar
- 170 g unsalted butter, at room temperature
- Sage caramel, recipe included
Instructions
- Preheat the oven to 350° F and line an 8” cake pan with parchment paper.
- In a large bowl, whisk together flour, cocoa powder, baking soda, salt, sugar, and brown sugar.
- In a large measuring cup, whisk together olive oil and buttermilk until smooth and homogenous.
- Slowly stream the wet ingredients into the dry and whisk until batter is smooth and no flour clumps remain.
- Pour the batter into your prepared cake pan and bake for 40-45 minutes, until the center of the cake is set and the edges pull away from the sides of the pan. Let cool in the pan before inverting the cake onto a cooling rack.
- Place heavy cream and sage leaves in a small saucepan over medium heat. Cook until cream has started to bubble, then remove from heat and cover. Let steep for 30 minutes and then discard sage leaves.
- Place the sugar in a medium saucepan and set over medium heat. Cook, without stirring, until the sugar begins to liquify. At this point, you can gently swirl the pot to ensure even cooking. Continue to cook, watching closely, until all of the sugar has dissolved and the caramel is a deep amber color.
- Remove the caramel from the heat and whisk in the heavy cream. Return to the heat and cook for 1-2 more minutes, until smooth and golden, the remove from the heat and whisk in butter and salt. Let cool completely.
- Create a double boiler using a heat-proof bowl and a medium saucepan. Combine egg whites and sugar in the bowl and heat, stirring frequently, until the temperature reaches 160 degrees or mixture is hot to the touch. Make sure that all of the sugar crystals are dissolved.
- Transfer mixture to the bowl of a standing mixer fitted with the whisk attachment and whip on medium-high speed until completely cool. You should have a stiff, glossy meringue that forms peaks when the whisk is lifted out of it.
- With the mixer on medium-high speed, add butter, 1 tablespoon at a time, making sure each piece is incorporated before adding the next. It is very important at this point that the butter and the meringue are the same temperature before adding the butter. As soon as you add the last of the butter, switch from the whisk attachment to the paddle attachment and beat on high speed until mixture is smooth, light, and fluffy. It should look like a familiar buttercream at this point.
- With the mixer on low speed, add half of your room temperature sage caramel and salt, and continue to mix until well-combined and homogenous.
- To serve, spoon the frosting over the cake and swoop and swirl it however you’d like. Drizzle the top with any remaining caramel and garnish with more sage leaves.