Hot Chocolate Cookies

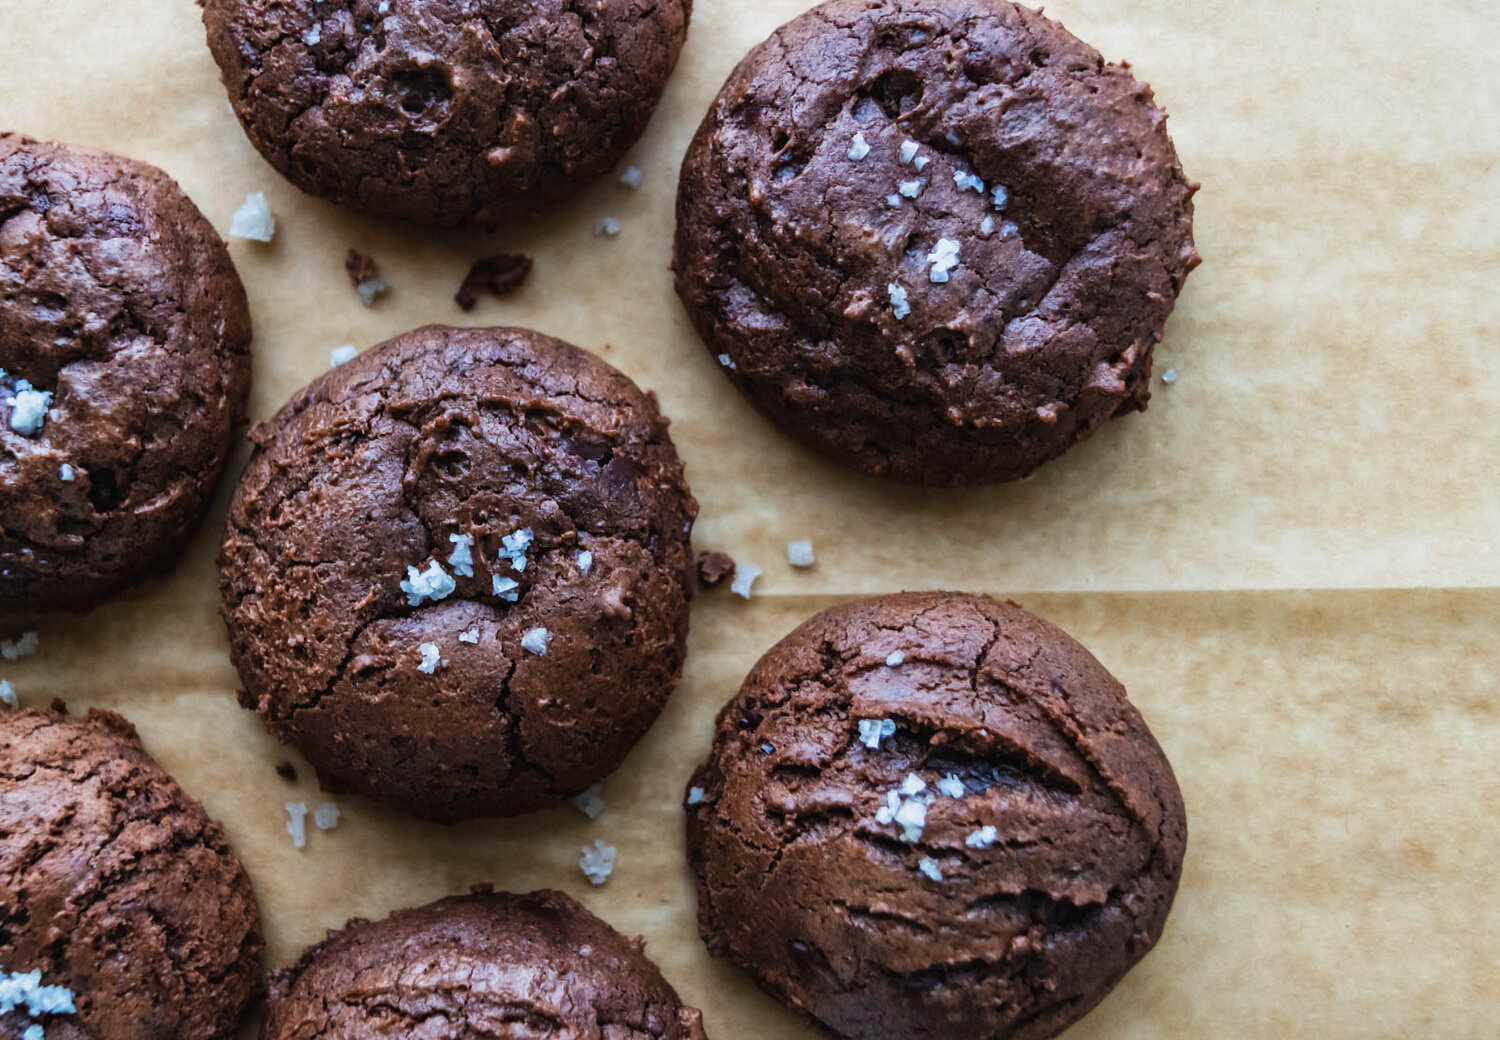
Warm and cozy chocolate cookies, filled with puddles of dark chocolate and gooey marshmallows.

I don’t know whether to blame the frigid weather, the many inches of snow covering our yard, or the baby growing in my belly, but I have been VERY into hot chocolate this winter. I’ve been making it plain from scratch, making Martin’s abuela’s avena, and keeping a box of Trader Joe’s Hot Cocoa packets in my pantry for grabbing in a pinch. I just can’t get enough.

So of course my hot cocoa cravings have spilled over into my recipe development where these cookies were created. I used my brownie-like fudgy chocolate cookie base from my Chocolate Orange Cookies and adapted it slightly to create these ooey, gooey hot chocolate cookies, filled with puddles of dark chocolate and miniature marshmallows to keep you warm all winter long.

how to make hot chocolate cookies

This recipe is very simple and needs minimal chilling time—both wins in my book. We start by melting chocolate and butter over a double boiler. While the chocolate is melting, whisk together your dry ingredients and set them aside. Meanwhile, combine sugar, eggs, and extracts in the bowl of a mixer and whip them for about 3-4 minutes, until the mixture is light and fluffy and a thick ribbon forms when you pull the whisk out of the bowl. Then we incorporate the dry ingredients, followed by the melted chocolate and butter, and finally fold in the chopped chocolate and mini marshmallows.

This batter closely resembles brownie batter, so it will be too loose to scoop right away. Pop the bowl in the fridge to chill for about 30 minutes and then scoop cookies and place them on a parchment-lined baking sheet. Bake for 8-12 minutes, depending on cookie size, until the edges are set and the tops are dry. Let them cool slightly on the pan before digging in!

what you need to make hot chocolate cookies

  • Chocolate. Use high-quality dark chocolate for this recipe because it’s really the star. I like the 72% baking bars from Trader Joe’s. You’ll need 12 oz for melting and another 4 oz chopped for stirring into the batter.

  • Butter. I always bake with unsalted butter, as the salt amounts varies from brand to brand. If you choose to use salted butter, cut the amount of salt in the recipe in half.

  • Sugar. Plain, white granulated sugar for this recipe helps our cookies spread just a bit and gives us that crunchy, crackly exterior.

  • Eggs. Use large eggs, which weigh about 50 grams each. The high egg quantity in this recipe makes the cookies extra fudgy.

  • Vanilla Extract. I like the subtle rounded-out flavor that dark vanilla extract gives to the cookies.

  • Cacao Extract. For Christmas, my aunt brought me cacao, cinnamon, and coffee extracts from Tanzania and I was looking for ways to incorporate them in my baking. If you don’t have an aunt who brings you African cacao extracts, just leave it out—no big deal.

  • Flour. All purpose flour is used in this recipe. Be sure to weigh your flour for the most accurate results.

  • Salt. I use Diamond Crystal Kosher Salt in all of my baking and cooking. If you are using Morton’s, cut the salt amount in half as they are much smaller grains.

  • Baking Powder. Baking powder does most of the leavening in this recipe and keeps our cookies from becoming puddles when baking.

  • Baking Soda. The baking soda contributes a little to the leavening in this recipe, but it’s big job is to counteract the acid in the chocolate here.

  • Cocoa Powder. Good, dark cocoa powder provides richness to our cookie.

  • Miniature Marshmallows. You can’t have hot chocolate without marshmallows. Grab your favorite mini marshmallows for mixing in.

Hot Chocolate Cookies
Yield 24 large cookies, or about 40 small cookies
Author Anna Ramiz
Prep time
30 Min
Cook time
12 Min
Inactive time
30 Min
Total time
1 H & 12 M

Hot Chocolate Cookies

Warm and cozy chocolate cookies, filled with puddles of dark chocolate and gooey marshmallows.

Ingredients

  • 12 oz dark chocolate, chopped
  • 1/2 cup (113 g) unsalted butter
  • 1 1/2 cups (300 g) granulated sugar
  • 4 eggs
  • 2 tsp vanilla extract
  • 1/2 tsp cacao extract, optional
  • 2 cups (250 g) all purpose flour
  • 1/2 tsp kosher salt
  • 1/2 teaspoon baking powder
  • 1/4 tsp baking soda
  • 2 tbsp dutch-processed cocoa powder
  • 1/4 tsp ground cinnamon
  • 4 oz dark chocolate, chopped
  • 90 g (about 1 cup) miniature marshmallows

Instructions

  1. Melt the chocolate and butter together in the microwave or over a double boiler. Set aside and let cool to room temperature.
  2. In a medium bowl, whisk together flour, cocoa powder, salt, baking powder, baking soda, and cinnamon. Set aside.
  3. In the bowl of a standing mixer fitted with the whisk attachment, whip sugar with eggs and vanilla (and cacao extract, if using) on medium-high speed until the mixture is lightened in color and slightly thickened, about 3 minutes. (You should be able to pull the whisk out of the bowl and it should leave a ribbon-like mark in the mixture.)
  4. Switch to the paddle attachment on the mixer and gradually add dry ingredients, scraping down the sides to make sure that no dry streaks remain.
  5. With the mixer on low speed, stream in the chocolate mixture and mix until completely combined and batter is all one color. Fold in the chopped chocolate and miniature marshmallows. Refrigerate for at least 30 minutes.
  6. Preheat oven to 350 degrees and line a baking sheet with parchment paper. Using either a medium or large cookie scoop, portion cookies onto tray, leaving space between them because they will spread a little.
  7. Bake for 8-10 minutes for smaller cookies, 10-12 minutes for larger cookies. Cookies are done when the edges are set and the tops are dry to the touch. Let cookies cool at least 5 minutes on the pan before transferring to a cooling rack.

Notes

If you don't have cacao extract, just omit it.


The longer you chill the dough, the more it sets up and the less your final cookies will spread. If I let the dough chill for longer than an hour, I like to let the cookies rest for a bit at room temperature before baking so that they still have a little spread.

Did you make this recipe?
Tag @gatheredatmytable on instagram and hashtag it # gatheredatmytable

Pear and Cardamom Snack Cake

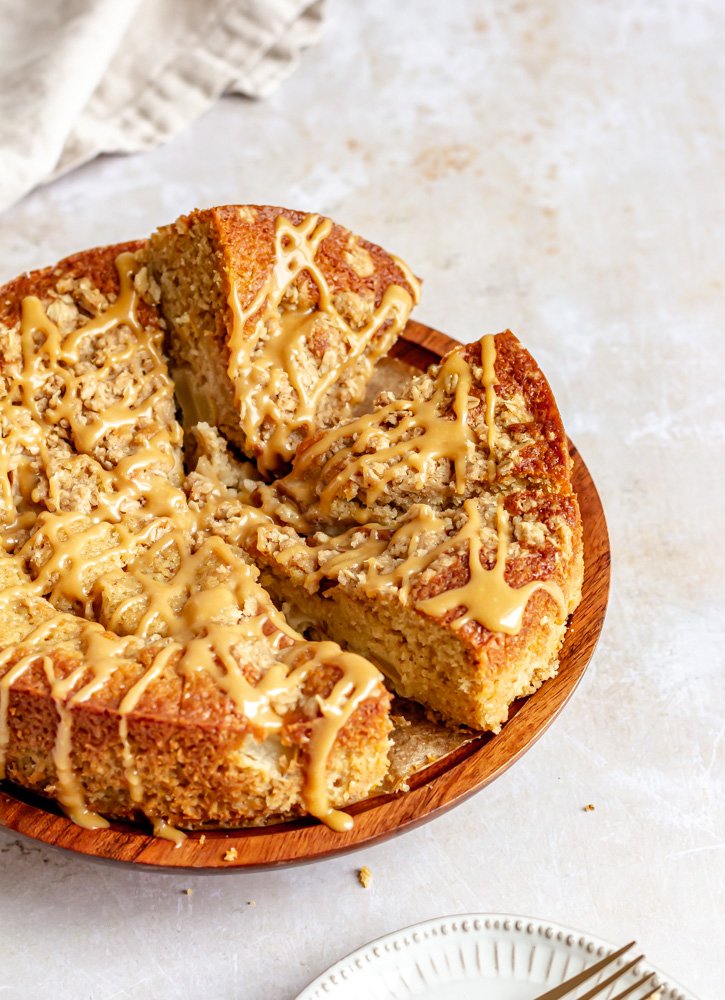
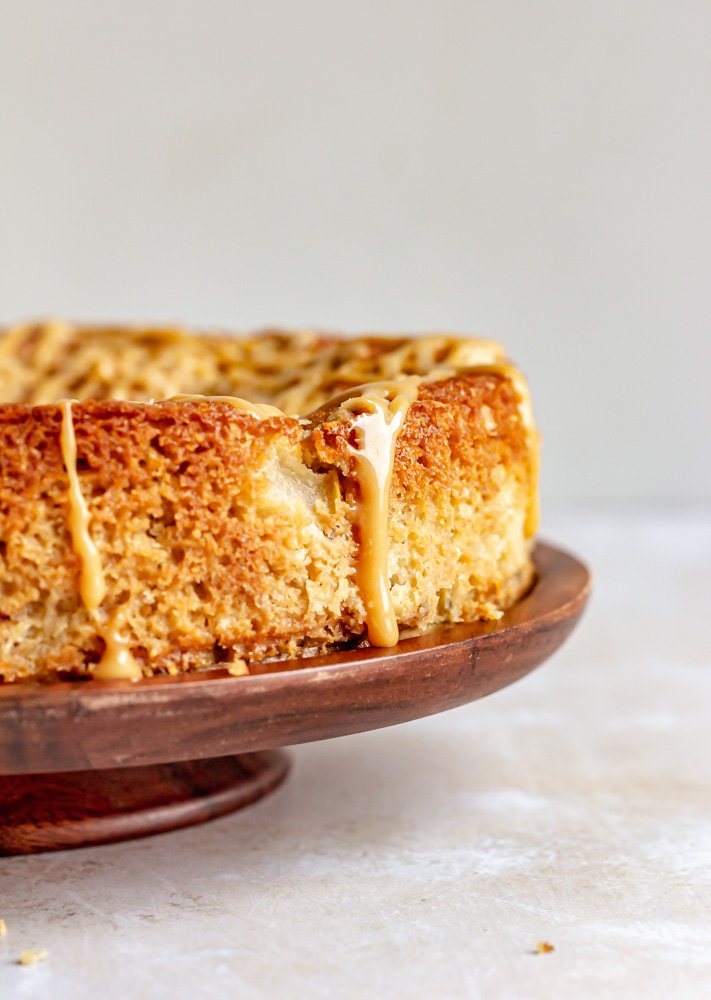
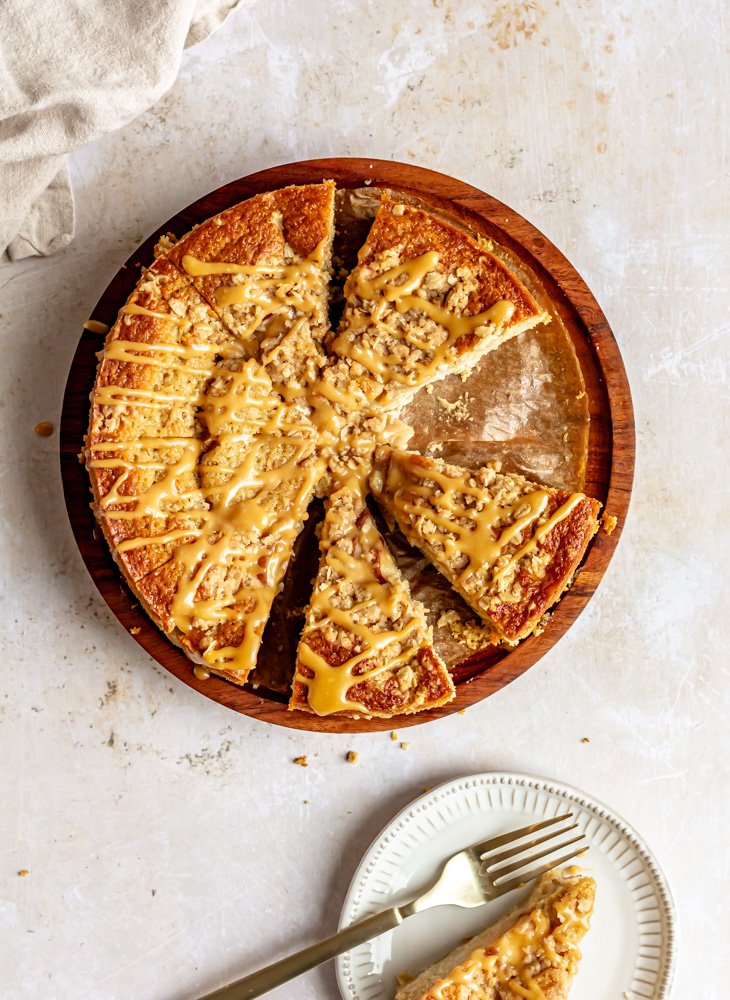
A comfy, cozy buttermilk snack cake spiced with fragrant cardamom and studded with fresh pears. This simple cake is topped with a cardamom crumble and a caramel glaze.

Its snack cake season, everyone. The time of year where you’re looking for simple, seasonal bakes that you can share with friends and family at holiday parties, potlucks, or gatherings. And because I love a good snack cake, I have quite a few lined up to share with you over the next few months.

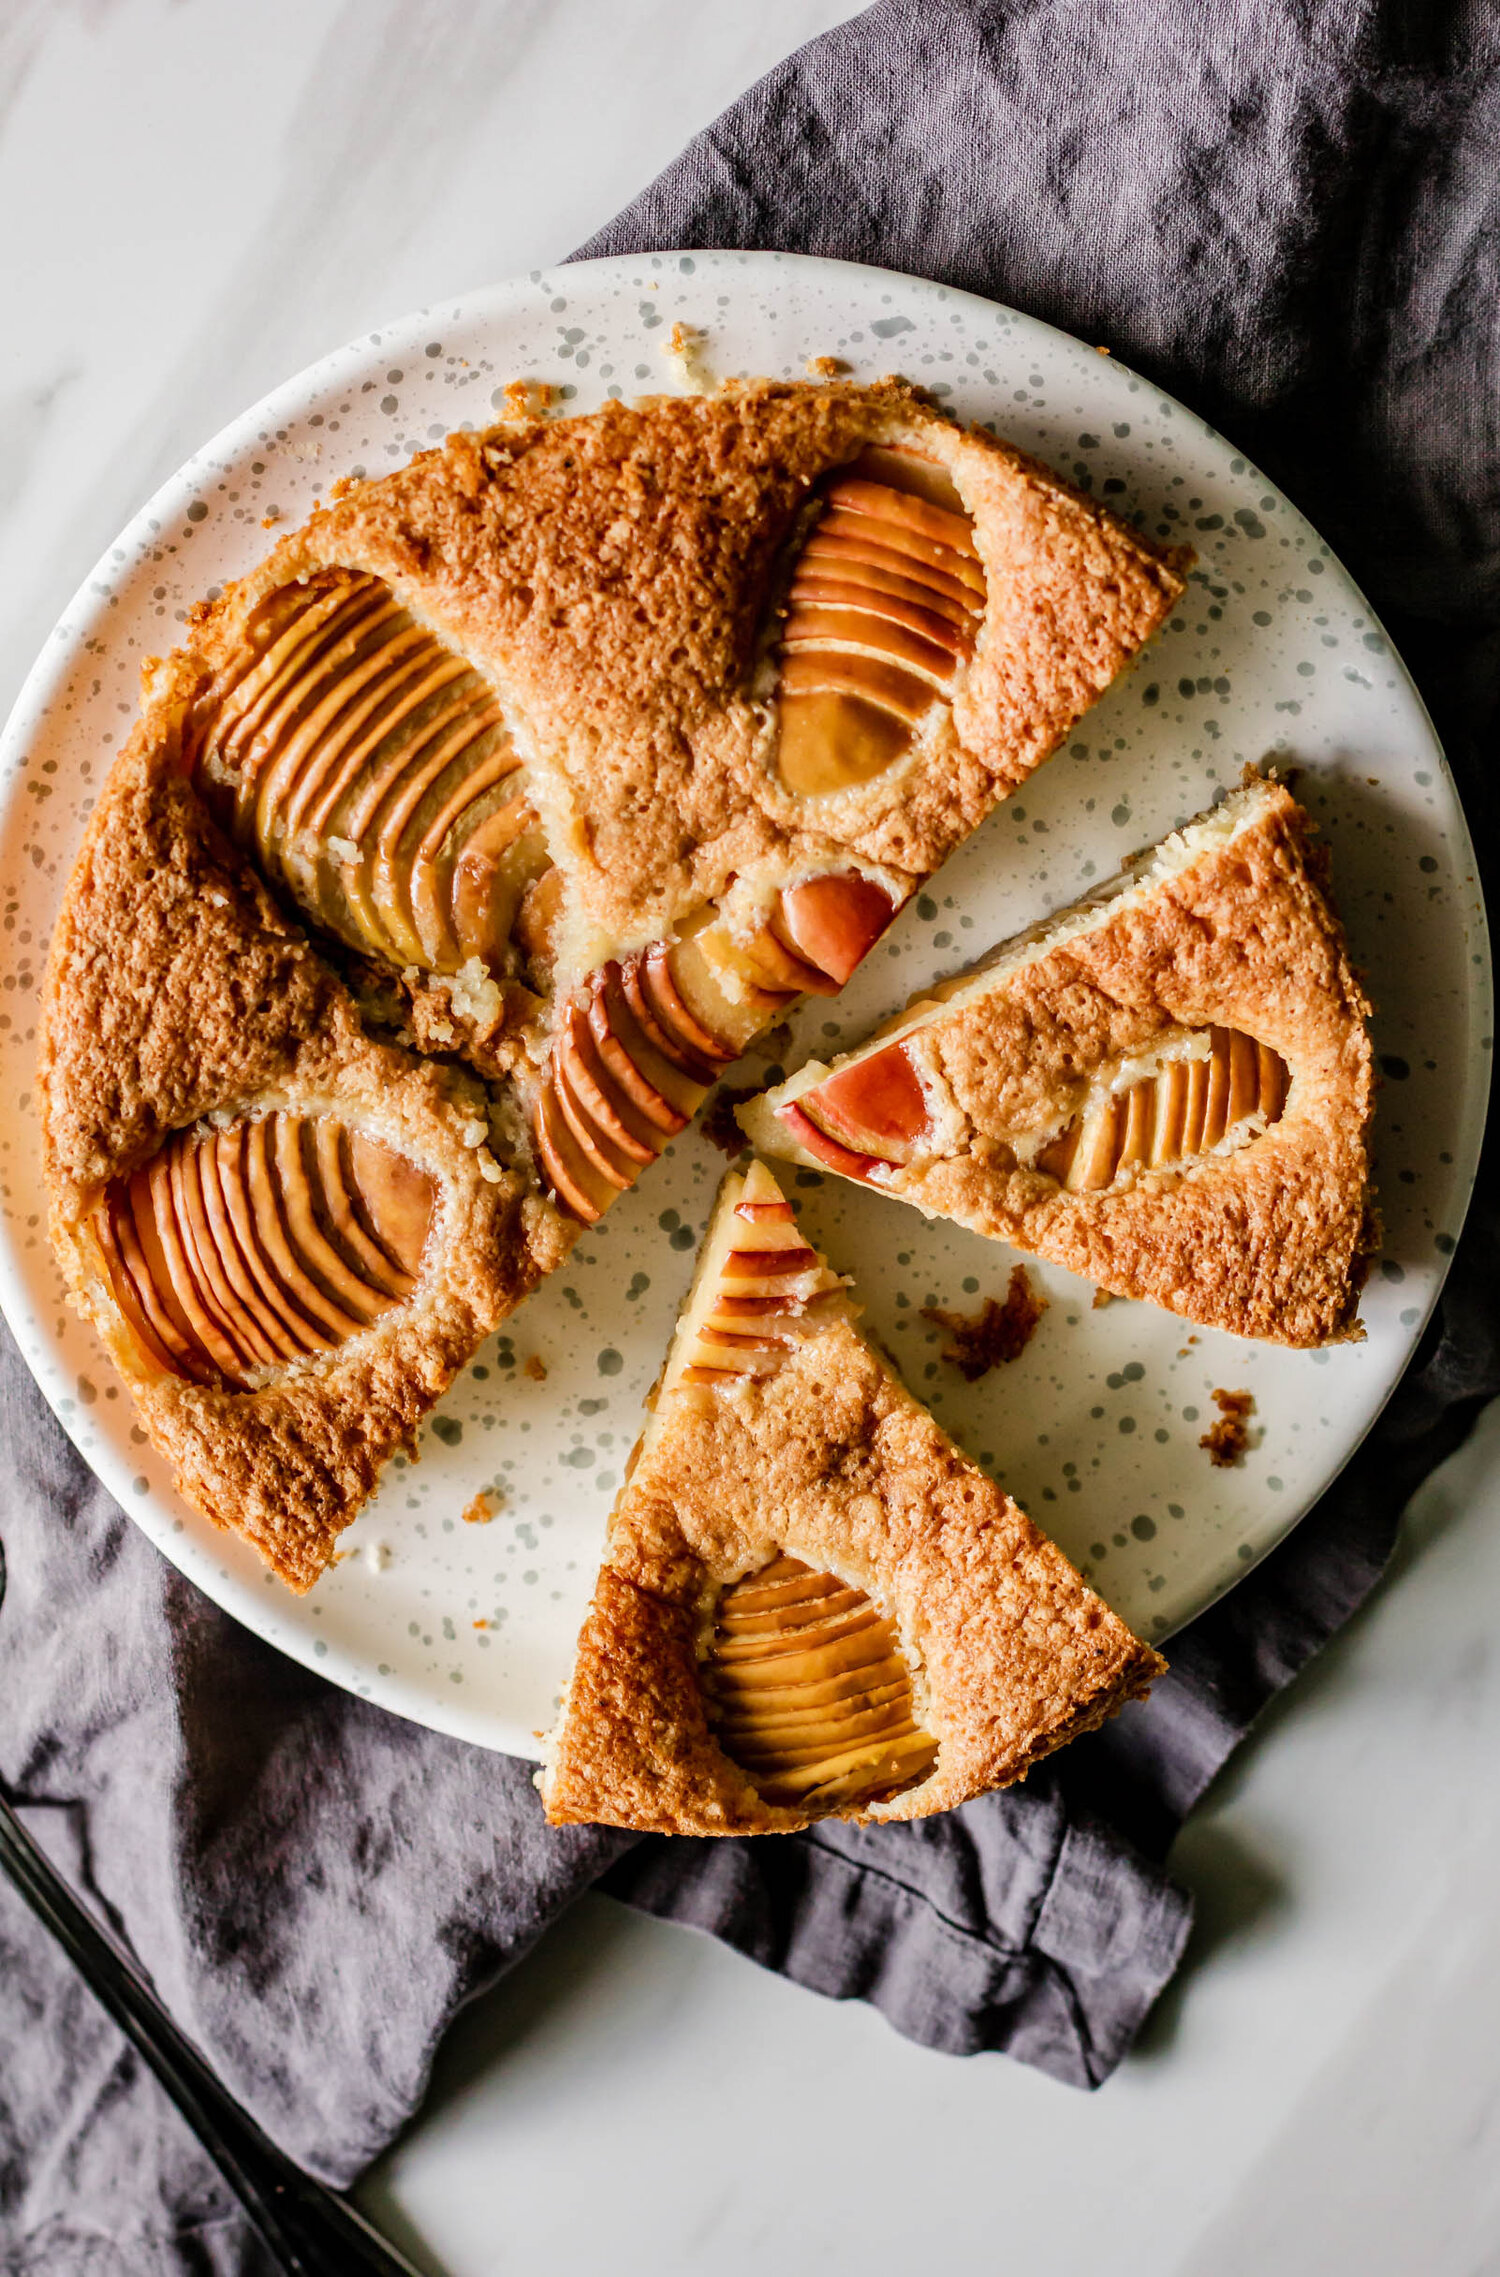
This pear and cardamom snack cake is a perfect fall treat. The batter features warm browned butter and floral cardamom and is filled with juicy seasonal pears. Plus, there’s a cardamom crumble on top and a warm caramel glaze that takes this cake to the next level. Let’s jump in!

simple snack cake

For me, for a cake to be considered snack-able, it needs to follow a few rules. First, it’s a single-layer, one pan situation. No baking multiple pans of batter or torte-ing layers allowed. Ideally, it’s a blending method cake—meaning wet ingredients are whisked into dry ingredients and liquid fat is incorporated. This means no mixers or lots of dishes for clean-up.

I also love seasonal snack cakes, with ultra-simple bases that hold up whatever seasonal fruit I have on hand. Adaptability is key.

how to make a pear cardamom snack cake:

  • To make this recipe, we start with the crumble. Flour, oats, and spices are mixed together with softened butter just to bind everything together and form craggy clumps. This gets chilled while you make the cake so it’s easier to crumble.

  • To make the cake, we start by browning butter with a few smashed cardamom pods until it’s nutty and fragrant. I like to get whole cardamom pods at my local Middle Eastern grocery store or World Market, but if you can’t find them, feel free to omit them.

  • While the butter is cooling, all of our dry ingredients get whisked together, followed by the wet ingredients. Then the wet ingredients are added to the dry ingredients to form a batter and finally, the browned butter is whisked in.

  • For this recipe, I used two large pears. I started by cutting the pears in half so that I had four pieces. I diced three of the halves into small chunks and then thinly sliced the last half and set it aside for topping.

  • The diced pears are folded into the batter and then the batter is transferred to a 9” cake pan (I like deep springform pans for this recipe), before it’s topped with the reserved pear slices (for aesthetic purposes) and the chilled cardamom crumble.

  • The cake is baked—it will need a longer bake due to the high moisture content, and then warm caramel glaze is drizzled over the top.

Pear and Cardamom Snack Cake
Yield one 9" cake, serves 8-10
Author Anna Ramiz
Prep time
30 Min
Cook time
1 Hour
Total time
1 H & 30 M

Pear and Cardamom Snack Cake

A comfy, cozy buttermilk snack cake spiced with fragrant cardamom and studded with fresh pears. This simple cake is topped with a cardamom crumble and a caramel glaze.

Ingredients

for the crumble topping
  • 1/4 cup (32 g) all purpose flour
  • 1/3 cup (30 g) rolled oats
  • 1/4 cup (50 g) brown sugar
  • 1/4 tsp ground cinnamon
  • 1/2 tsp ground cardamom
  • 1/4 tsp kosher salt
  • 1/4 cup (56 g) unsalted butter, softened
for the cake
  • 1/2 cup (113 g) unsalted butter
  • 2 cardamom pods, smashed
  • 2 cups (240 g) all-purpose flour
  • 1/2 cup granulated sugar
  • 1/2 cup brown sugar
  • 1 1/2 tsp baking powder
  • 1/2 tsp baking soda
  • 1 1/2 tsp ground cardamom
  • 3/4 tsp salt
  • 1 cup (227 g) buttermilk
  • 1 1/2 tsp vanilla extract
  • 2 large eggs
  • 2 pears (375 g), 3/4 diced, 1/4 thinly sliced
for the caramel glaze
  • 1/4 cup (30 g) sifted confectioner's sugar
  • 1/4 cup warm caramel, homemade or store-bought

Instructions

to make the crumble topping
  1. Combine all ingredients in the bowl of a stand mixer fitted with the paddle attachment. Beat on medium speed for 2-3 minutes, until all of the butter has been worked in and mixture forms large clumps. Transfer to a bowl and chill while you make the cake.
to make the cake
  1. Place butter and smashed cardamom pods in a small saucepan set over medium heat. Cook, swirling occasionally, for 6-7 minutes or until the butter becomes foamy and fragrant and little brown flecks begin to form on the bottom of the pan. Transfer the butter to a bowl to cool and discard the cardamom seeds.
  2. Line the bottom of a 9" springform pan with parchment paper and set aside. Preheat the oven to 350° F.
  3. In a large bowl, whisk together the flour, sugar, brown sugar, baking powder, baking soda, ground cardamom, and salt. Set aside.
  4. In another bowl or a large measuring cup, whisk together eggs, buttermilk, and vanilla until smooth.
  5. Add the wet ingredients to the dry ingredients and whisk until batter is smooth and no flour clumps remain. Whisk in the cooled browned butter until thick and homogenized.
  6. Gently fold the diced pears into the batter until dispersed. Pour the batter into the prepared cake pan and arrange the sliced pears on the top. Generously sprinkle the crumble topping over the cake.
  7. Bake for 50-60 minutes, until cake is deeply browned and a skewer or knife inserted into the center comes out clean. Let cool in the pan.
  8. While the cake is cooling, whisk together the confectioner's sugar and warm caramel to form a smooth, drizzle-able glaze.
  9. Invert the cooled cake onto a serving platter and drizzle with the caramel glaze.

Notes

You can use store-bought or homemade caramel for this recipe, but you may need to slightly adjust the amount added depending on the thickness of your caramel. You can find the homemade caramel recipe that I used for this recipe here.

Did you make this recipe?
Tag @gatheredatmytable on instagram and hashtag it # gatheredatmytable

Spiced Apple Crostata

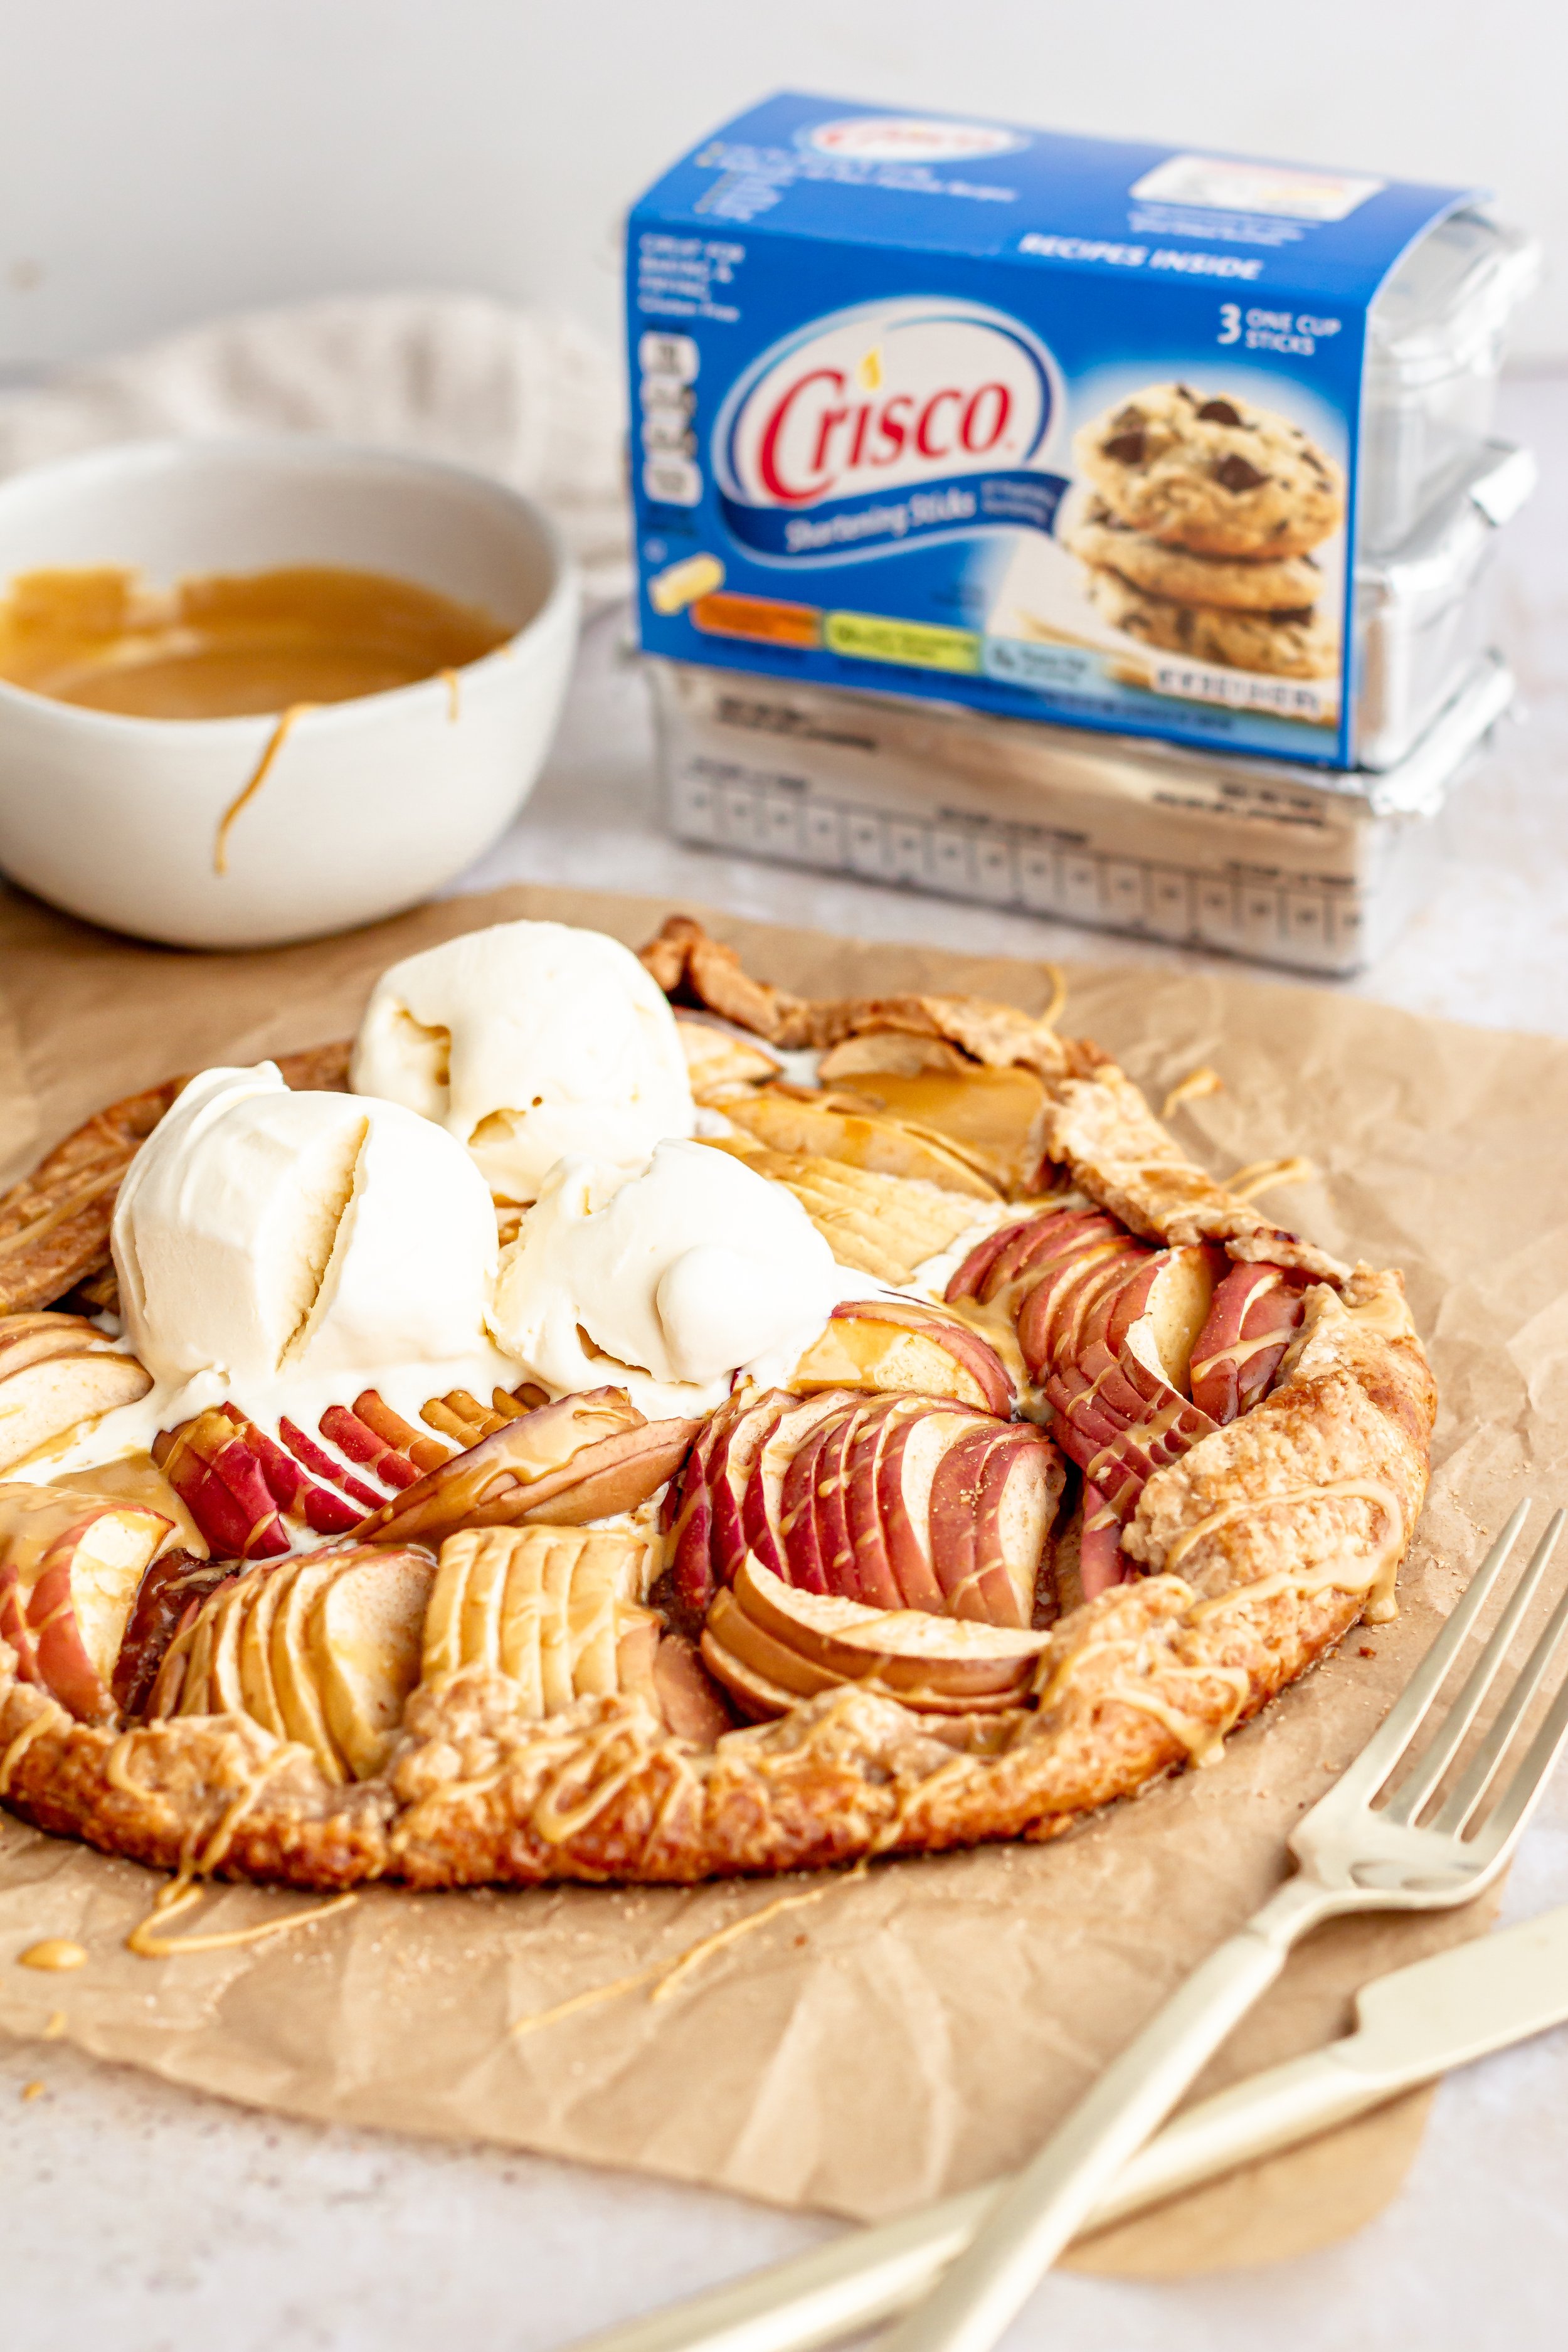
A rustic fall crostata, or open-faced fruit tart, featuring a flaky, cinnamon crust and filled with brown sugar and fresh apples. It’s perfect topped with a simple, homemade molasses glaze and vanilla ice cream.

This recipe is sponsored by B&G Foods, Inc as a part of their #bakingathome and #cookwithcrisco campaign. All thoughts and opinions are my own. Thank you for supporting the businesses who support Gathered At My Table!

It’s officially fall. The leaves are turning from emerald greens to deep oranges and reds, the temperature is beginning to drop and we’re heading inside to sit by the fire with warm bowls of soup, and I’m baking. I’m baking cookies and cakes, breads and brownies, and of course, I’m tucking the last of my orchard apples into dough.

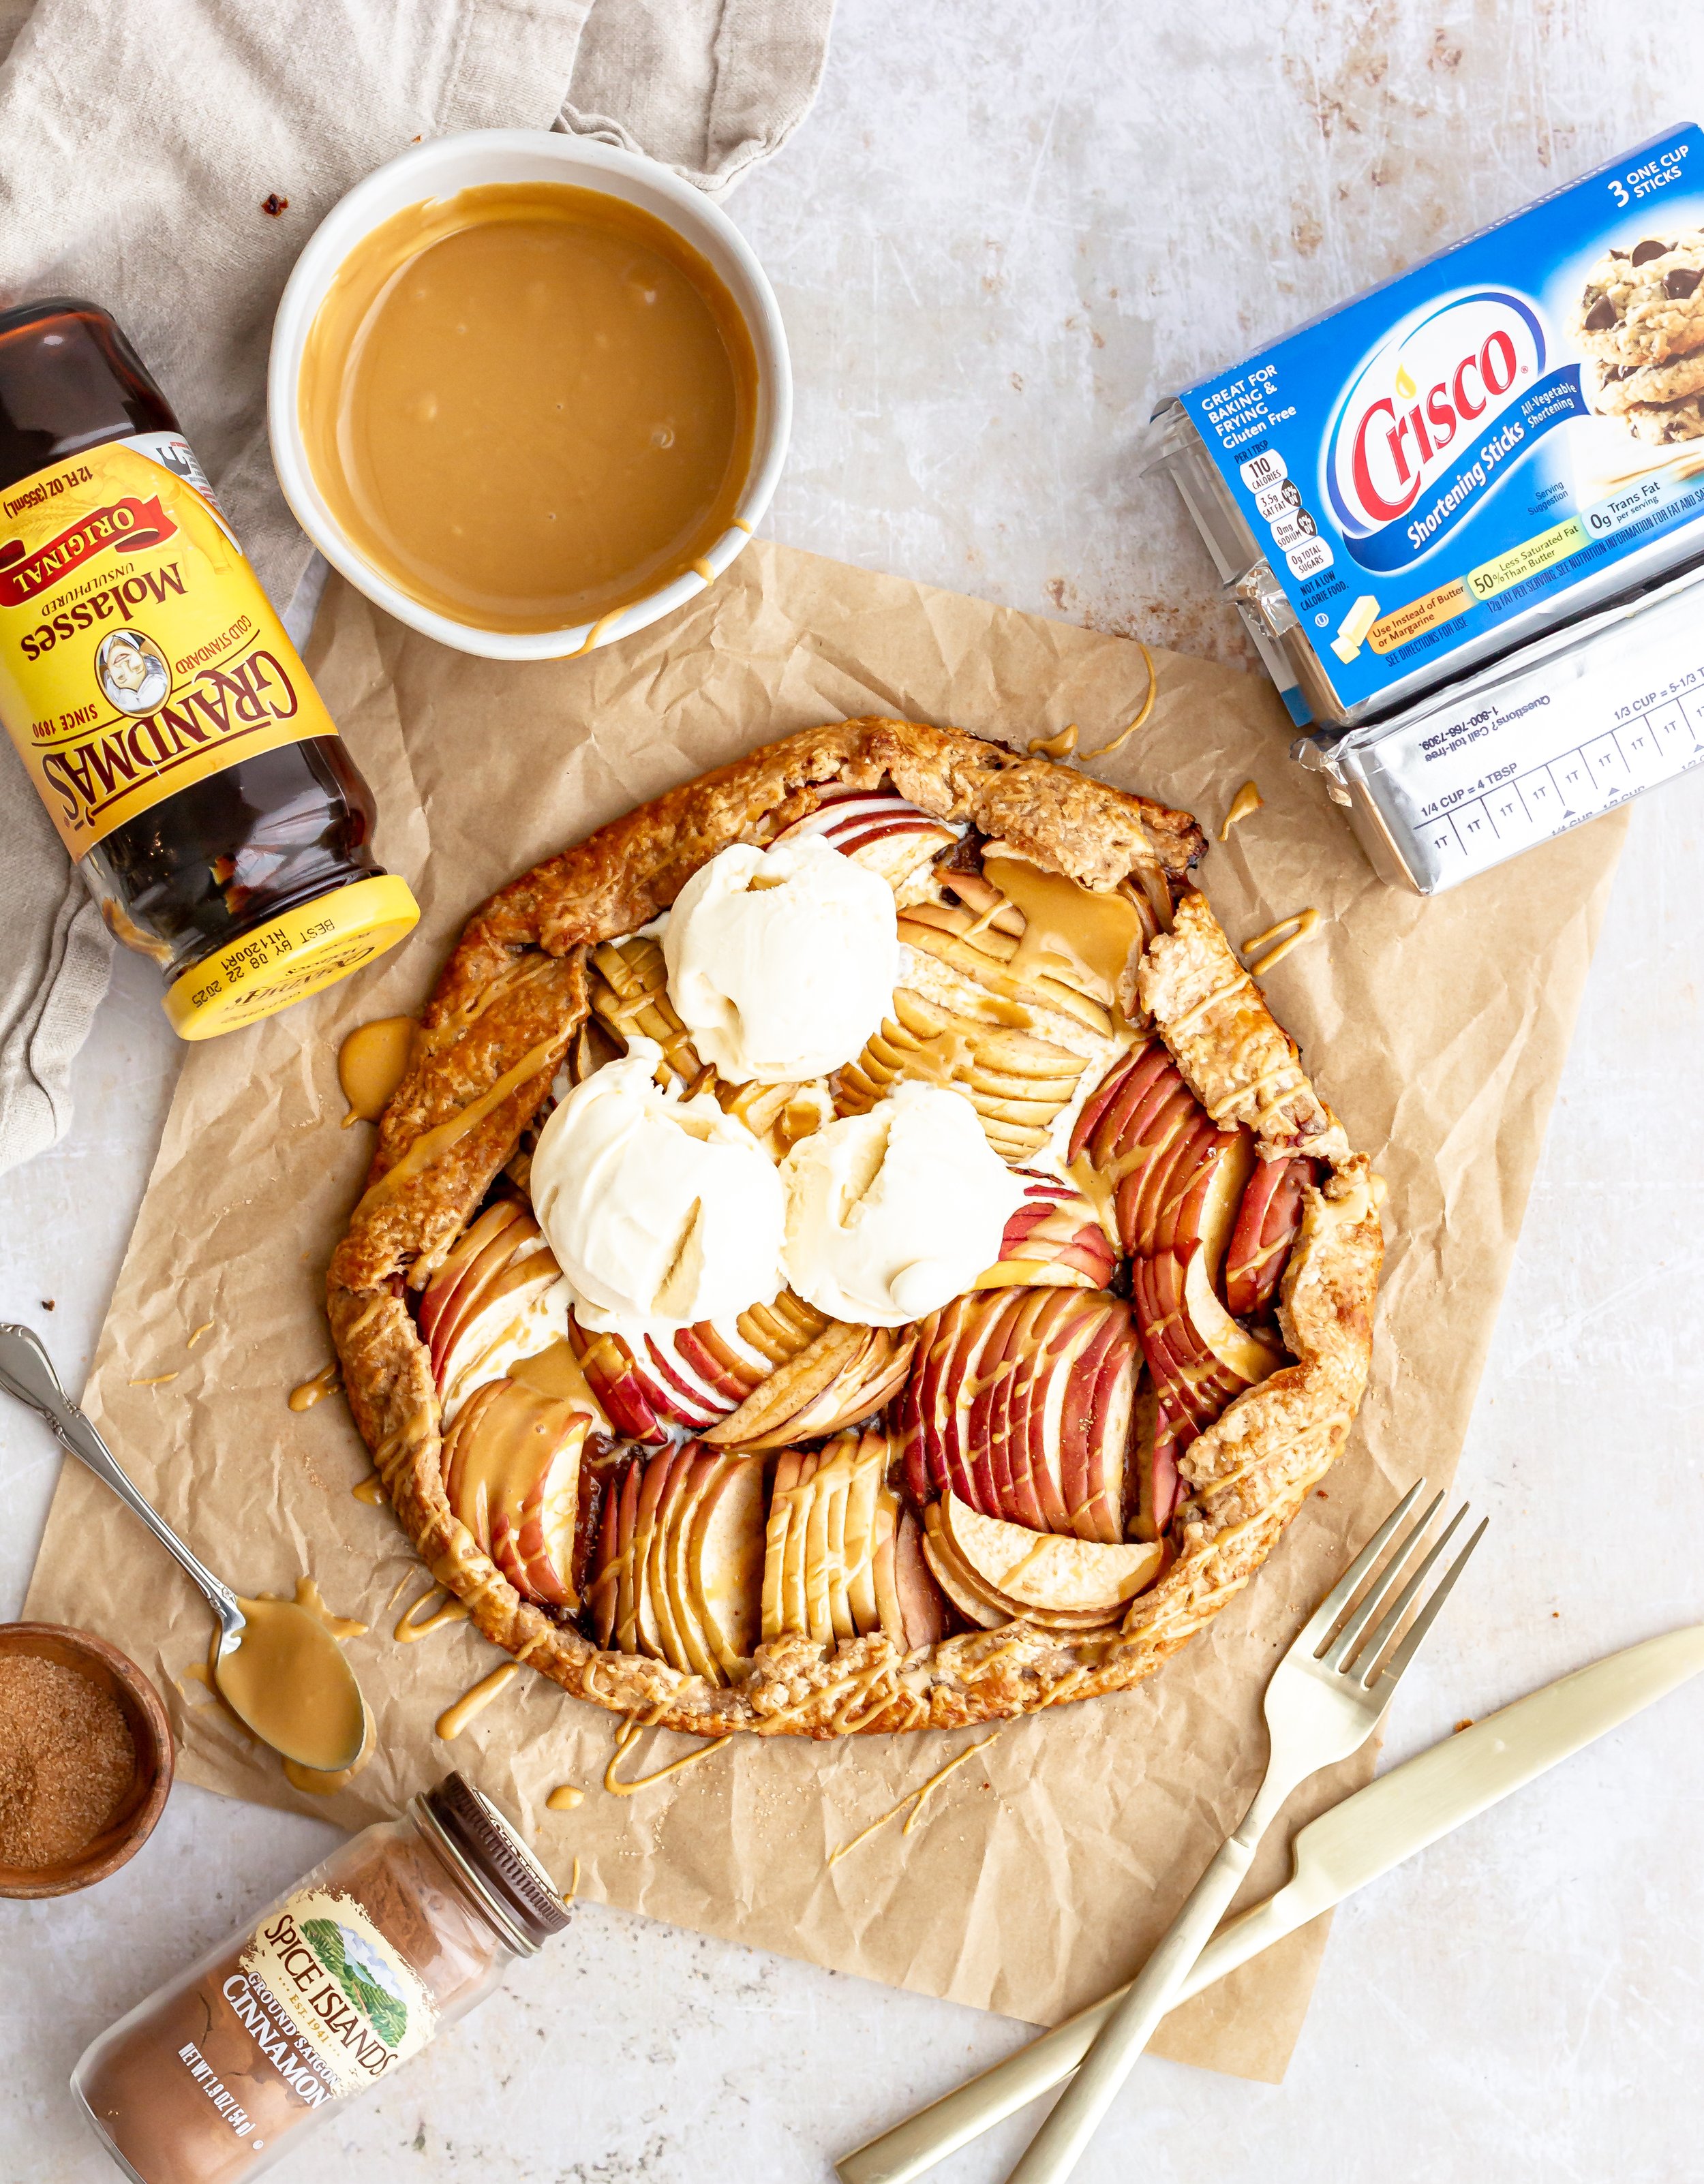
This week, I’m sharing a super simple recipe for this rustic spiced apple crostata featuring Crisco® All-Vegetable Shortening, Spice Islands® Ground Saigon Cinnamon, and Grandma’s® Molasses. It features a flaky, cinnamon-spiced crust, filled with brown sugar and apples and finished with a sweet molasses glaze and it’s just one of the coziest recipes you’ll make this fall!

what is a crostata?

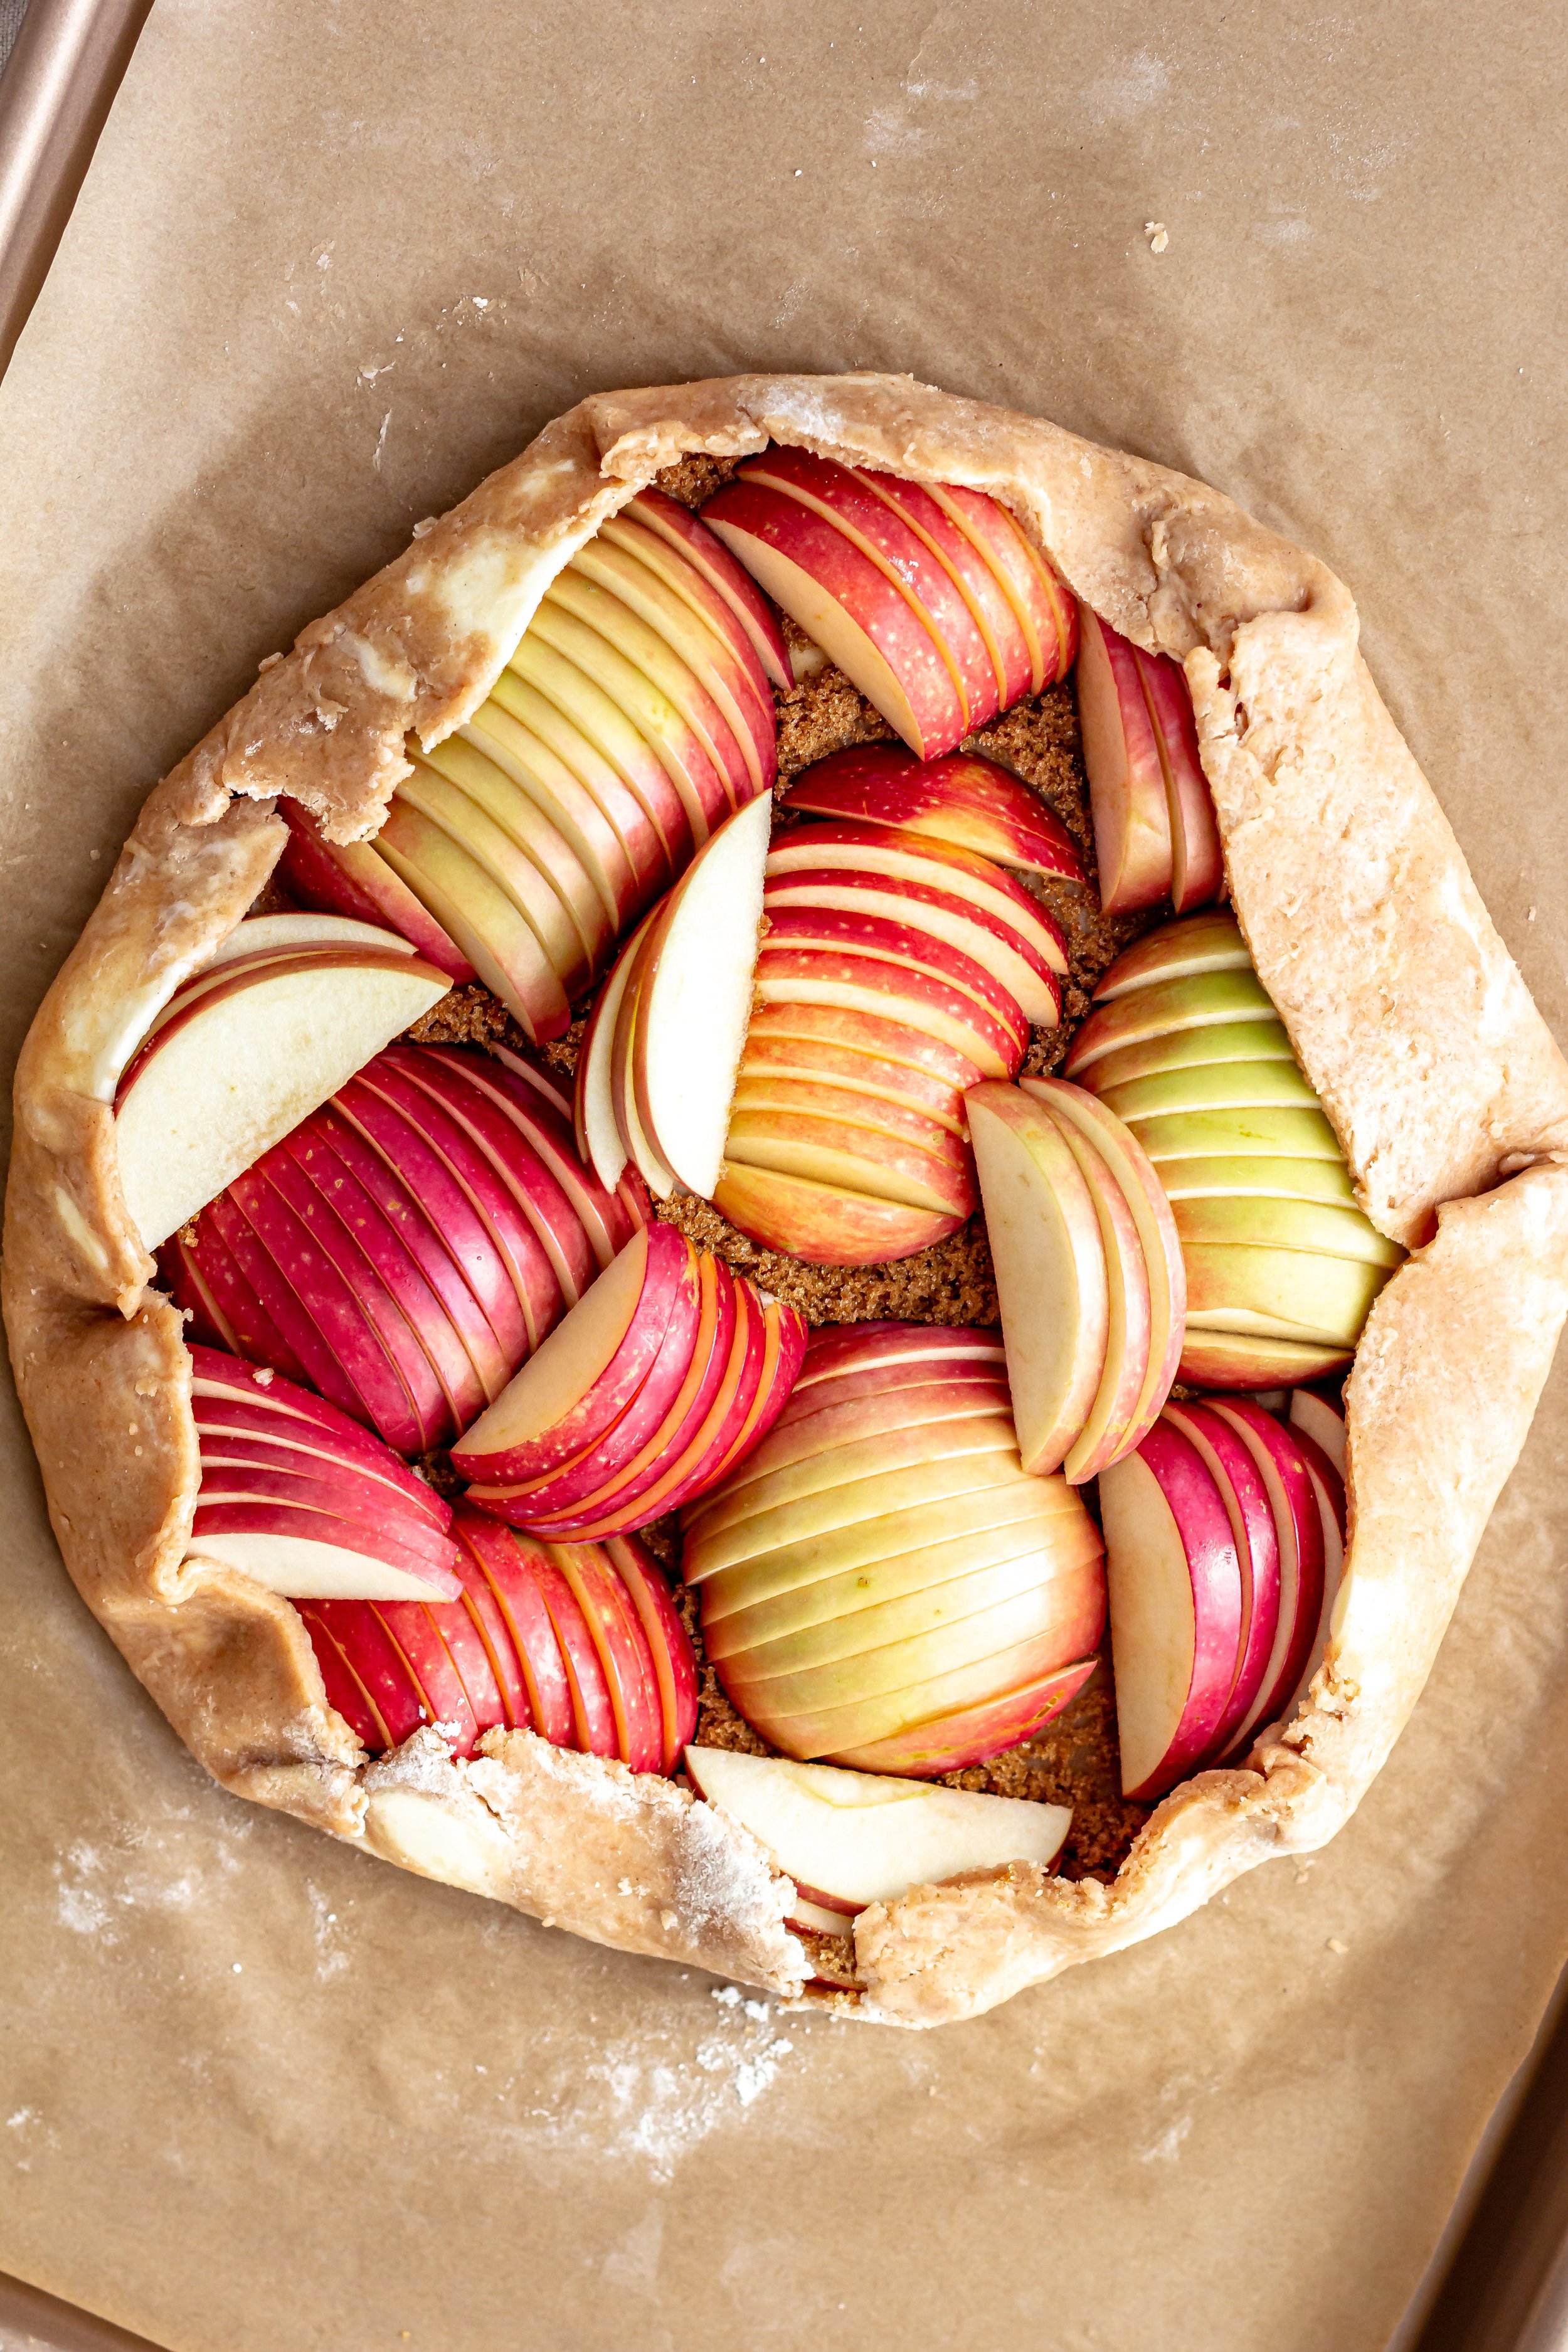
A crostata is the Italian term for an open-faced fruit tart. You’ve probably more familiar with the French translation, galette, but they are the same thing. A sheet of flaky pie dough, filled with some sort of fruit or produce, and then edges are folded up and around the filling to create a little crust barrier and hold all of the fruit inside. I love making galettes and crostatas because they are SO VERSATILE. You can fill them with anything you want—sweet or savory—, they are quick and easy to make, and the rustic, free-form shape is sure to make an impression at your table.

the crust

For this recipe, I slightly adapted my basic pie dough to create an ultra-flaky cinnamon spiced crust. I used flour, a little sugar, and replaced half of the butter with Crisco All-Vegetable Shortening. Shortening is made up of 100% fat while butter is made up of 80% fat and 20% water. Shortening also has a higher melting point, which helps prevent spread and contributes to rise in baked goods. In this recipe, it makes for extra flaky layers plus is a plant-based fat which is helpful when baking for friends with differing dietary restrictions. I also swirled in some Spice Islands Ground Saigon Cinnamon for an added cozy flavor.

ingredients you need to make this spiced apple crostata:

  • Flour. It’s the base of all our baked goods and we’re using regular, all-purpose, unbleached flour for this recipe.

  • Sugar. For just a little added sweetness, we’re using just 2 tsp of granulate sugar.

  • Salt. Always salt. It helps to balance the sweetness and draw out the other flavors in the dish.

  • Spice Islands Ground Saigon Cinnamon. High-quality, finely-ground cinnamon for that warm fall flavor. Find it here.

  • Crisco All-Vegetable Shortening. A 100% plant-based fat, shortening is the key to our super flaky crust. Get it here.

  • Butter. I use a little bit of unsalted butter in partnership with the shortening in this recipe for a bit of added flavor. If you’re making this recipe completely plant-based, you can omit the butter and replace it with more shortening.

  • Ice Water. Cold ice water helps moisten the pie dough, hydrate the flour, and bind everything together. We just use 3-4 tbsp, until the dough begins to come together.

  • Brown Sugar. A thin layer of brown sugar at the base of the crostata creates a bubbly caramel bed for the apples.

  • Apples. I used a mix of different types of apples found at my local apple orchard. Use your favorite type of apple, or a mix, very thinly sliced.

  • Grandma’s® Molasses. Unsulfured, preservative-free molasses makes for a sweet, somewhat smoky glaze. Get it here.

  • Powdered Sugar. You’ll need 1/4 cup for this recipe.

  • Heavy Cream. Just a splash or two to loosen the glaze.

Spiced Apple Crostata
Yield one 9" crostata
Author Anna Ramiz
Prep time
30 Min
Cook time
30 Min
Inactive time
1 Hour
Total time
2 Hour

Spiced Apple Crostata

A rustic fall crostata, or open-faced fruit tart, featuring a flaky, cinnamon crust and filled with brown sugar and fresh apples. It’s perfect topped with a simple, homemade molasses glaze and vanilla ice cream.

Ingredients

for the crust
for the filling and glaze
  • 3 tbsp brown sugar
  • 3-4 medium apples, thinly sliced
  • 1 beaten egg
  • 1/4 cup (60 g) powdered sugar
  • 2 tbsp Grandma’s Molasses
  • 1-2 tbsp heavy cream

Instructions

  1. In a large bowl, whisk together flour, sugar, salt, and cinnamon.
  2. Add the cold, cubed shortening and butter and work with your fingertips, until all of the fat is broken down into pea-sized pieces and the mixture is crumbly.
  3. Add 3 tbsp of ice water and toss to hydrate. Add another tablespoon of water and turn the dough out onto a lightly-floured work surface. Knead gently until the dough comes together and no flour spots remain.
  4. Shape the dough into a disc, wrap tightly with plastic wrap, and chill for at least an hour.
  5. When the dough has chilled, roll it out on a floured surface or a sheet of parchment paper to a circle about 10" in diameter. Transfer to a parchment-lined baking sheet.
  6. Preheat the oven to 400° F.
  7. Spread the brown sugar in an even layer over the surface of the dough, leaving about 2" around the edges. Arrange the thinly sliced apples over the brown sugar.
  8. Fold the outer edges of the crust up to create a border around the fruit and brush the edges of the crust with the beaten egg.
  9. Bake for 30-35 minutes, until the crust is deeply browned and the filling is soft and bubbly. Let cool slightly.
  10. To make the glaze, whisk together molasses, powdered sugar, and heavy cream until smooth and thin enough to drizzle. Drizzle the glaze over the warm crostata just before serving.
Did you make this recipe?
Tag @gatheredatmytable on instagram and hashtag it # gatheredatmytable