Lemon Olive Oil Loaf with Pluot Basil Jam
/
It’s been a minute since I’ve shared a new recipe on here. I spent the last month taking a little break, pursuing a couple of other projects and taking a much-needed social media breather, but I’m back, baby! And I’m bringing this sweet little lemon olive oil loaf with me. At the restaurant this past month, we’ve been racking our brains to create brunch items that are fairly low-maintenance to make, but delicious and interesting. With sweeter dishes like waffles and French toast on the regular menu, brunch dessert isn’t a huge seller and it’s been kind of a bummer to create something new each week and have it not sell well. But, on the bright side, it’s gotten my little creative recipe development wheels spinning, brainstorming slightly sweet bites that are great in the morning with a cup of a coffee or as an afternoon pick me up—this guy fits the bill.
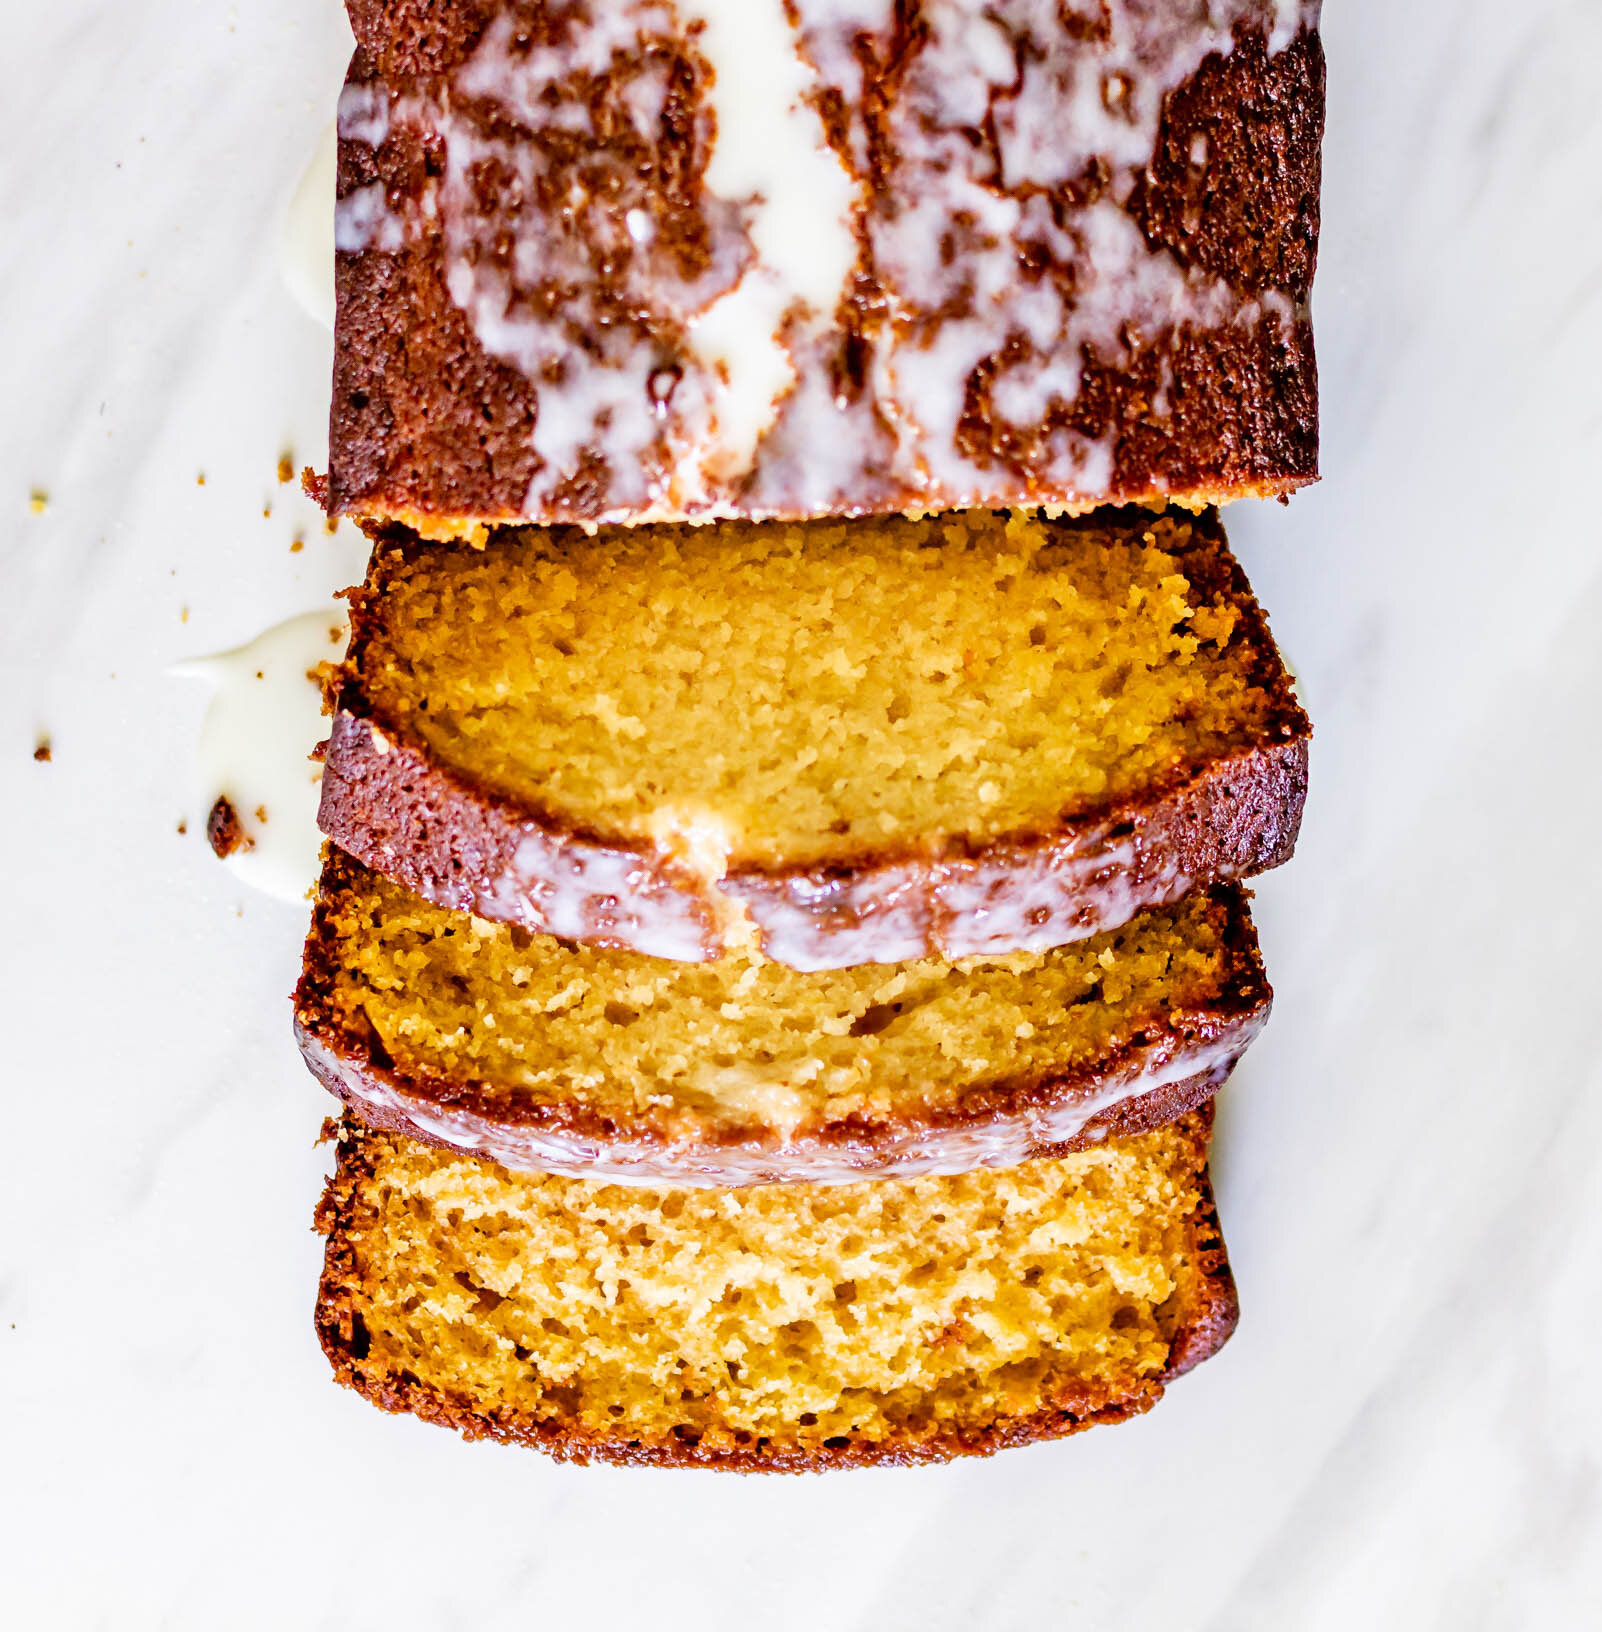
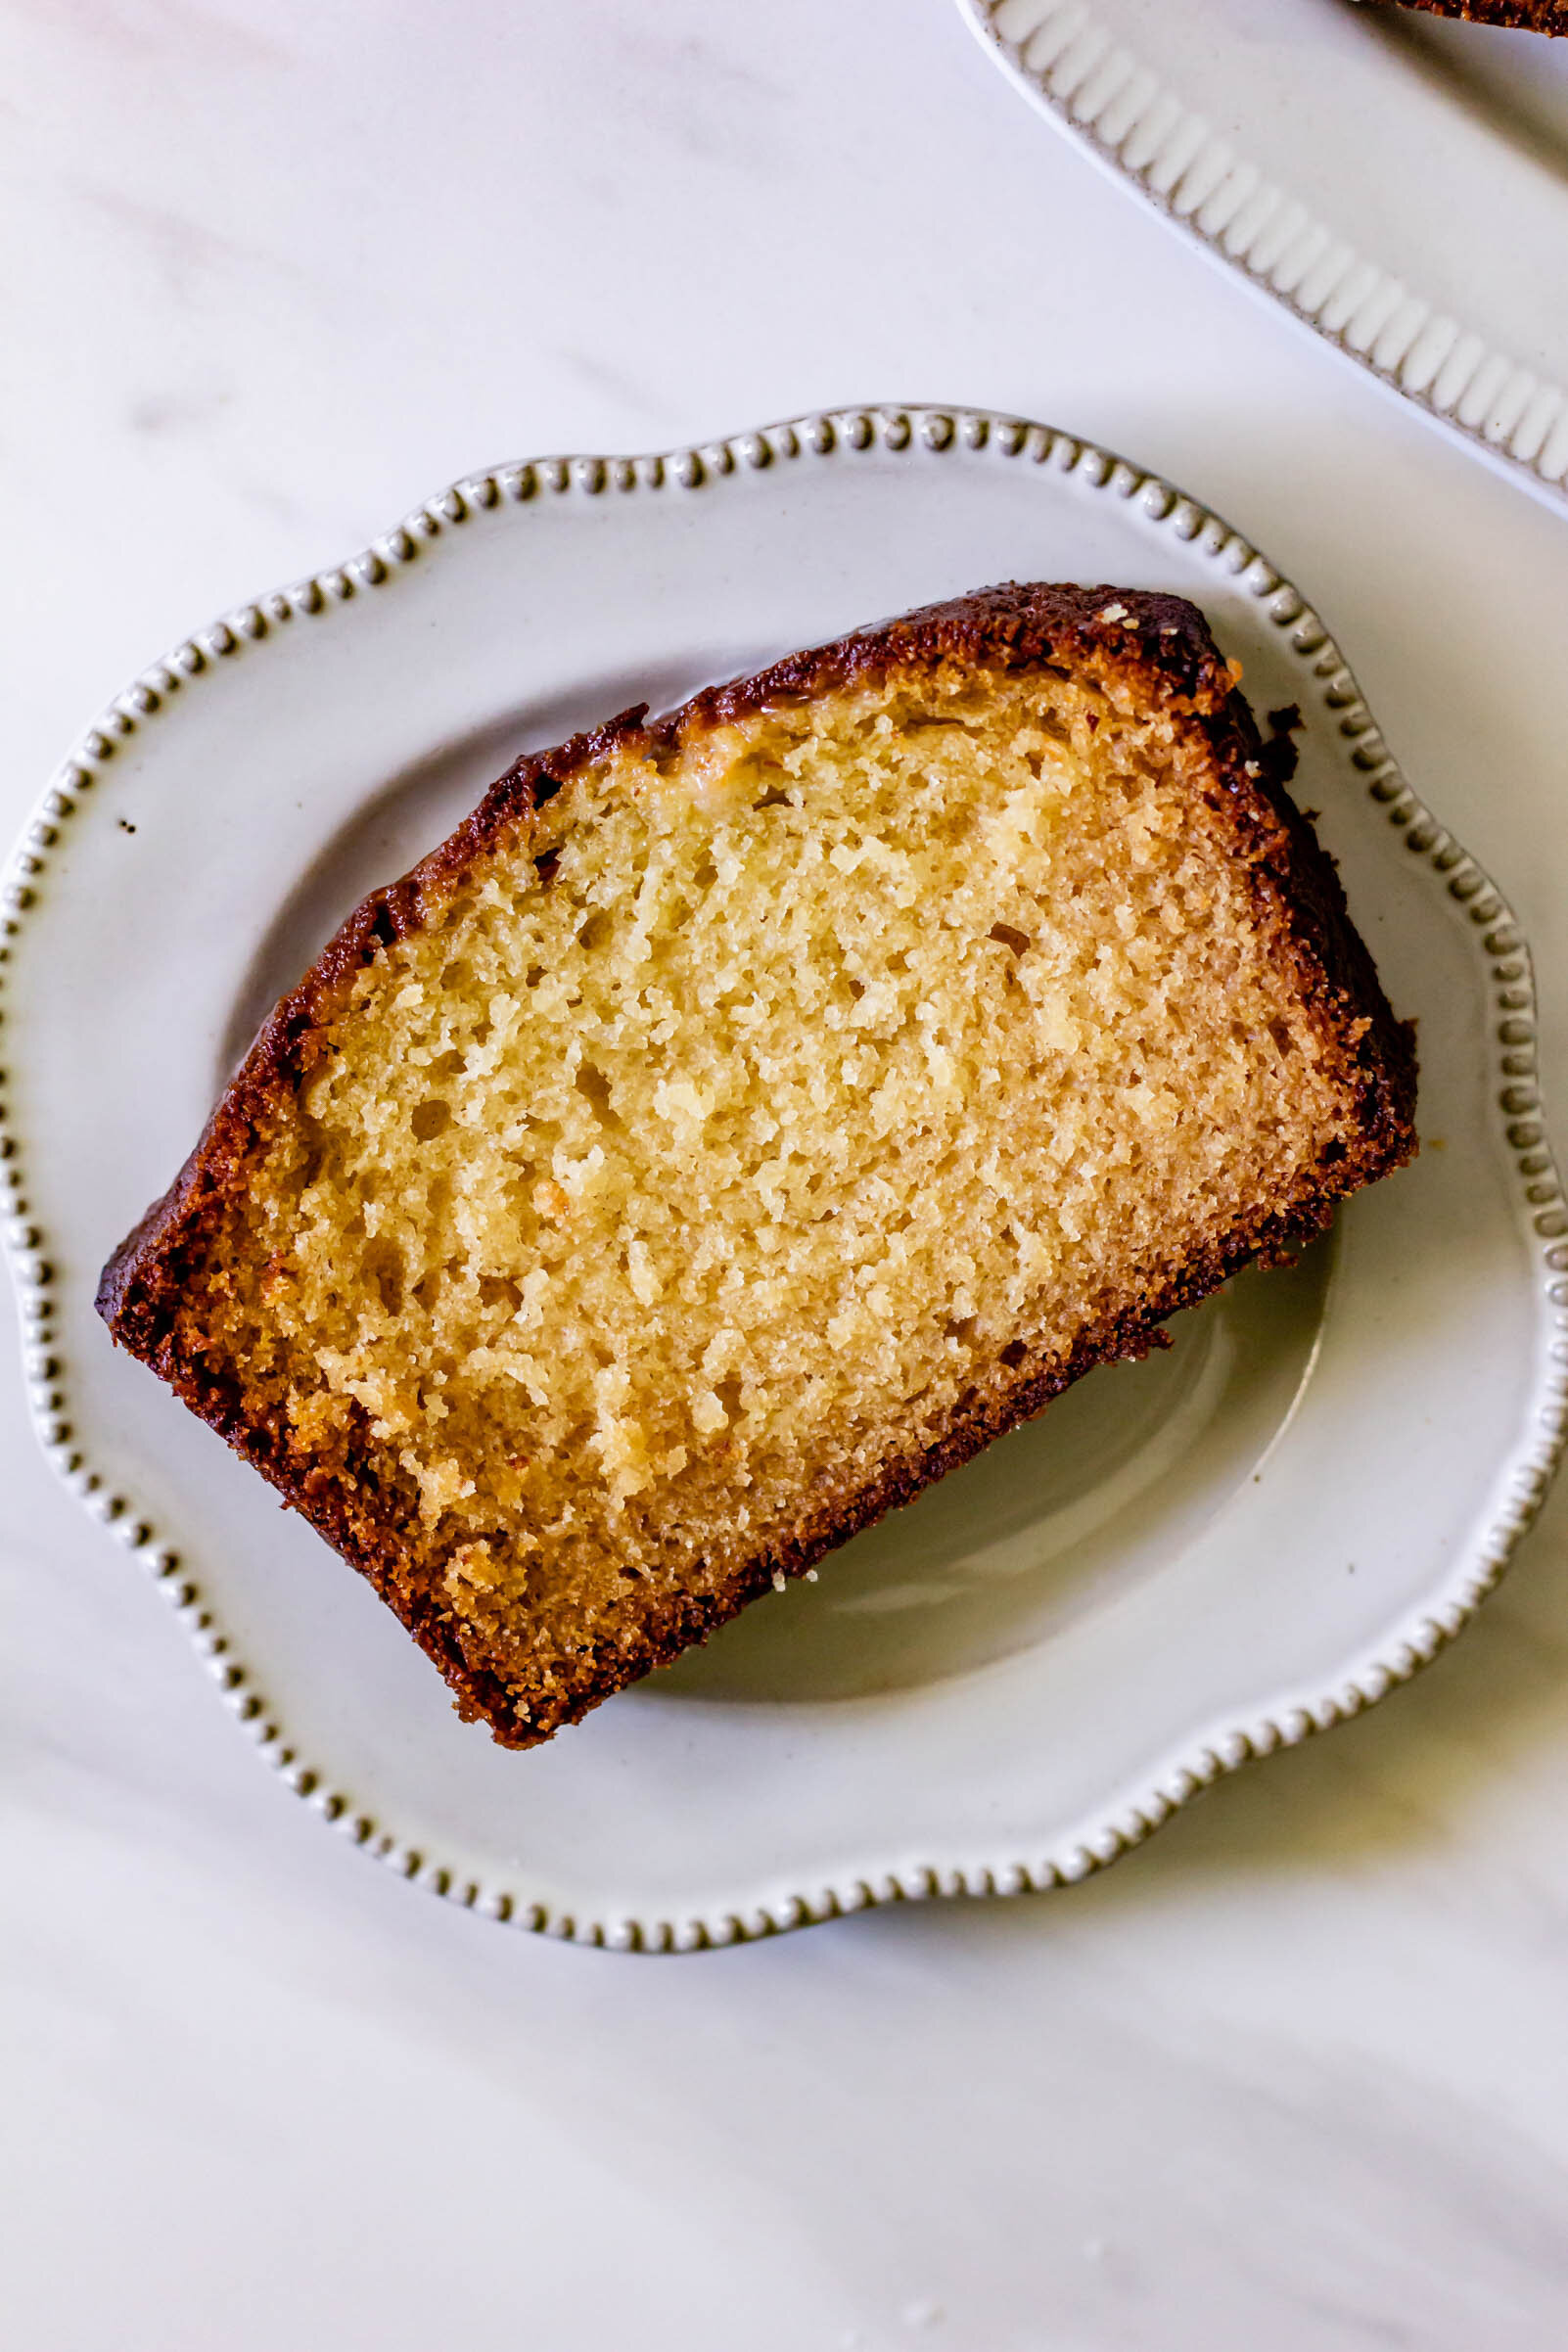
This lemon olive oil loaf is slightly sweet, very tangy, and super moist. It only needs a bowl and a whisk and uses ingredients you probably already have on hand. You can also sub the lemon zest for pretty much any other flavor you’re in the mood for…orange or lime zest, chamomile tea, chai spices…it’s ultra versatile and ultra delicious. One little note—this cake has a high moisture content (from the olive oil and yogurt) and will take a little longer to bake through. It’s going to be deeply golden on top, but if you feel like your cake is getting a little too dark while the insides still need more time, you can tent it with aluminum foil to help keep some of that browning at bay.

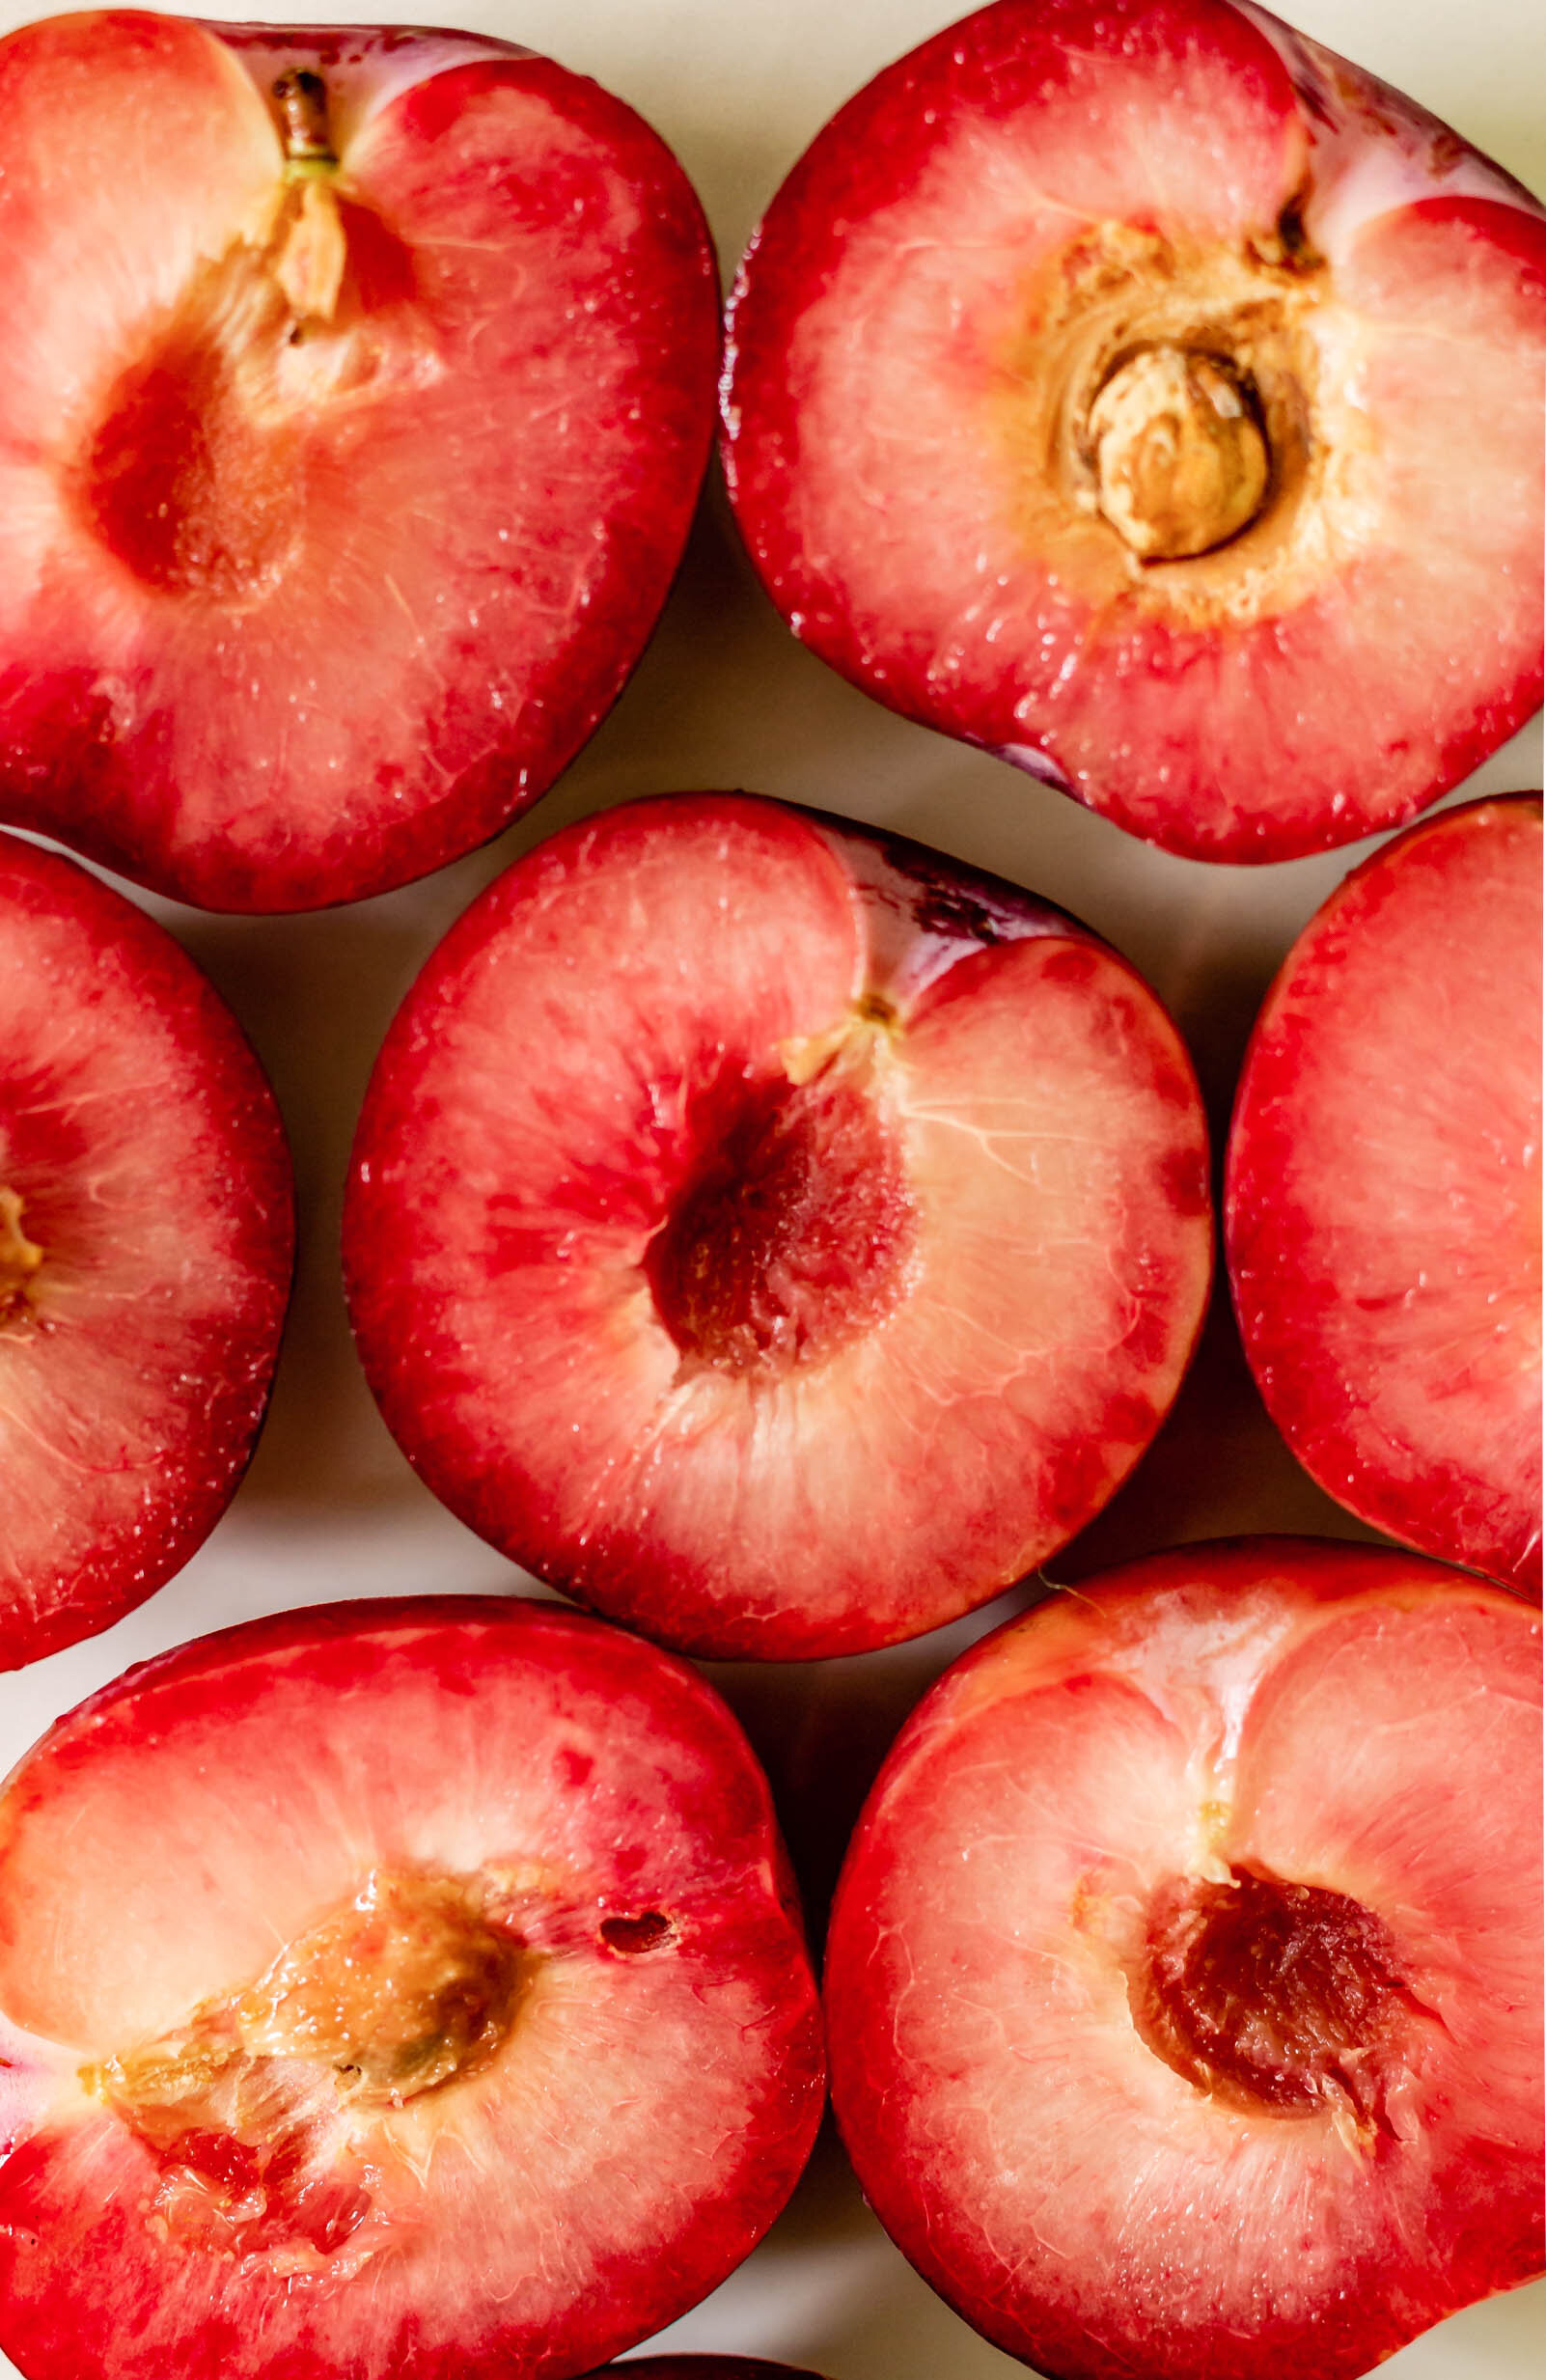
Pluots are the prettiest little purplish fruits, a cross between plums and apricots, and they make for a bright fuchsia jam which I am 100% on board with. If you can’t find pluots, you can totally use plums or peaches or apricots, all would work beautifully with this little loaf.
Lemon Olive Oil Loaf with Pluot Basil Jam
Yield: one 9x5” loaf and about 1 cup of jam
Ingredients
for the jam
1 lb (about 4) pluots, sliced
4-5 basil leaves
3 tbsp sugar
3 tbsp water
1/4 tsp salt
for the cake
1 cup (130 g) olive oil
2 cups (250 g) all purpose flour
1 tsp kosher salt
1/2 tsp baking powder
1/2 tsp baking soda
2 eggs
1 cup (200 g) granulated sugar
1/4 cup (85 g) honey
3/4 cup whole milk yogurt
1/4 cup heavy cream
1 tsp vanilla
Zest of one lemon
for the glaze
1/4 cup (30 g) powdered sugar
2 tbsp whole milk yogurt
1 tbsp lemon juice
1 tsp honey
Procedure
to make the pluot basil jam:
Place sliced pluots, sugar, water, basil and salt in a medium saucepan and stir to combine. Cook over medium heat for 15-20 minutes until pluots are soft and sauce is thickened to syrup consistency. Remove from heat and let cool completely.
to make the lemon olive oil cake:
Preheat oven to 350° F and line a loaf pan with parchment paper. Set aside.
In a medium bowl, stir together flour, salt, baking powder, and baking soda. Set aside.
In a large bowl, whisk together sugar, honey and eggs until light, fluffy, paste forms, about 2 minutes.
Add yogurt, heavy cream, vanilla, and lemon zest and whisk to combine. Slowly stream in olive oil, whisking continually. When all of the olive oil has been added, continue whisking for one more minute.
Add dry ingredients to the liquid mixture and whisk until just combined and no flour streaks remain.
Pour batter into prepared cake pan and bake for 45-50 minutes, until deeply golden brown and a knife or toothpick inserted in the center comes out clean. Let cool slightly and then remove from pan.
to make the glaze:
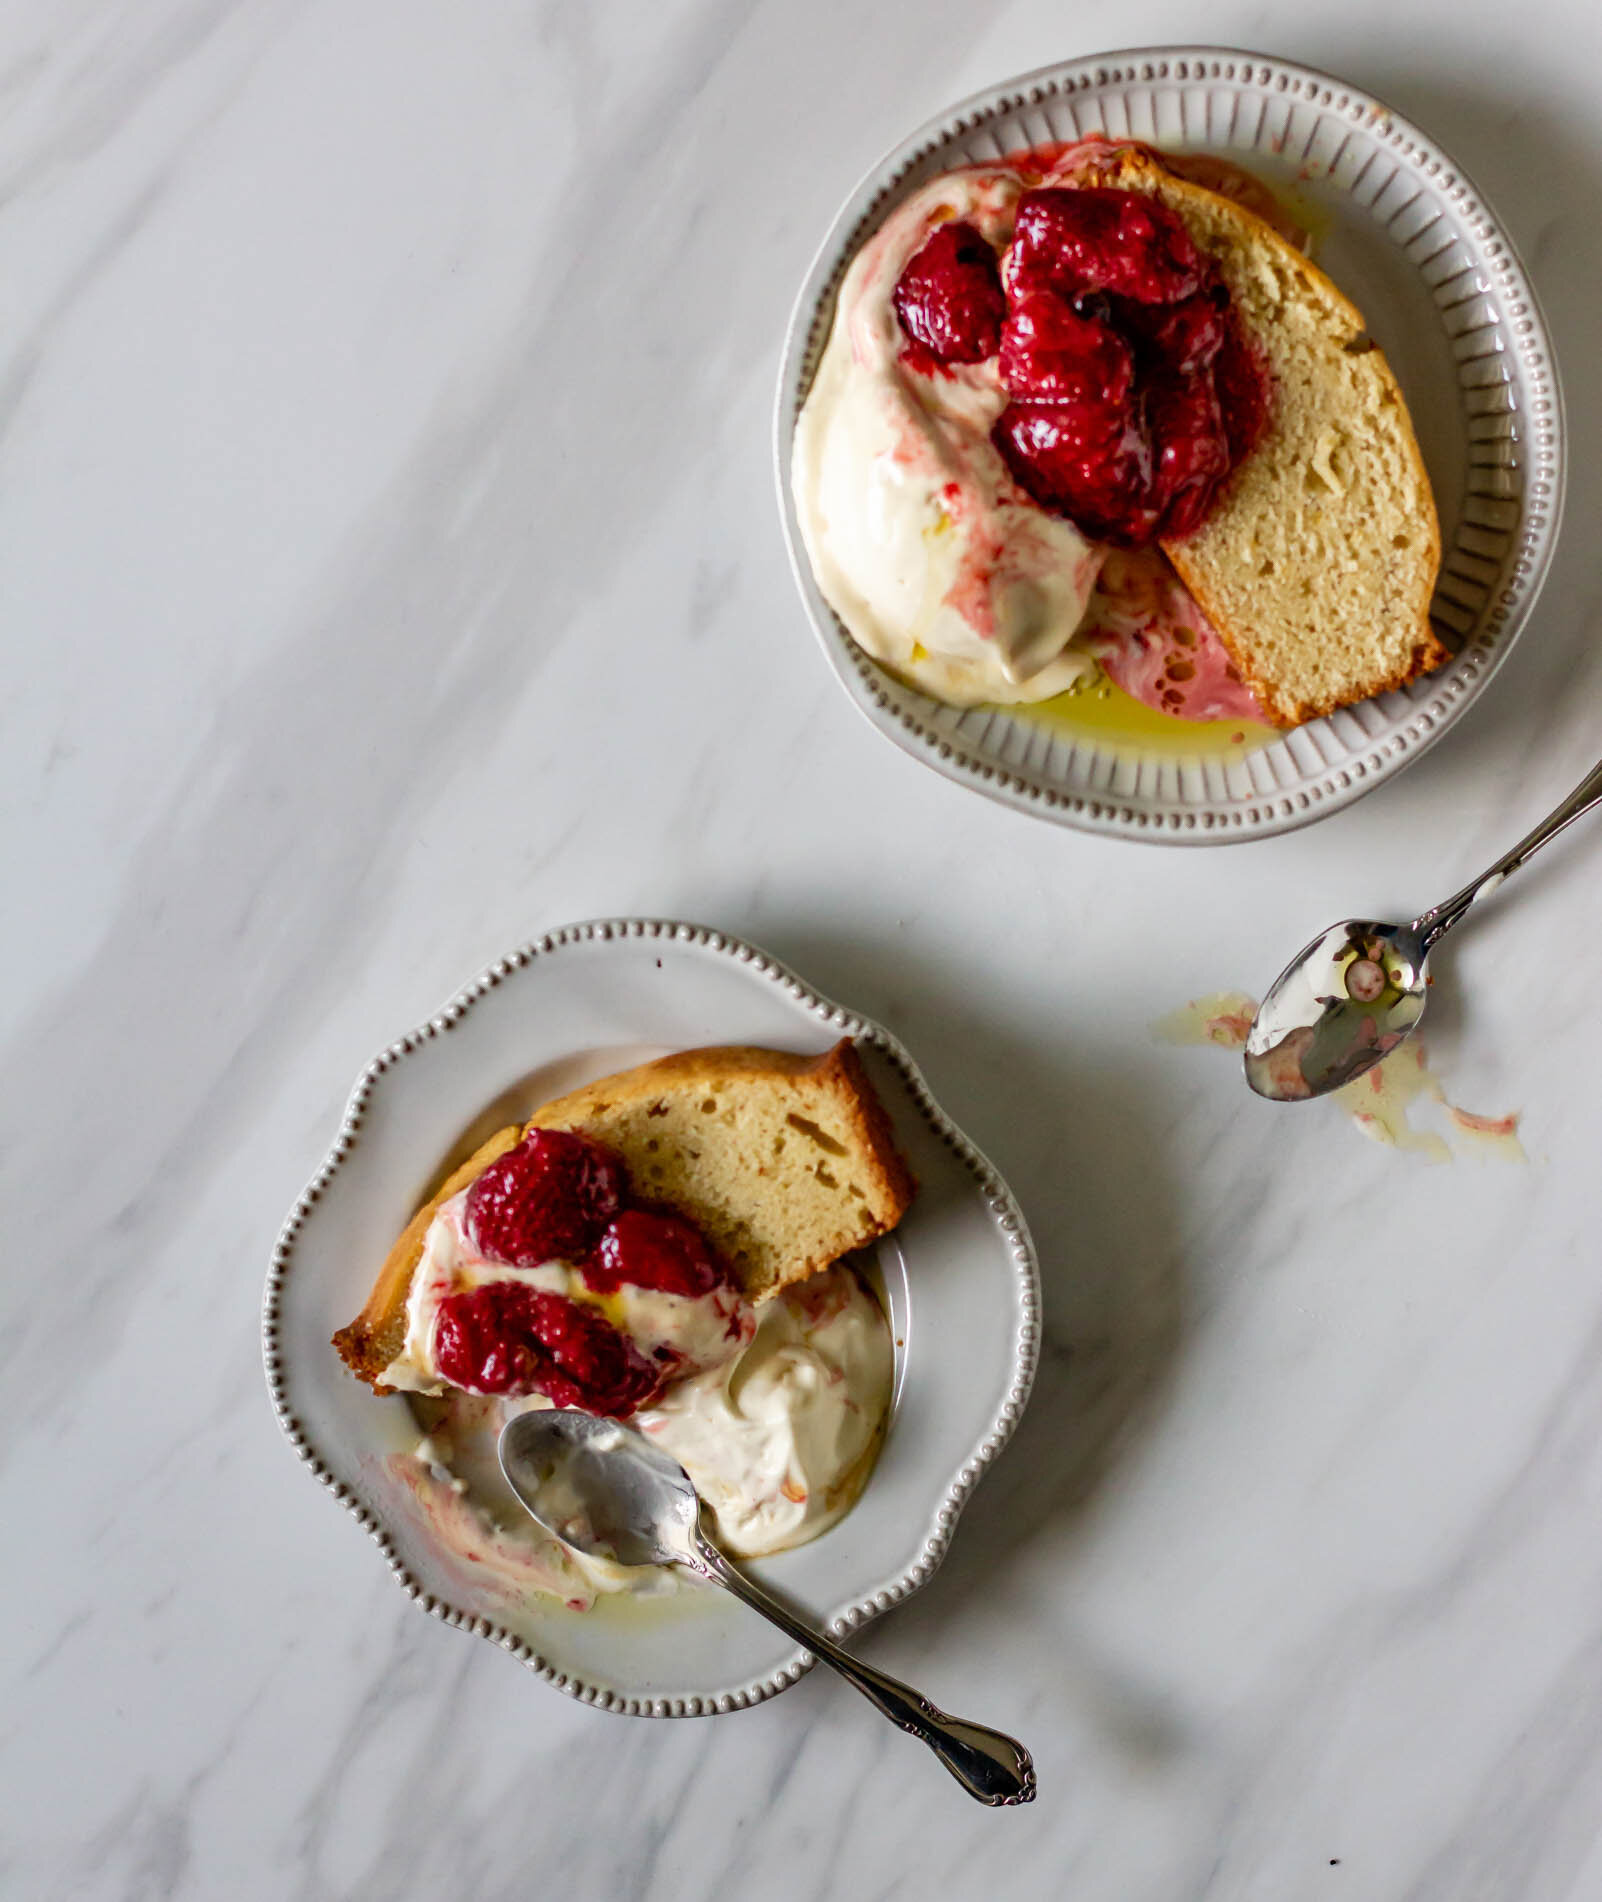
Sift powdered sugar into a small bowl. Add yogurt, lemon juice, and honey and whisk until smooth. Add a splash of heavy cream if the glaze is too thick or a tablespoon of powdered sugar if it is too thin. Pour over cooled cake and serve with pluot basil jam.

more recipes like this

dirty chai banana bread
a fancy strawberry shortcake

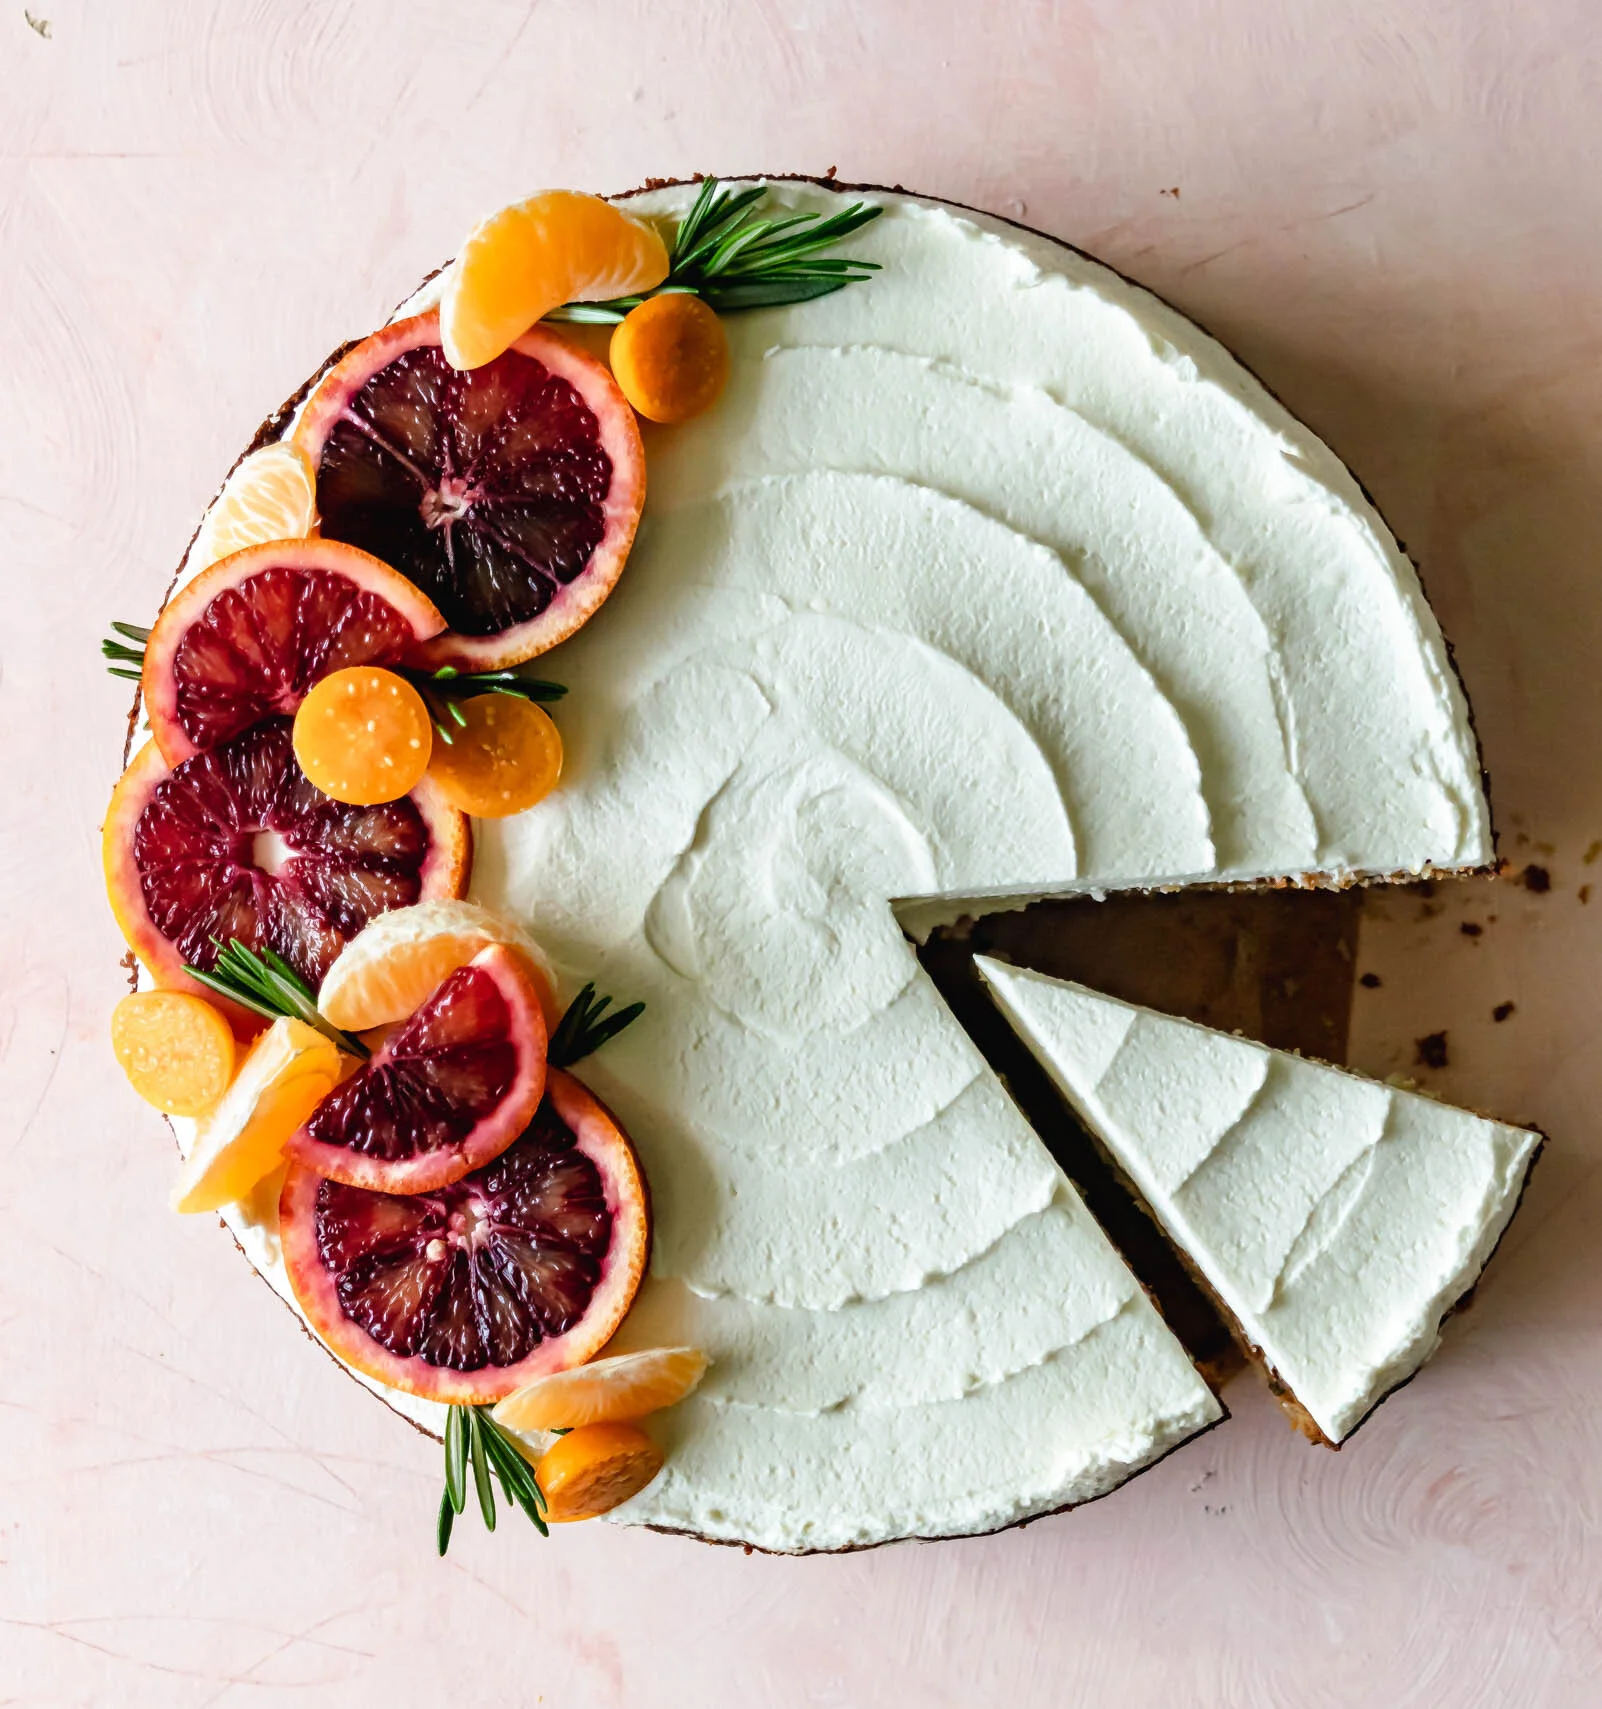
blood orange and rosemary snack cake