Browned Butter Peach Upside Down Cake with Honey Whipped Cream

A simple, browned butter and sour cream snack cake topped with brown sugar caramel and the best summer stone fruits.

If you are anything like me, you are extremely well-intentioned when purchasing fruit. However, that does not always translate into the actual consumption of fruit. I’m especially terrible at this in the summer. There are so many options and fruit is at it’s bounty! It’s also burning hot outside in Florida and the cute little peaches and berries appeal to my quest for all things “refreshing”. Fast forward a week or two later, and I my refrigerator full of peaches and berries are decidedly less cute. It’s not that I dislike fruit, I just struggle to eat it straight up, and I will always choose a more savory, vegetable centered snack. So in walks this cake. A one-bowl, ultra moist, perfect little vessel for all of that well-intentioned fruit currently ripening in your kitchen.

how to make an upside down cake

The cake is made using the blending method, a simple mixing method where you whisk together your dry ingredients and wet ingredients separately and then combine them. This method is used when making recipes that call for a liquid fat, like oil or melted butter, and the aim is minimal gluten development, which results in a ultra-moist final product. If you’re feeling fancy and want a lighter crumb, you could substitute cake flour for the all-purpose, or even do a mix of the two. The cake’s flavor hinges on browned butter, which is one of my favorite kitchen smells. (Someone please tell Yankee Candle that we don’t need any more “vanilla cookie” scents, but if they could work out a browned butter candle, I would definitely be interested.) Browning the butter essentially carmelizes the milk solids in the butter. You will see the butter beginning to foam and it will start to smell nutty and fall-like. That’s when you pull it from the heat. There will be little mocha-colored specks on the bottom of the pot, make sure to scrape all of that up because that’s where the flavor lies! When adding your melted butter to your final cake batter, the fat in the butter will probably cause the batter to do a little slip-n-slide action and it might be a little difficult to whisk. You can help to curb the slickness by taking a little bit of batter, maybe 1/4 cup, and adding it to your butter first. Whisk vigorously to combine the two and then add it all back into your big bowl of batter. The butter will integrate much more easily leaving you with a little less mess.

This cake can be made with all sorts of fruit in danger of losing its pizzazz. Nectarines and peaches really shine and they are sturdy enough to hold their shape during baking, but pineapple would give a little classic Hawaiian vibe, if you’re here for that.
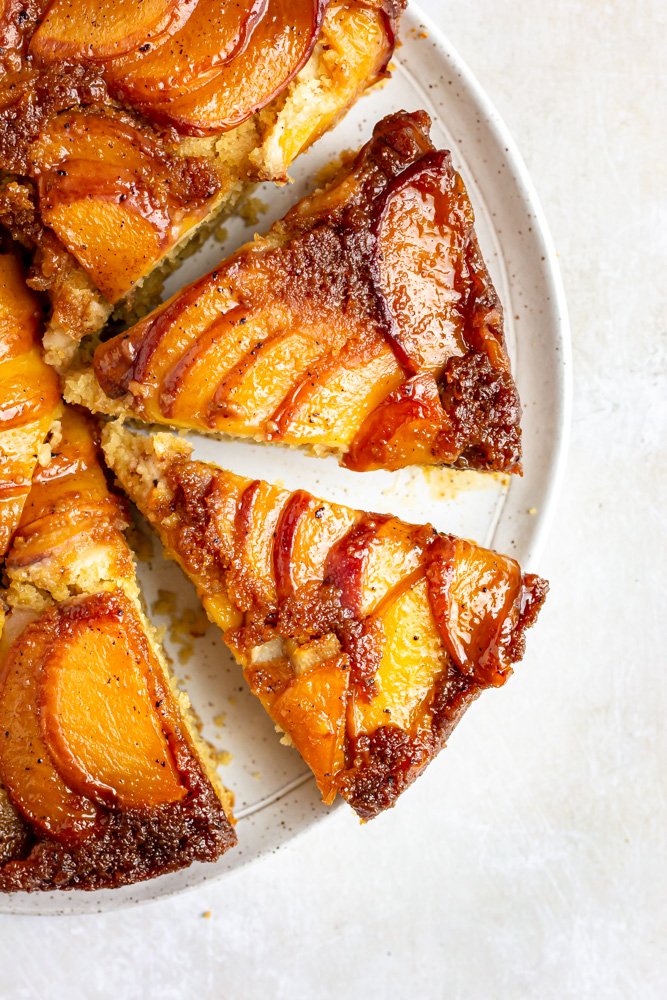
Browned Butter Peach Upside Down Cake
Yield one 9" cake
Author Anna Ramiz
Prep time
10 Min
Cook time
40 Min
Total time
50 Min

Browned Butter Peach Upside Down Cake

An easy upside down cake recipe that spotlights a variety of summer fruits. With browned butter, fresh peaches, and honey whipped cream this is a simple, seasonal snack cake.

Ingredients

for the cake
  • 1/2 cup (1 stick) + 2 T unsalted butter
  • 1 1/2 tsp vanilla extract
  • 2 cups all-purpose flour
  • 1/2 cup granulated sugar
  • 1 cup brown sugar, divided
  • 1 1/2 tsp baking powder
  • 1/2 tsp baking soda
  • 3/4 tsp salt
  • 1/2 cup whole milk
  • 1/2 cup greek yogurt or sour cream
  • 2 large eggs
  • 3 peaches, thinly sliced
for the honey whipped cream
  • 1 cup heavy cream
  • 3 T honey

Instructions

  1. Preheat the oven to 350 degrees. Spray a 9” round cake pan with cooking spray and set aside.
  2. In a small saucepan, combine 1/2 cup of the brown sugar with 2 tbsp of butter. Cook over medium heat, stirring frequently, until sugar is dissolved and caramel is homogenized and smooth. Pour the hot caramel into the prepared pan and tilt to cover the bottom and arrange the peach slices on top. Set aside.
  3. In a small saucepan set over medium heat, melt the remaining 1/2 cup of butter. Cook, swirling the pot every few minutes, until the butter begins to foam and brown at the bottom. It should smell nutty and delicious. Scrape up the browned bits from the bottom of the pan and then set aside to cool slightly.
  4. In a medium bowl, whisk together flour, granulated sugar, remaining 1/2 cup brown sugar, baking powder, baking soda, and salt. Set aside.
  5. In a large measuring cup, whisk together eggs, yogurt, milk, and vanilla. Add the milk mixture to the flour mixture, and whisk just enough to blend everything. Pour the butter into the batter and whisk again, just until everything is emulsified. Be careful not to over mix.
  6. Pour batter over the nectarines and smooth with a small offset spatula. Bake until the edges are golden brown and the center of the cake is set, about 35-40 minutes. Remove the cake from the oven and let cool in the pan for about 10 minutes. While the cake is still warm, place a large plate on top and use a towel to flip the cake out onto the plan. Let cool completely and serve with whipped cream.
  7. To make the whipped cream: Pour cold cream into a mixer fitted with the whisk attachment. Begin whipping on low speed, increasing speed gradually as the cream begins to thicken. When the cream has gained a little body, add honey and continue whipping until soft peaks form.

Notes

This cake can be made with all sorts of fruit in danger of losing its pizzazz. Nectarines and peaches really shine and they are sturdy enough to hold their shape during baking, but pineapple would give a little classic Hawaiian vibe, if you’re here for that.

Did you make this recipe?
Tag @gatheredatmytable on instagram and hashtag it #gatheredatmytable

Wilderness Tiramisu

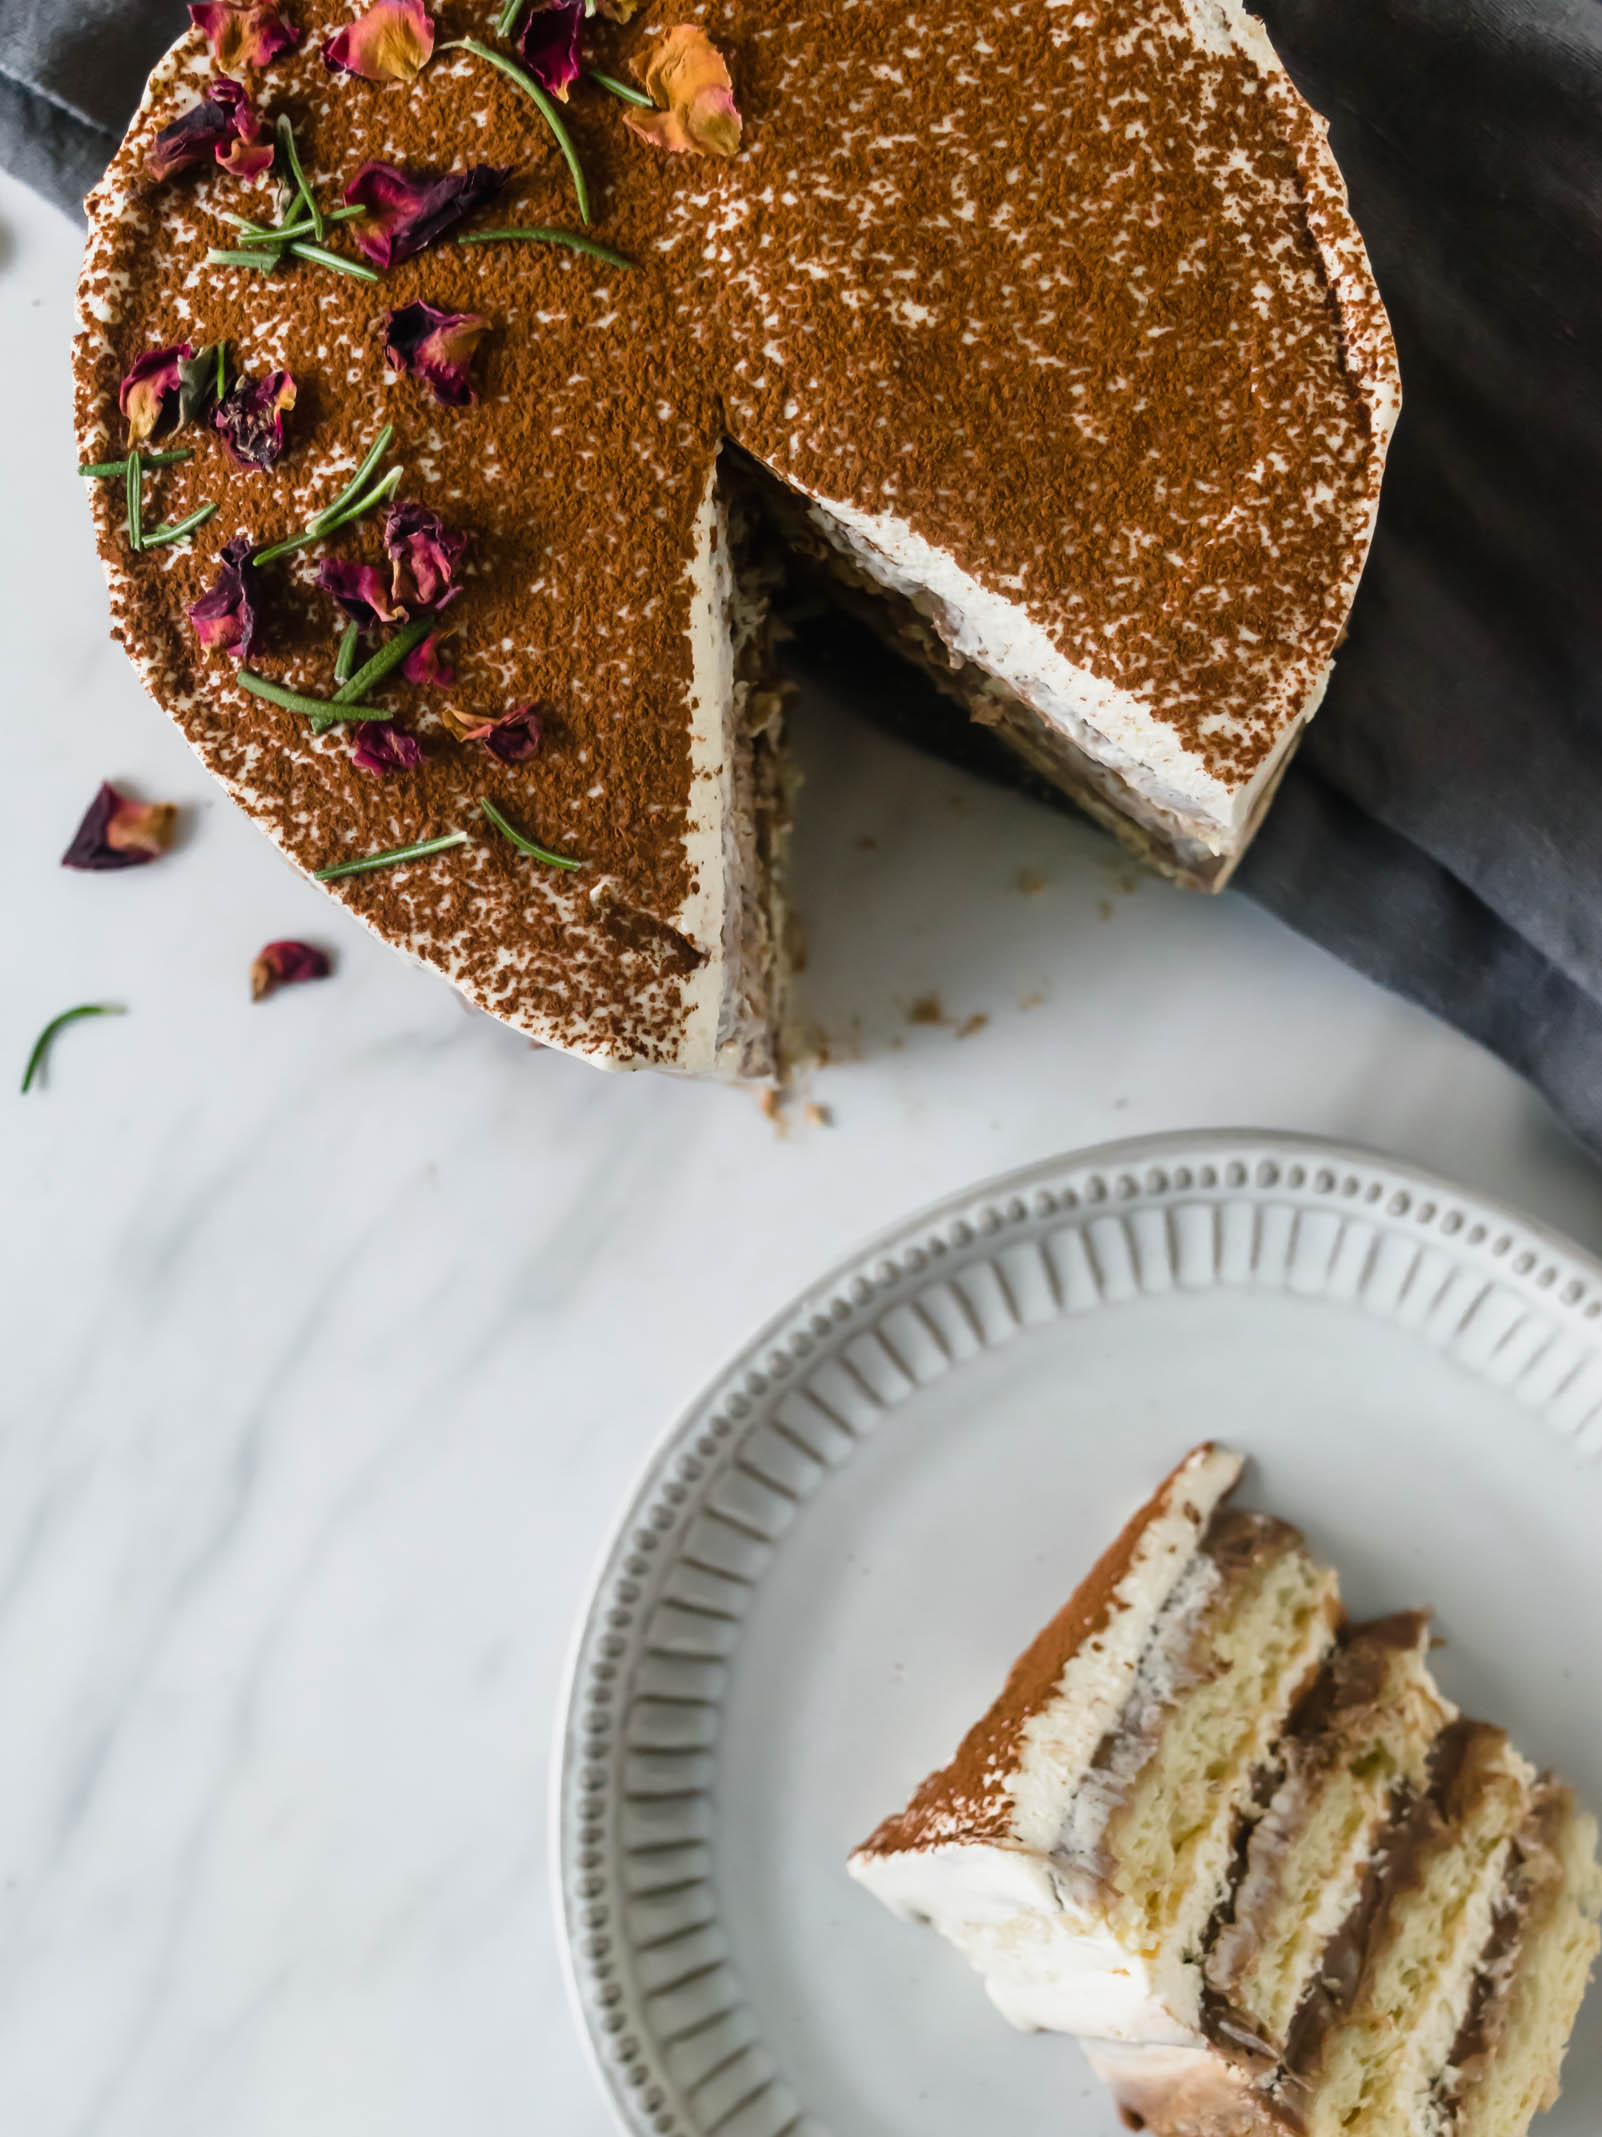
Transitions call for cake. All too often, we are quick to celebrate the exciting things in life- graduations, weddings, babies, promotions- things that show achievement and accomplishment. These are all great, but I would like to submit that the halfway points and routine steps along the path are worth celebrating too. These moments are the ones that seem quieter, routine and mundane, yet often more challenging. They are the moments when gratitude and joy are most needed, but sometimes hardest to find. For me, cake is something that you create with your hands, built layer by layer, resulting in a final product fit for an accomplishment or a regular day. It’s an important little reminder that though you’re not there yet, you’re moving and that’s what matters.

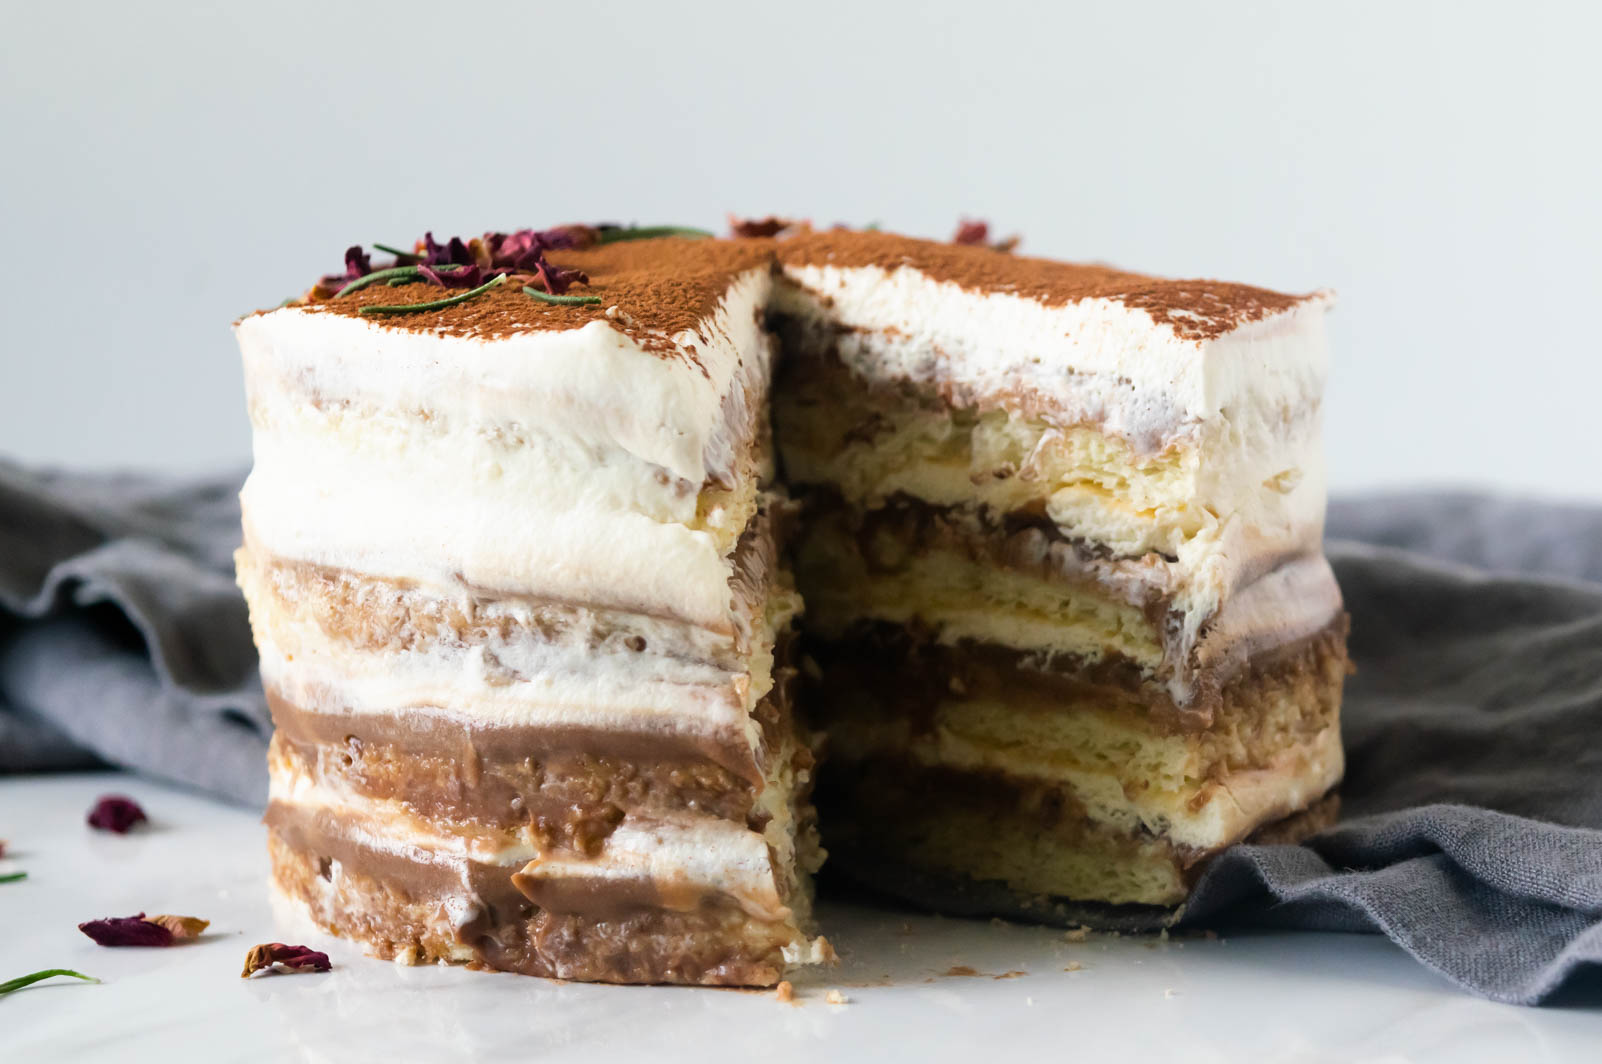
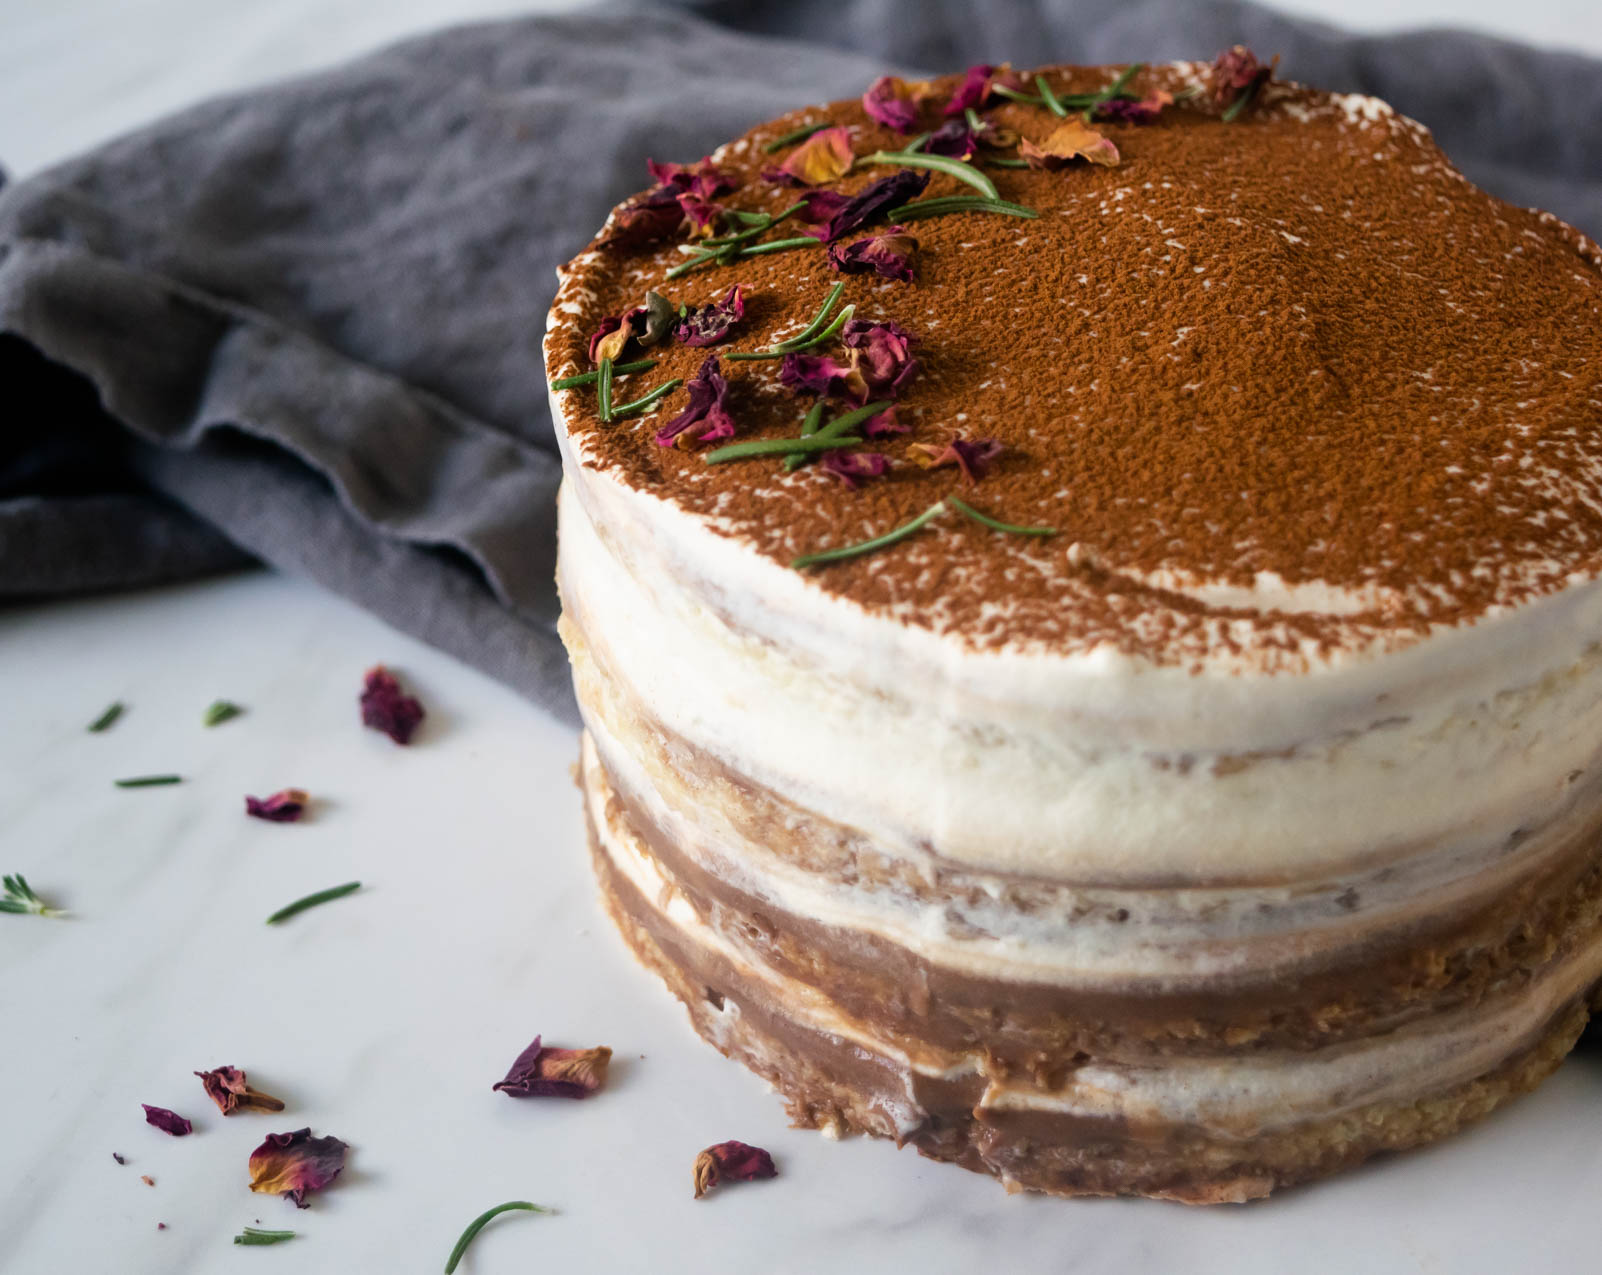
I’ve been spending the last few weeks winding down and finishing my last exams in pastry school, while also preparing to leave my comfort zone and stretch my talents as I start my final internship. It’s a perfect time for transition cake. This is a riff on a cake that I completed for my contemporary cakes practical and is more of a blueprint; you can build it any way you like. Rounds of ultra-light, lady-fingeresque sponge cake are soaked with a rosemary coffee syrup and layered with dandelion and rose chocolate pastry cream and mascarpone mousse. Make it as tall or as wide as you please, dust it with cocoa powder and pretty little florals, and sit back to enjoy the fruits of your labor.

Wilderness Tiramisu

Yield: 2 5” 3 layer cakes

Ingredients: 

for the vanilla sponge: 

4 egg yolks

4 egg whites

1 cup sugar

1/2 cup all purpose flour

1/4 cup cornstarch

Pinch of salt

for the dandelion rose chocolate pastry cream: 

1 1/2 cups whole milk

1/2 cup heavy cream

3 eggs

1 egg yolk

3/4 cup sugar

3 tbsp cornstarch

1/4 tsp salt

1 1/2 tbsp butter, softened

5 tbsp roasted dandelion root tea (or 5 tea bags)

1 tbsp rose petals 

3 oz dark chocolate, chopped

for the mascarpone mousse: 

1 1/2 tsp powdered gelatin 

1 cup heavy cream

4 egg yolks, at room temperature

2 tbsp Kaluha 

2 tbsp sugar

1 tsp vanilla 

1/2 tsp salt 

8 oz mascarpone cheese, at room temperature 


for the rosemary coffee syrup: 

1/4 cup brewed rosemary coffee, see notes below

2-3 tbsp rosemary simple syrup

2 tbsp Kaluha

Procedure: 


to make the sponge: 

  1. Preheat oven to 375°. Line a rimmed baking sheet (18x23) with parchment paper.

  2. In a mixer fitted with the whisk attachment, beat egg whites on low speed until slightly frothy. Slowly add ½ cup sugar, gradually increasing the speed to medium, and beat until a stiff meringue forms. Transfer to a medium bowl; chill until ready to use.

  3. Whip egg yolks, 2 Tbsp. water, and remaining ½ cup sugar in the still-messy bowl you used for the meringue on high speed until a fluffy, ribbony mixture forms. Using a rubber spatula, gently add reserved meringue and fold until just combined. *Be careful not to overwork the batter here, it’s okay if there are a few streaks!

  4. Sift flour, cornstarch, and salt into a medium bowl. Gently fold into egg mixture until no dry spots remain. Carefully transfer batter to prepared pan with and smooth with a spatula.

  5. Bake cake until top is golden brown and still soft to the touch, 7–10 minutes. Let cake cool completely in pan. Run a knife around sides of pan to release cake. Place a cutting board on top of pan. Invert cake onto board; remove pan and carefully peel away parchment. Use a cake ring to help you cut small circles out of the cake sheet. *I chose to do small, 5” circles, but you could do any size you want- just remember the larger your circle is, the fewer layers your final cake will have. 

to make the pastry cream: 

  1. In a medium saucepan set over low-medium heat, warm milk and cream until bubbles begin forming around the outside of the pan. Add dandelion tea and rose petals. Cover pan and let steep for 30 minutes. Strain mixture and return to saucepan. 

  2. Reheat milk mixture until slightly simmering. In a medium bowl, whisk together sugar and cornstarch until no lumps remain. Add eggs and egg yolks and whisk until a paste forms.

  3. Slowly, while continually whisking, pour half of hot milk into the egg mixture. Still whisking, add your egg mixture to the milk mixture and return to heat. (This process is called tempering and it helps to prevent scrambling your eggs when making cream based sauces, like pastry cream and creme anglaise.) 

  4. Cook pastry cream, whisking CONSTANTLY, until thickened and boiling. 

  5. Remove from heat and strain into a clean bowl. Add butter, salt, and chocolate and whisk to combine. 

  6. Press plastic wrap to surface and chill.

to make the mousse: 

  1. Place ¼ cup cold water in a small bowl and sprinkle gelatin evenly over top; set aside while you begin making the rest of the mousse. 

  2. In a mixer fitted with the whisk attachment, beat heavy cream on medium-high speed until medium peaks form. Transfer to a clean bowl, cover with plastic wrap and chill until you are ready to use it. Reserve bowl; you don’t need to clean it.

  3. Set a medium, heat-proof bowl over a saucepan of simmering water. (Make sure the bowl is not touching the water.) Add egg yolks, liquor, sugar, vanilla and salt and whisk constantly until yolks are lightened in color, doubled in volume and are warm to the touch. Remove egg yolk mixture from heat and scrape into reserved mixing bowl. Fit bowl onto mixer.

  4. Remove saucepan from heat and pour out water, then scrape in softened gelatin. Heat over medium-low, swirling pan often, until gelatin is dissolved, about 1 minute. With mixer on medium speed, stream gelatin into egg yolk mixture. Beat until sides of bowl are cool to the touch, about 2 minutes. Switch to the paddle attachment, add mascarpone 1-2 tbsp at a time, and beat until smooth.

  5. Remove bowl from mixer and gently fold in chilled whipped cream. You should have about 4 cups mousse. Cover with plastic wrap, pressing directly onto surface and chill until you are ready to assemble the cake. 

to assemble the cake: 

  1. Make the rosemary syrup: Combine 1 cup of sugar, 1 cup of water, and 3-4 rosemary sprigs in a small saucepan over medium heat. Cook until the sugar is dissolved and then remove from heat. Leave rosemary sprigs in syrup while cooling and remove just before you are ready to use. *This will make more rosemary syrup than you need to brush on the cakes, but I always like keep herbal simple syrups in my fridge to make fancy coffees and last minute cocktails. 

  2. For the coffee: You can simply make espresso/coffee, cool it and then measure out 1/4 cup. If you are planning ahead and want a little extra rosemary flavor, grind some rosemary leaves along with your coffee beans and then use that to brew coffee. 

  3. For the cake syrup: stir together coffee, rosemary simple syrup, and Kaluha. Taste and adjust flavors as needed. 

  4. Place one cake layer on a cake stand/board. Brush the cake with coffee syrup, and be liberal with it-remember, this is supposed to be reminiscent of tiramisu. 

  5. Spread a layer of dandelion pastry cream on top, followed by a layer of mascarpone mousse. (I like to use a cookie/ice cream scoop when frosting cakes to make sure that each layer is even.) Repeat this process for as many cake layers as you want. 

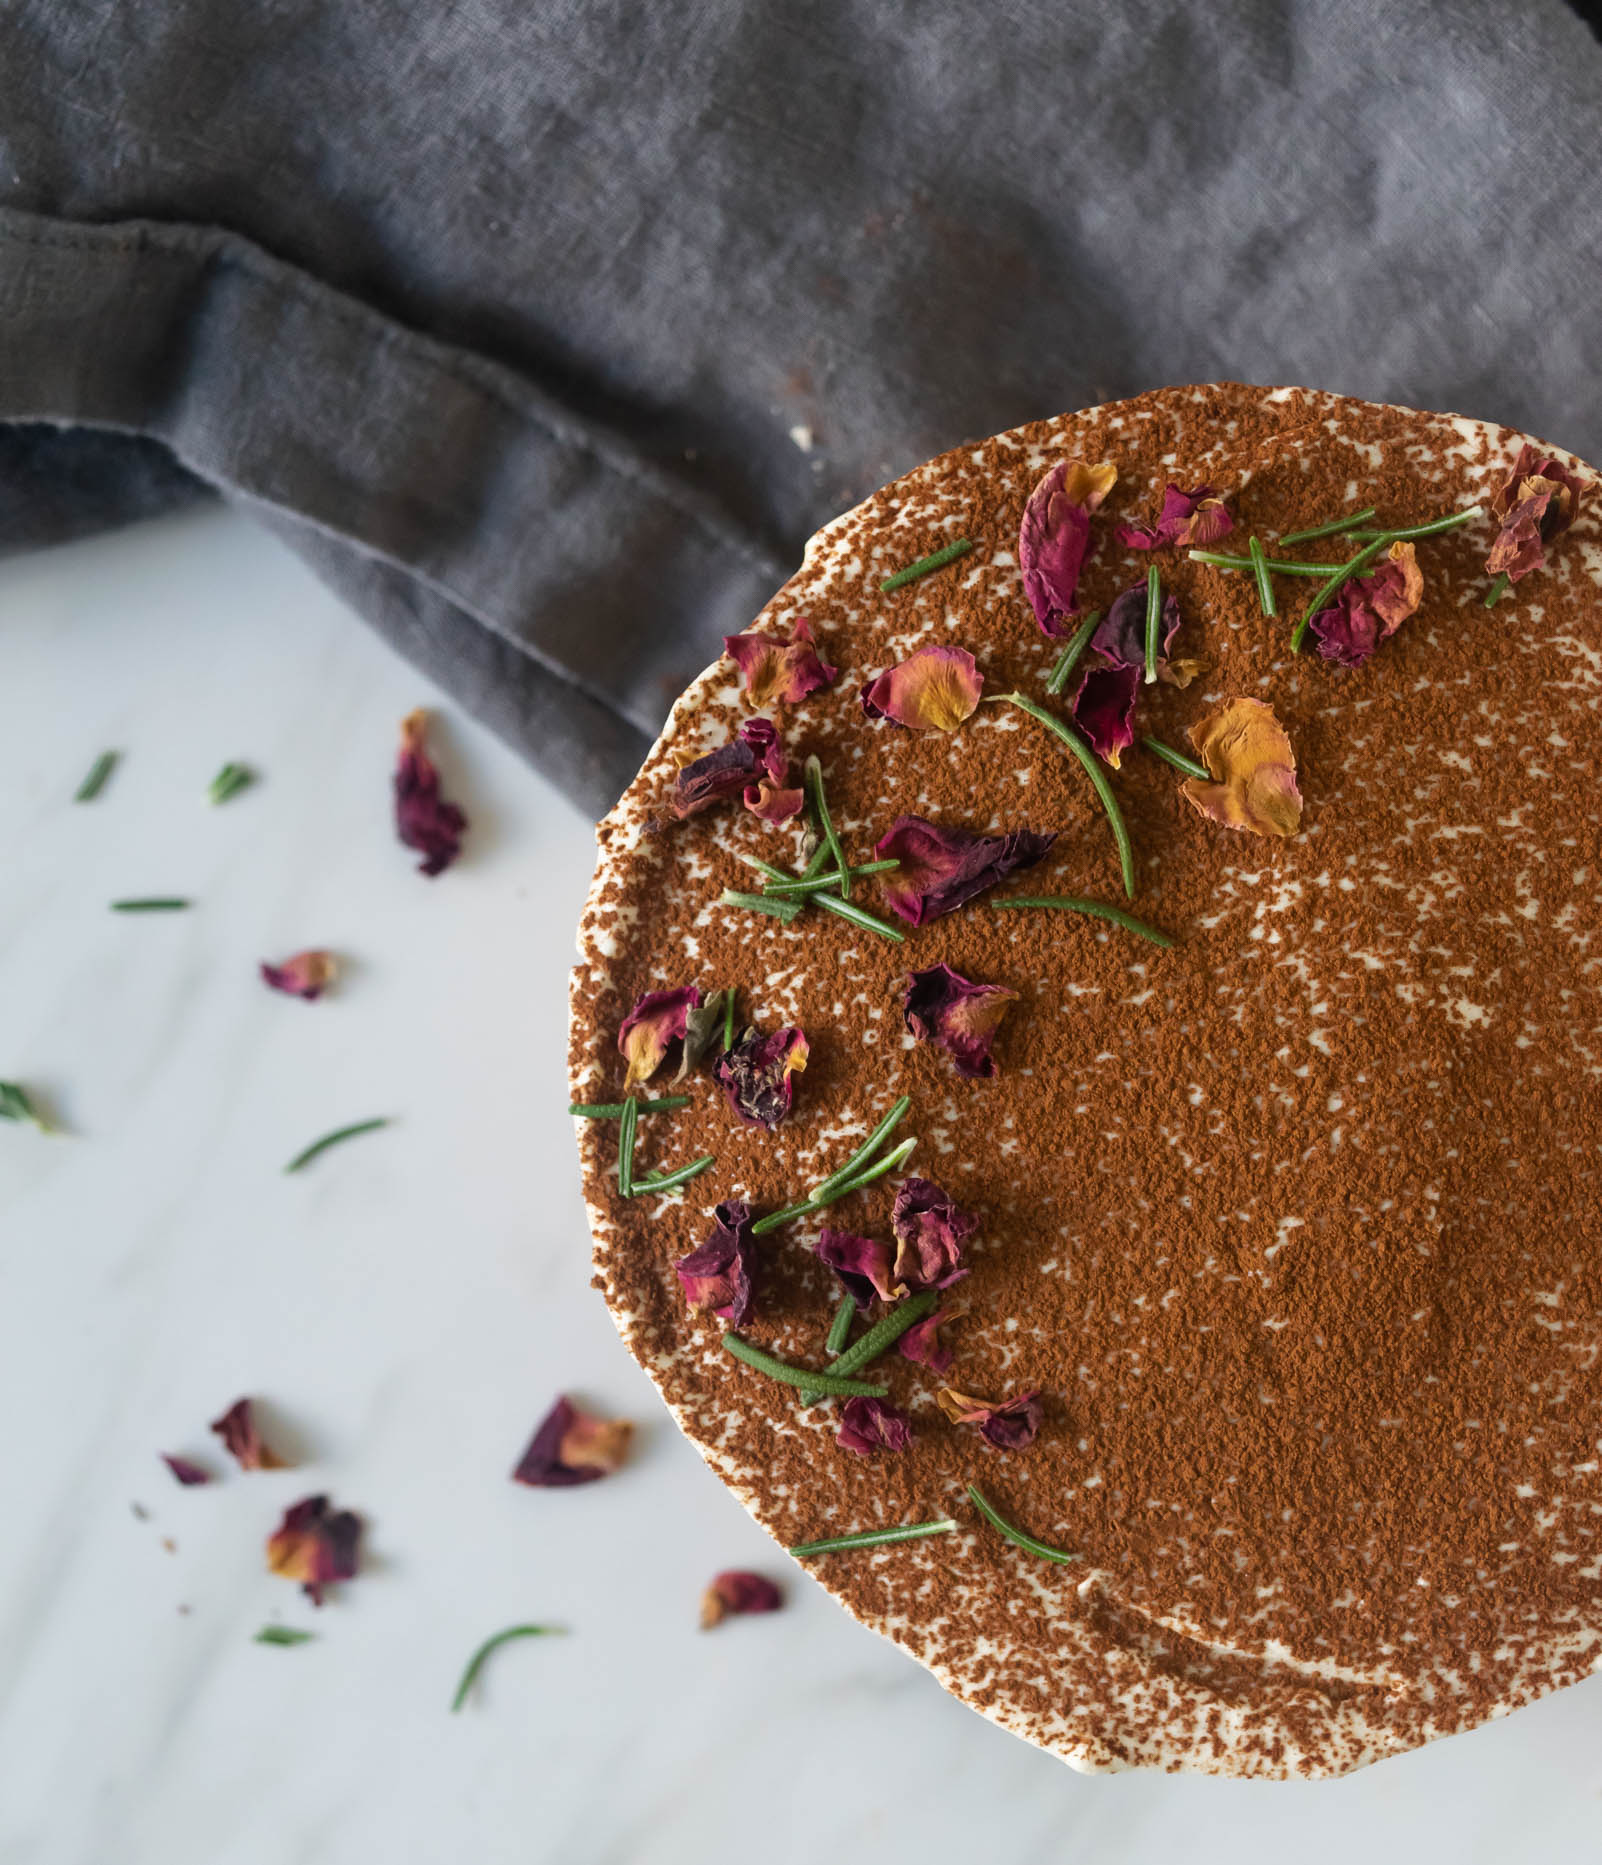
  6. Use the remaining mascarpone mousse to frost the sides of the cake in a swoopy, rustic style. Dust the top of the cake with cocoa powder and sprinkle rose petals and rosemary leaves on top as desired. 

  7. Chill cake overnight for best flavor!

Everyday Cake with Chocolate Ganache Frosting

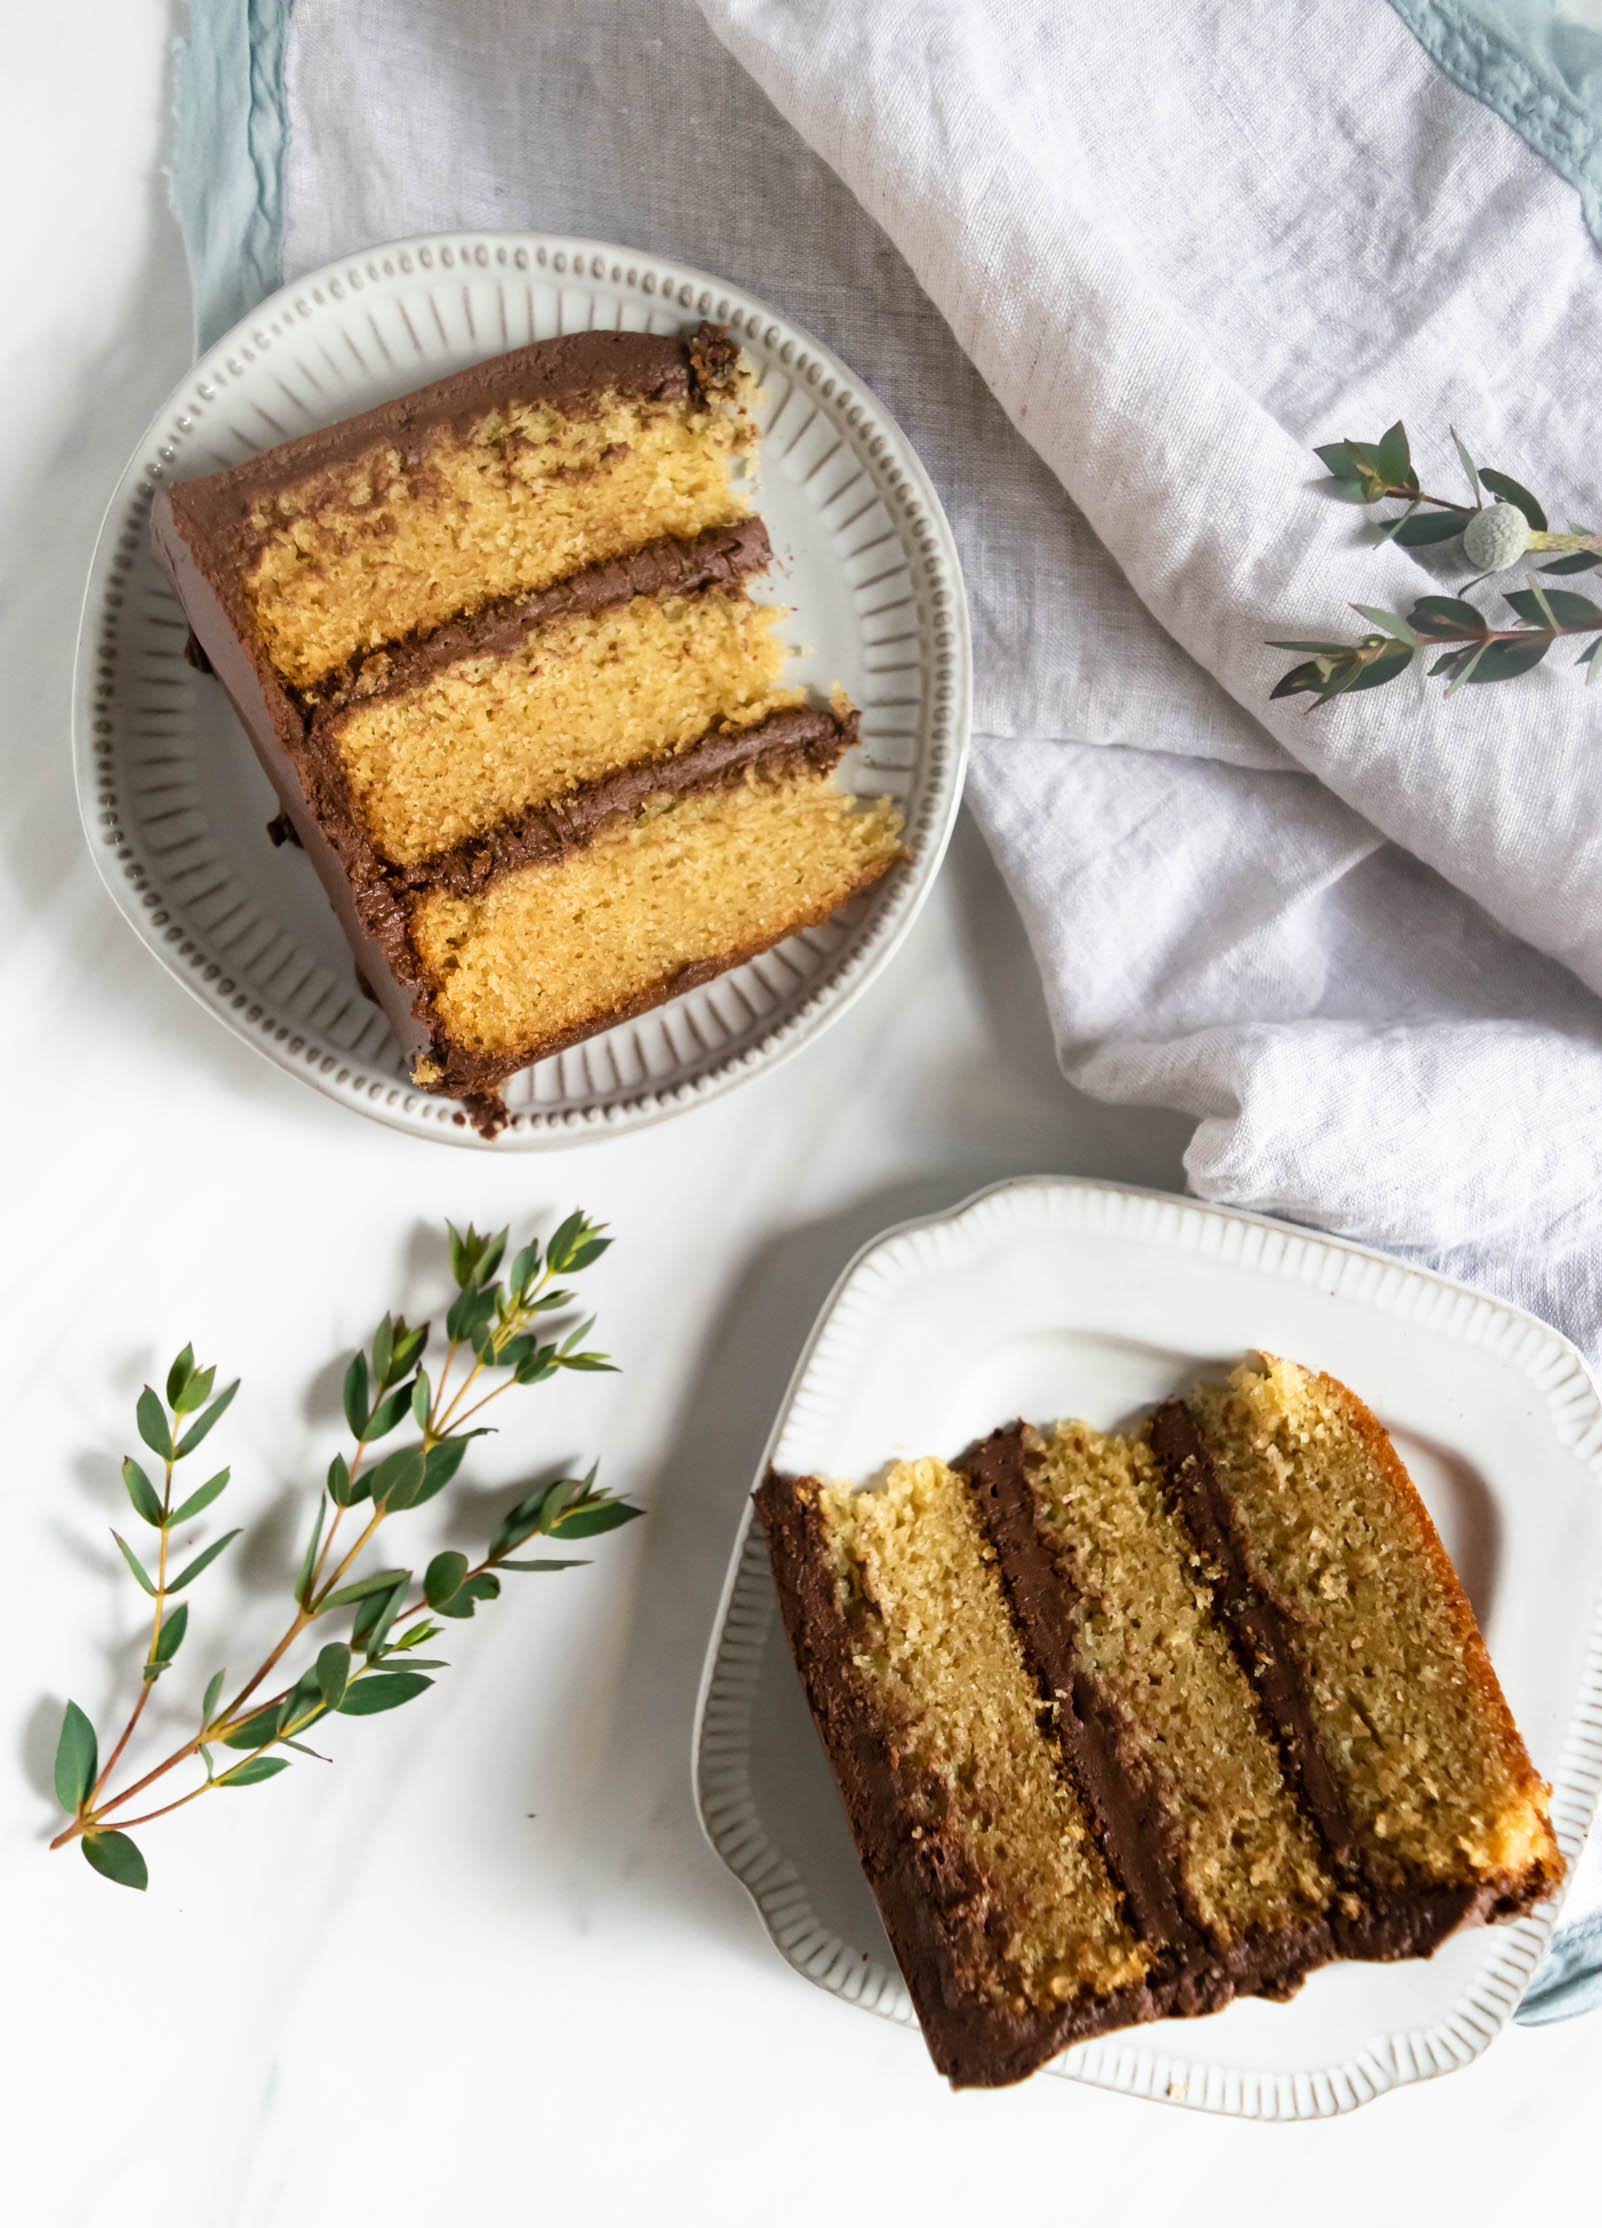
Good cake should not be a rarity. Everyday, no matter the challenges and struggles we might face, there are small things that should be celebrated. I think that celebrating the little things helps to keep us grounded and grateful, it helps me not get overwhelmed by the big stuff that I can’t always control. And my favorite way to celebrate is through cake! This “everyday cake” is my take on the classic yellow boxed cake, jazzed up a little.

When you think about that quintessential yellow cake, it’s marked by moistness and fluffiness (those are very technical descriptions). In order to create an extra moist cake, I used both butter and oil in this recipe. I chose to use olive oil because I wanted to give a slightly grassy and full flavor, but you can easily substitute another more neutral oil. I used a blend of cake and all purpose flour to create a fluffy cake that would still hold up under the weight of the ganache. Cake flour has a lower protein level than other flours, so it creates less gluten which results in a lighter, fluffier crumb. You could also use all cake flour for the total flour amount, or even all AP flour (just remember your cake will be a little heavier).

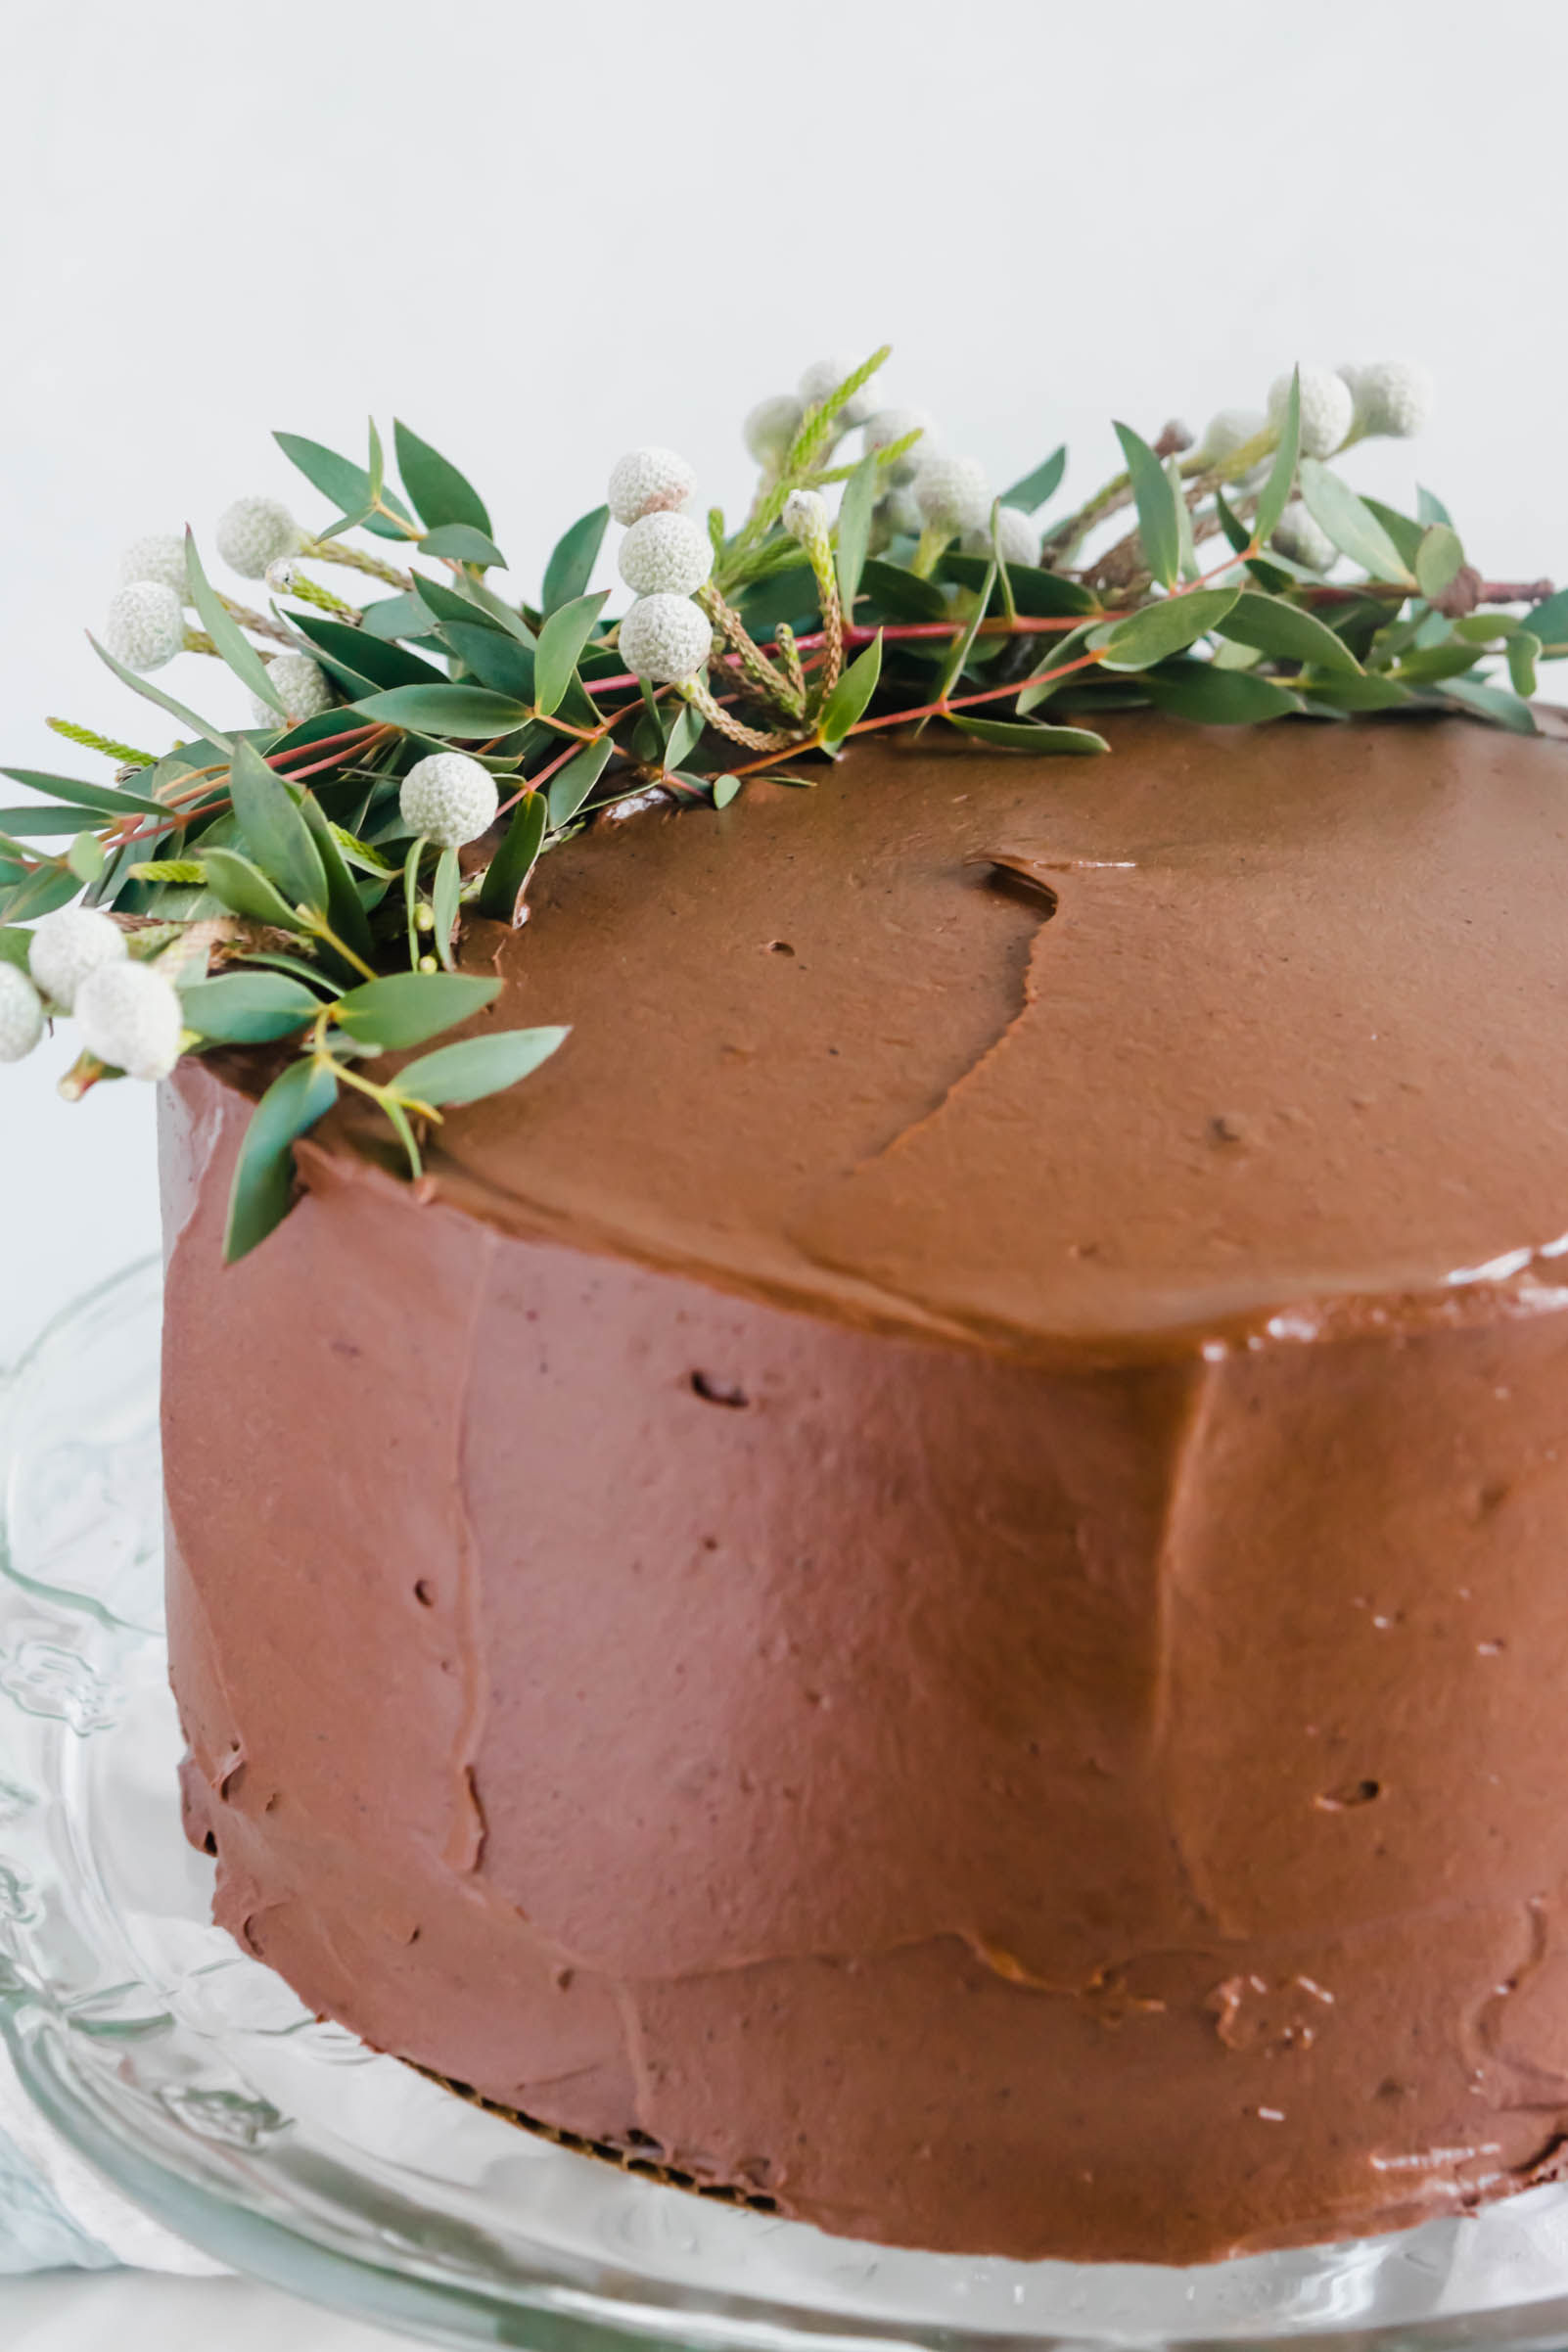
For this frosting, I didn’t want anything cloyingly sweet so I decided to use Rose Levy Beranbaum’s ganache frosting method and it turned out wonderfully and couldn’t be simpler. Using a food processor, pulse your chocolate to create small crumbs. Then heat heavy cream to a scald and pour into the running food processor, processing for about a minute until everything is emulsified. Then, transfer the ganache frosting to a bowl and let it cool until room temperature and slightly set up. This created a frosting that was denser than a traditional chocolate frosting, yet lighter than a ganache. Perfect for this everyday cake for all of your little celebrations!

Everyday Cake with Chocolate Ganache Frosting

Yield: 1 3-layer 8” cake

Ingredients: 

for the cake:

2 1/4 cups cake flour

1 cup all purpose flour

2 tsp baking powder 

1 1/2 tsp salt 

1 1/2 tsp baking soda 

1 1/2 cup sour cream

3/4 cup olive oil 

1 tbsp vanilla extract 

1 cup (2 sticks) unsalted butter, cubed, at room temperature

1 1/2 cup sugar

1/2 cup brown sugar

5 eggs 

3 egg yolks

for the ganache frosting:

16 oz dark chocolate (60% cocoa)

17.6 oz heavy cream


Procedure: 

to make the cake: 

  1. Preheat the oven to 350 degrees. Spray 3 8” cake pans with nonstick spray and line the bottoms with parchment paper rounds. Set aside. 

  2. In a medium bowl, whisk together cake flour, all purpose flour, baking powder, baking soda, and salt. Set aside. 

  3. In a large measuring cup or medium bowl, whisk together olive oil, sour cream, and vanilla extract. Set aside. 

  4. In the bowl of a standing mixer fitted with a paddle attachment, cream together butter and sugar until light and fluffy, about 4 minutes. Scrape down the sides of the bowl. With the mixer on low-medium speed, add eggs, one at time, making sure they are thoroughly combined before adding the next. Remember to scrape down the bottom and sides of the bowl frequently to make sure that everything is being evenly combined. 

  5. Reduce mixer speed to low and add 1/3 of the dry ingredients. Just before it is completely combined, add in half of the sour cream mixture. Alternate with another third of the dry ingredients, followed by the remaining half of the sour cream mixture. Finish by adding the final third of the dry ingredients and mix until everything is well combined. 

  6. Evenly divide batter among the three prepared pans and bake, rotating halfway through if necessary, for 25-30 minutes, until the cake begins to pull away from the sides of the pan springs back when touched. 

  7. Let cool for 5-10 minutes in the pan and then turn them out onto a cooling rack and let rest until complete cooled.

to make the ganache frosting: 

  1. When you are ready to frost the cake, place chocolate pieces in the bowl of a food processor. Pulse until chocolate is broken up into very small pieces. 

  2. Heat the cream in a medium saucepan until just before simmering, and small bubbles begin to appear on the outer edges. Very carefully, pour in the cream into the running food processor through the feed tube and continue processing for about 30 seconds after adding the last of the cream, until everything is combined. Transfer the ganache to a bowl and let sit at room temperature for a couple of hours, until completely cooled and thickened. 

  3. Just before you frost the cake, if you want your ganache a little thicker and fluffier, you can beat it in the stand mixer for a minute or two until it reaches your desired consistency. Be careful not to beat it too much, or too much air will be incorporated and your frosting will have air bubbles and won’t smooth completely when frosting. 


to assemble the cake: